Manage Inventory
- In this article:
- Overview
- Receiving Parts
- Part Issuances
- Creating a PO
- Assign Parts to Equipment
Inventory Overview
- Maintenance Pro provides tools for managing inventory parts, including:
- Usage: Parts can be applied to Work Order tickets or recorded as General Expenses.
- Tracking: Inventory levels are monitored and updated automatically when parts are used.
- Notifications: Maintenance Pro sends alerts when stock levels are low, allowing you to reorder parts in a timely manner.
Receiving Parts
Add New Parts
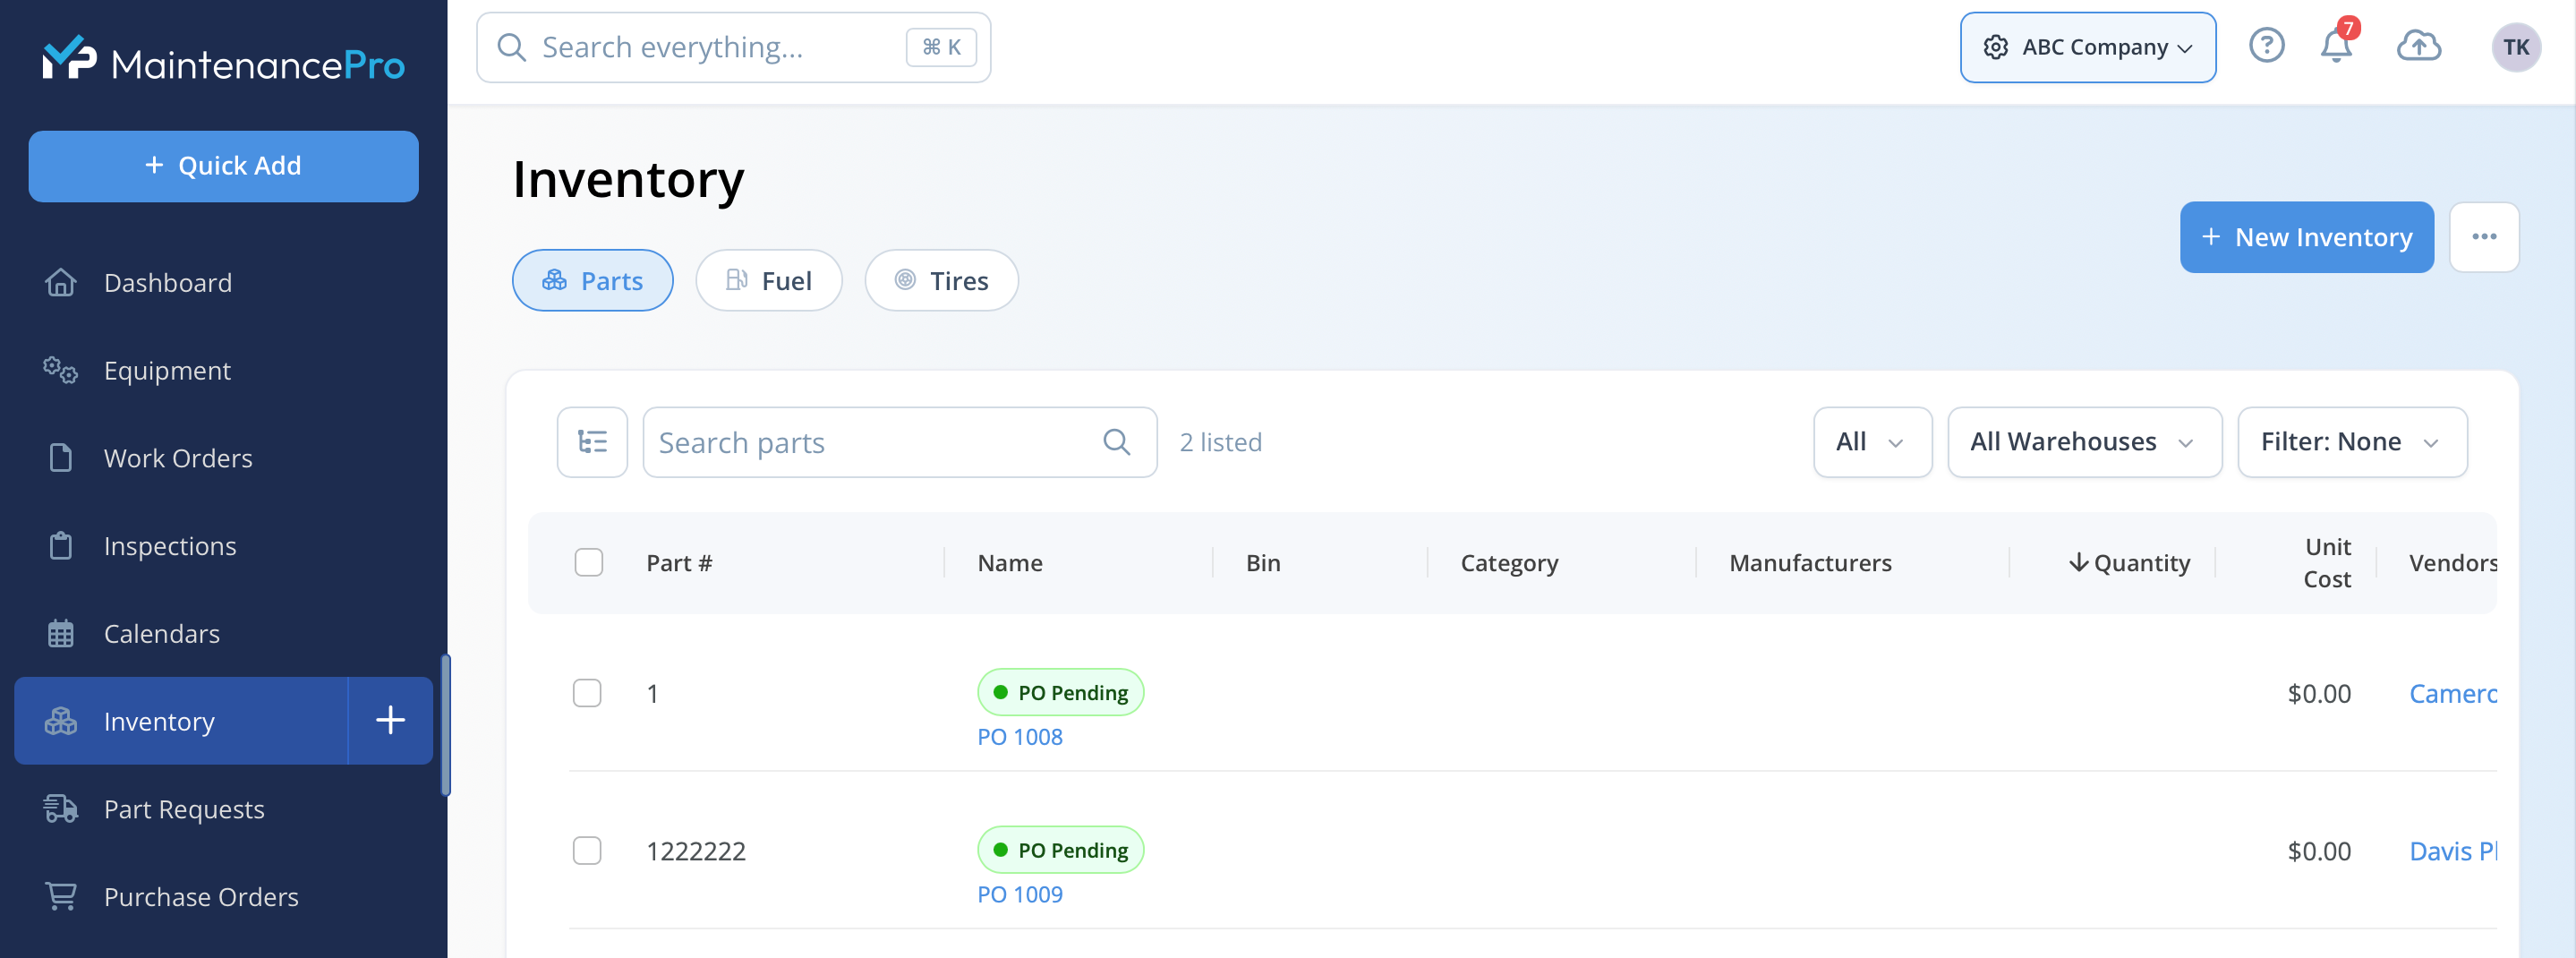
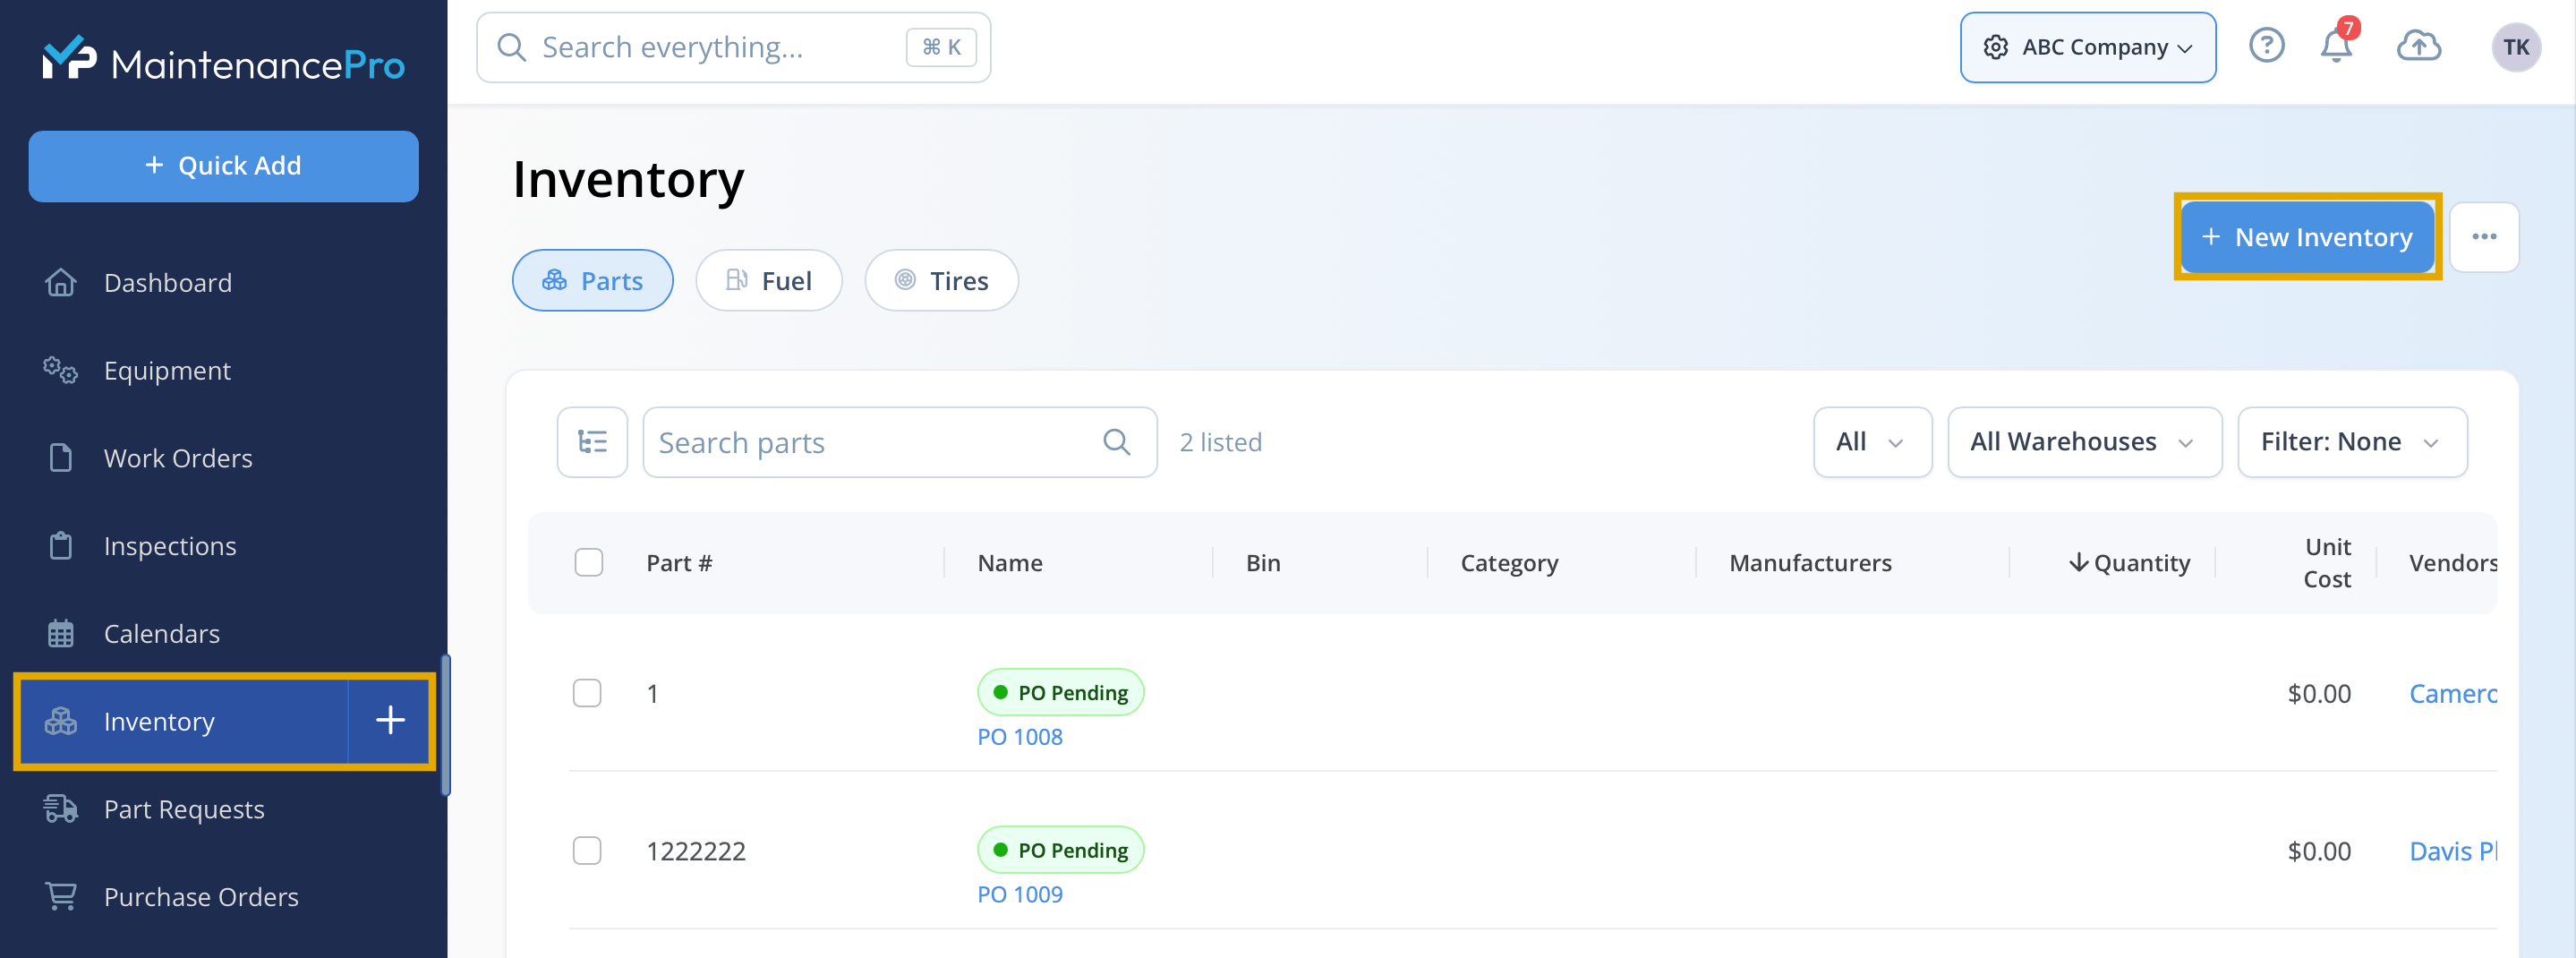
Select Inventory from the left menu to access the inventory module. From the Inventory screen, select the + New Inventory button to open the New Inventory screen and create a new part record.

- Part Number – Used when adding the part to Work Orders and other areas in the system. Each inventory entry must have an associated part number.
- Name – The name of the part.
- Description – Any additional information about the part.
- Category – Used to organize types of parts.
- Unit Type – The most common unit type is Each. For fluids or other units, type a new value and select Add.
- Track Inventory – When checked, the quantity of the part will be monitored, and alerts will be sent when stock levels are low.
- Fuel Tank (Enterprise only) – Adds a new fuel tank to the system. Click this link to find out more information about the fuel tank management feature.

Adjust Part Quantity
To adjust part quantity, select the action gear from the Inventory list.

- Receipt – Increases the quantity of a part.
- Issuance – Decreases the quantity of a part.
- Purchase Order – Creates a Purchase Order record used to track orders from a vendor.
- Transfer – Moves quantities of the same part number from one warehouse to another.
Part Receipts
Selecting Receipt from the action gear opens the Receipt screen.

Enter the quantity received and the unit cost. Additional fields may be completed as needed. Select Save to add the quantity to the part.
The updated quantity will appear in the Receipts tab on the part profile screen.

Part Issuances
When parts are used on Work Orders, the quantity used is automatically deducted from the current stock level. To manually reduce the quantity, an Issuance must be created.
Selecting Issuance from the action gear opens the Issuance screen.


A part can be issued to equipment if desired. To reduce quantity without assigning it, leave the equipment field unselected. Enter the date, quantity, and a description, then select Save to deduct the quantity from the part stock.
All part issuances, including both manual issuances and those from Work Orders, appear in the Issuances tab on the part profile screen.

Creating A PO
Maintenance Pro provides the ability to issue a Purchase Order for a part in inventory. Part receipts can be recorded directly from the Purchase Order window.
To create a new Purchase Order:
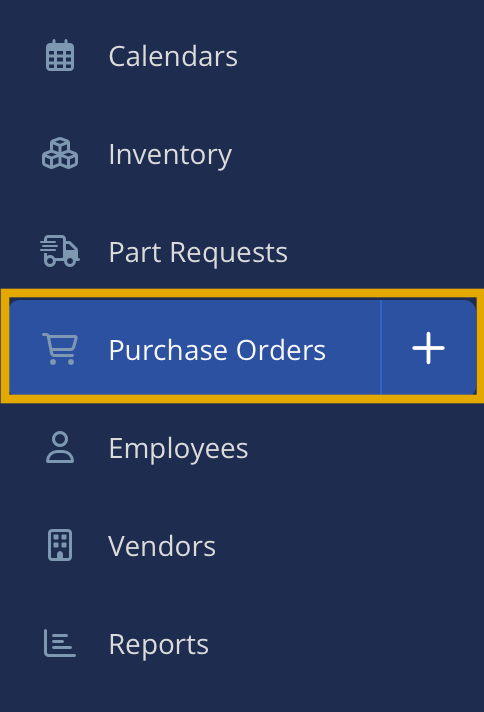
Click the + icon next to Purchase Orders.
Fill out the required information and press Save.

This will open the Edit Purchase Order screen.

Type to search for the part to be added.
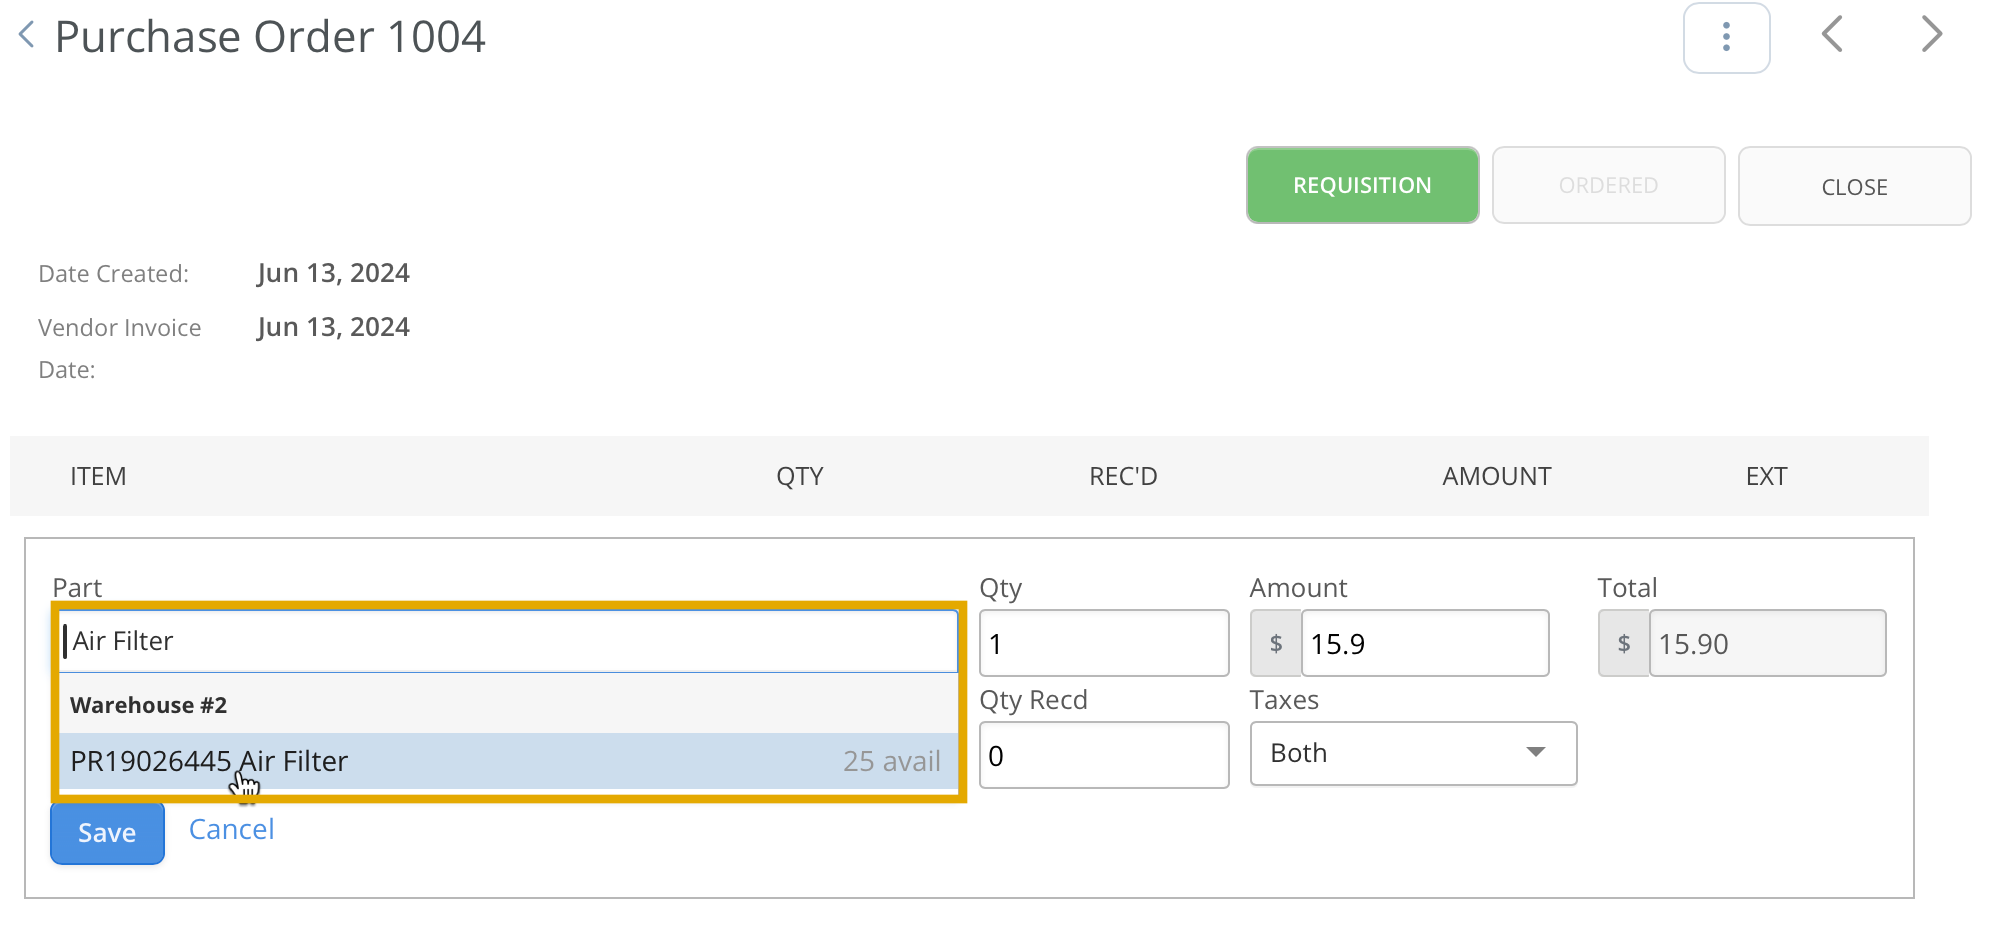
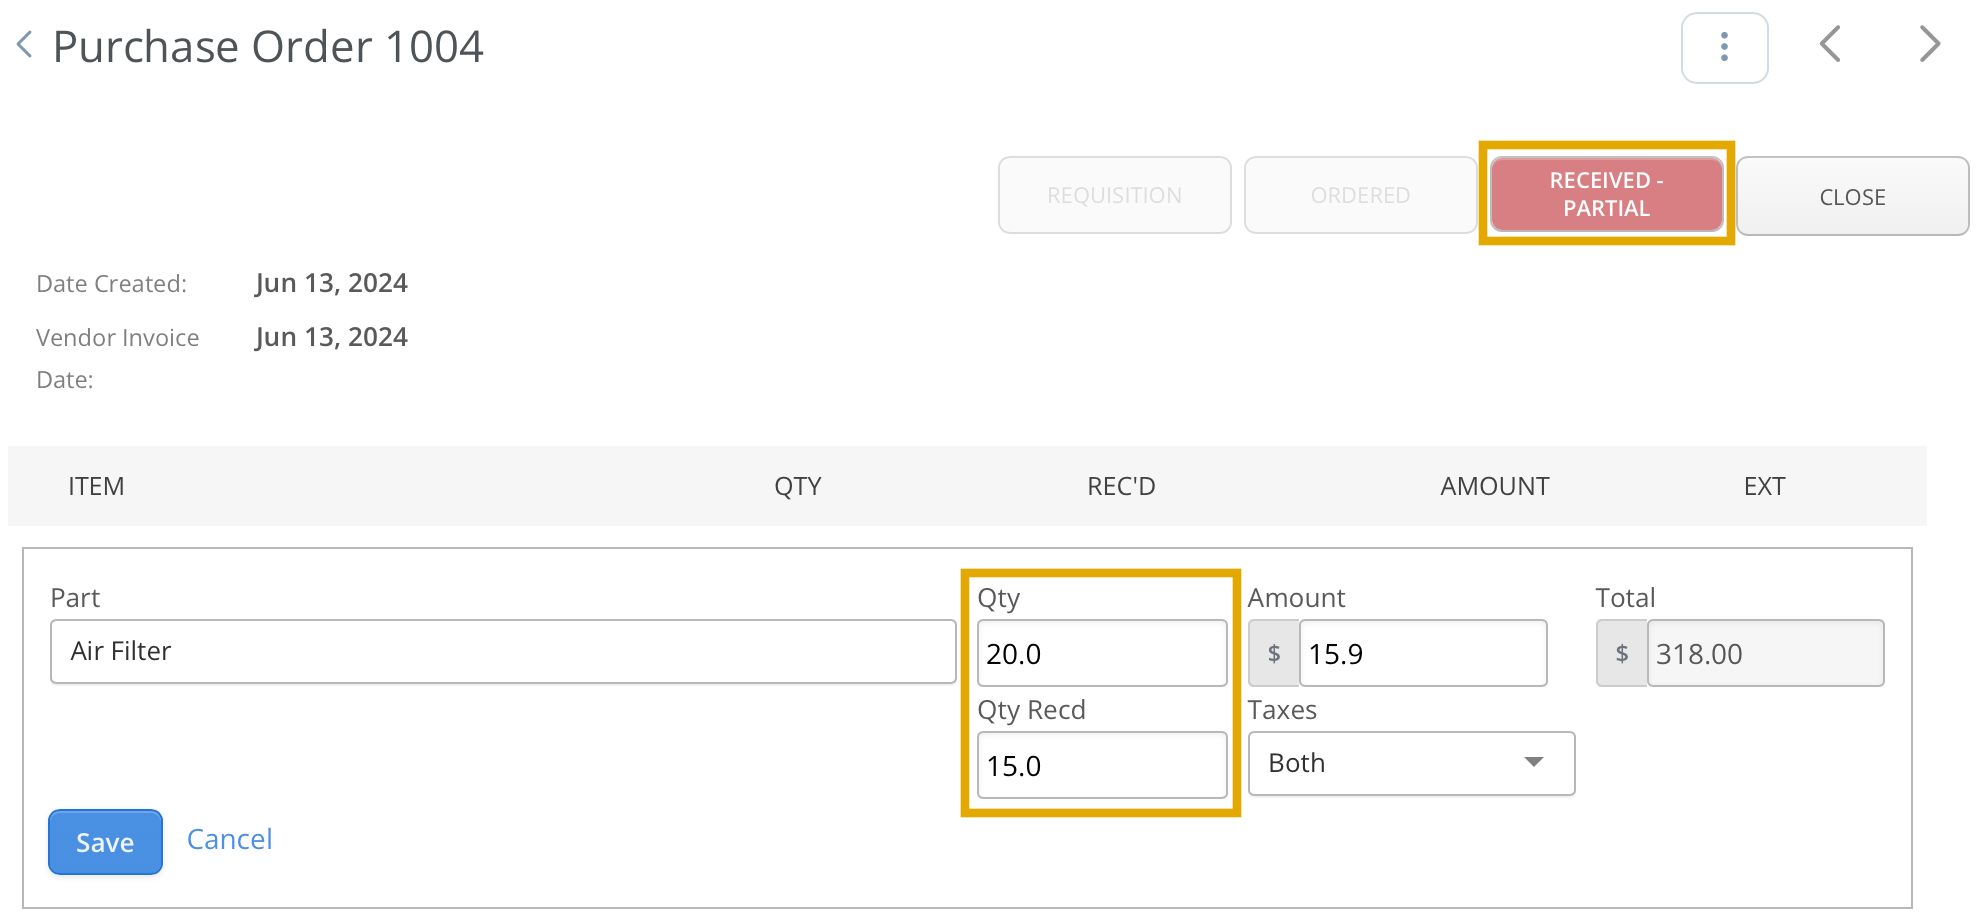
The status can be set in the top-right corner, similar to a Work Order. The ordered quantity is automatically populated from the Reorder Qty field in the part’s settings.
Items can be received by clicking the Received button.
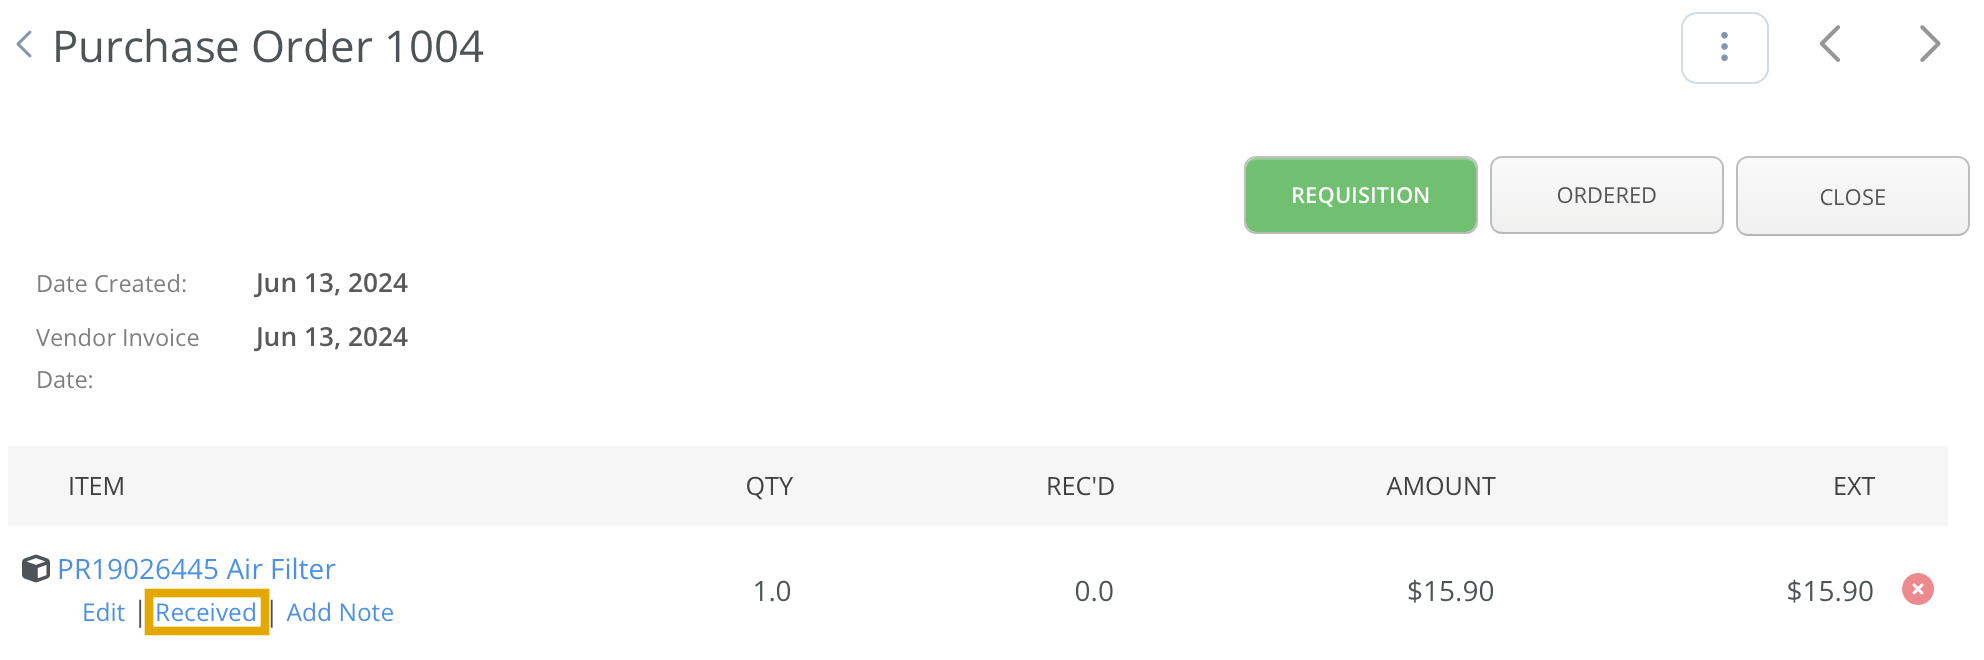
Receiving a quantity less than the ordered amount updates the Purchase Order status to Received – Partial.
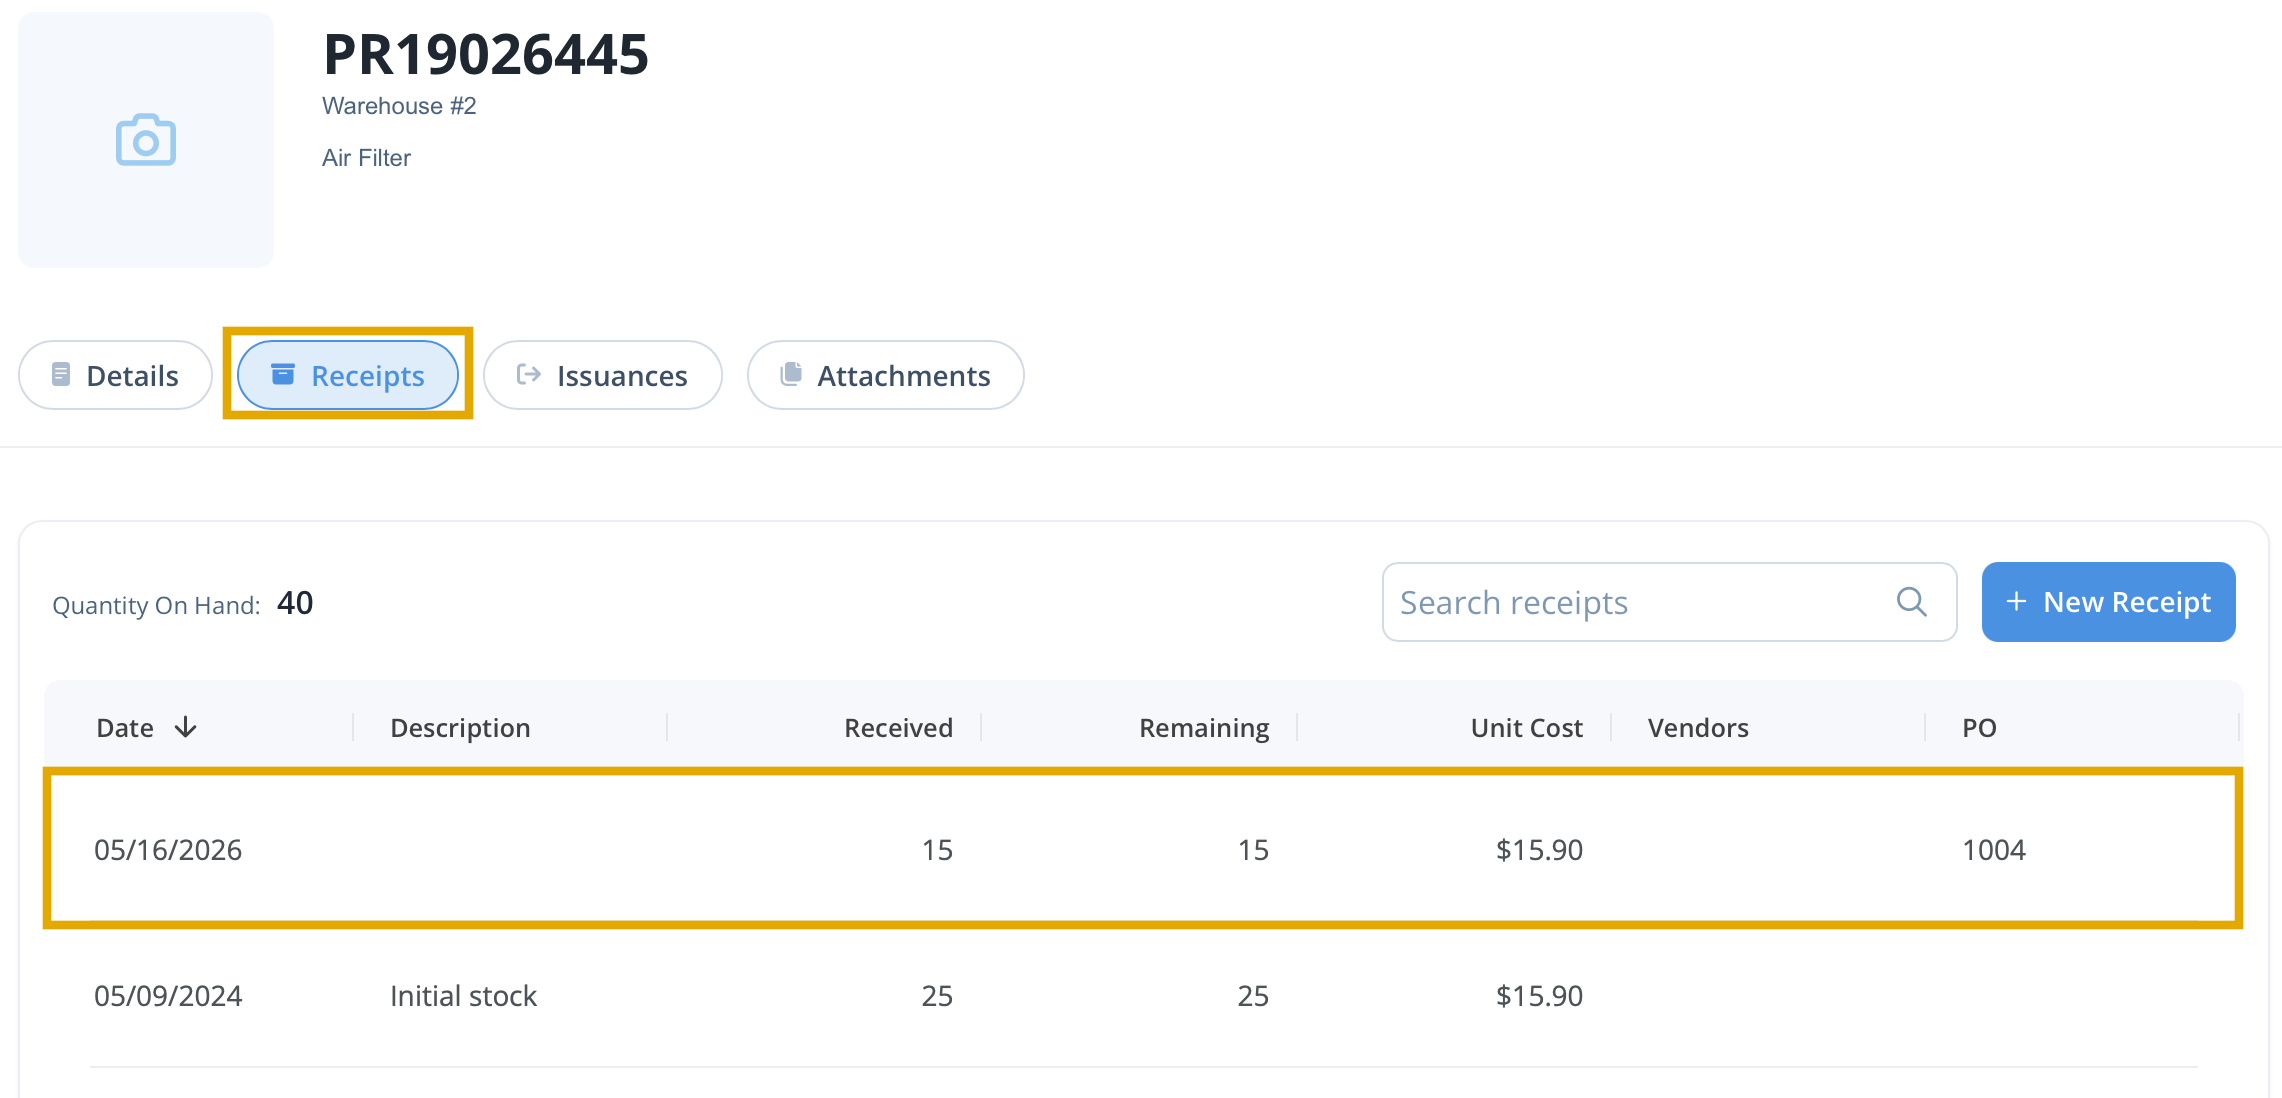
Closing the Purchase Order automatically receives any remaining quantity and adds it to the part’s inventory.
The part’s history will display a receipt corresponding to the quantity received from the Purchase Order.
Assign Parts to Equipment
Parts can be assigned directly to equipment records to simplify inventory tracking and streamline work order creation.
Navigate to the equipment record that requires a part assignment, select the Parts tab, and then click the + New button.
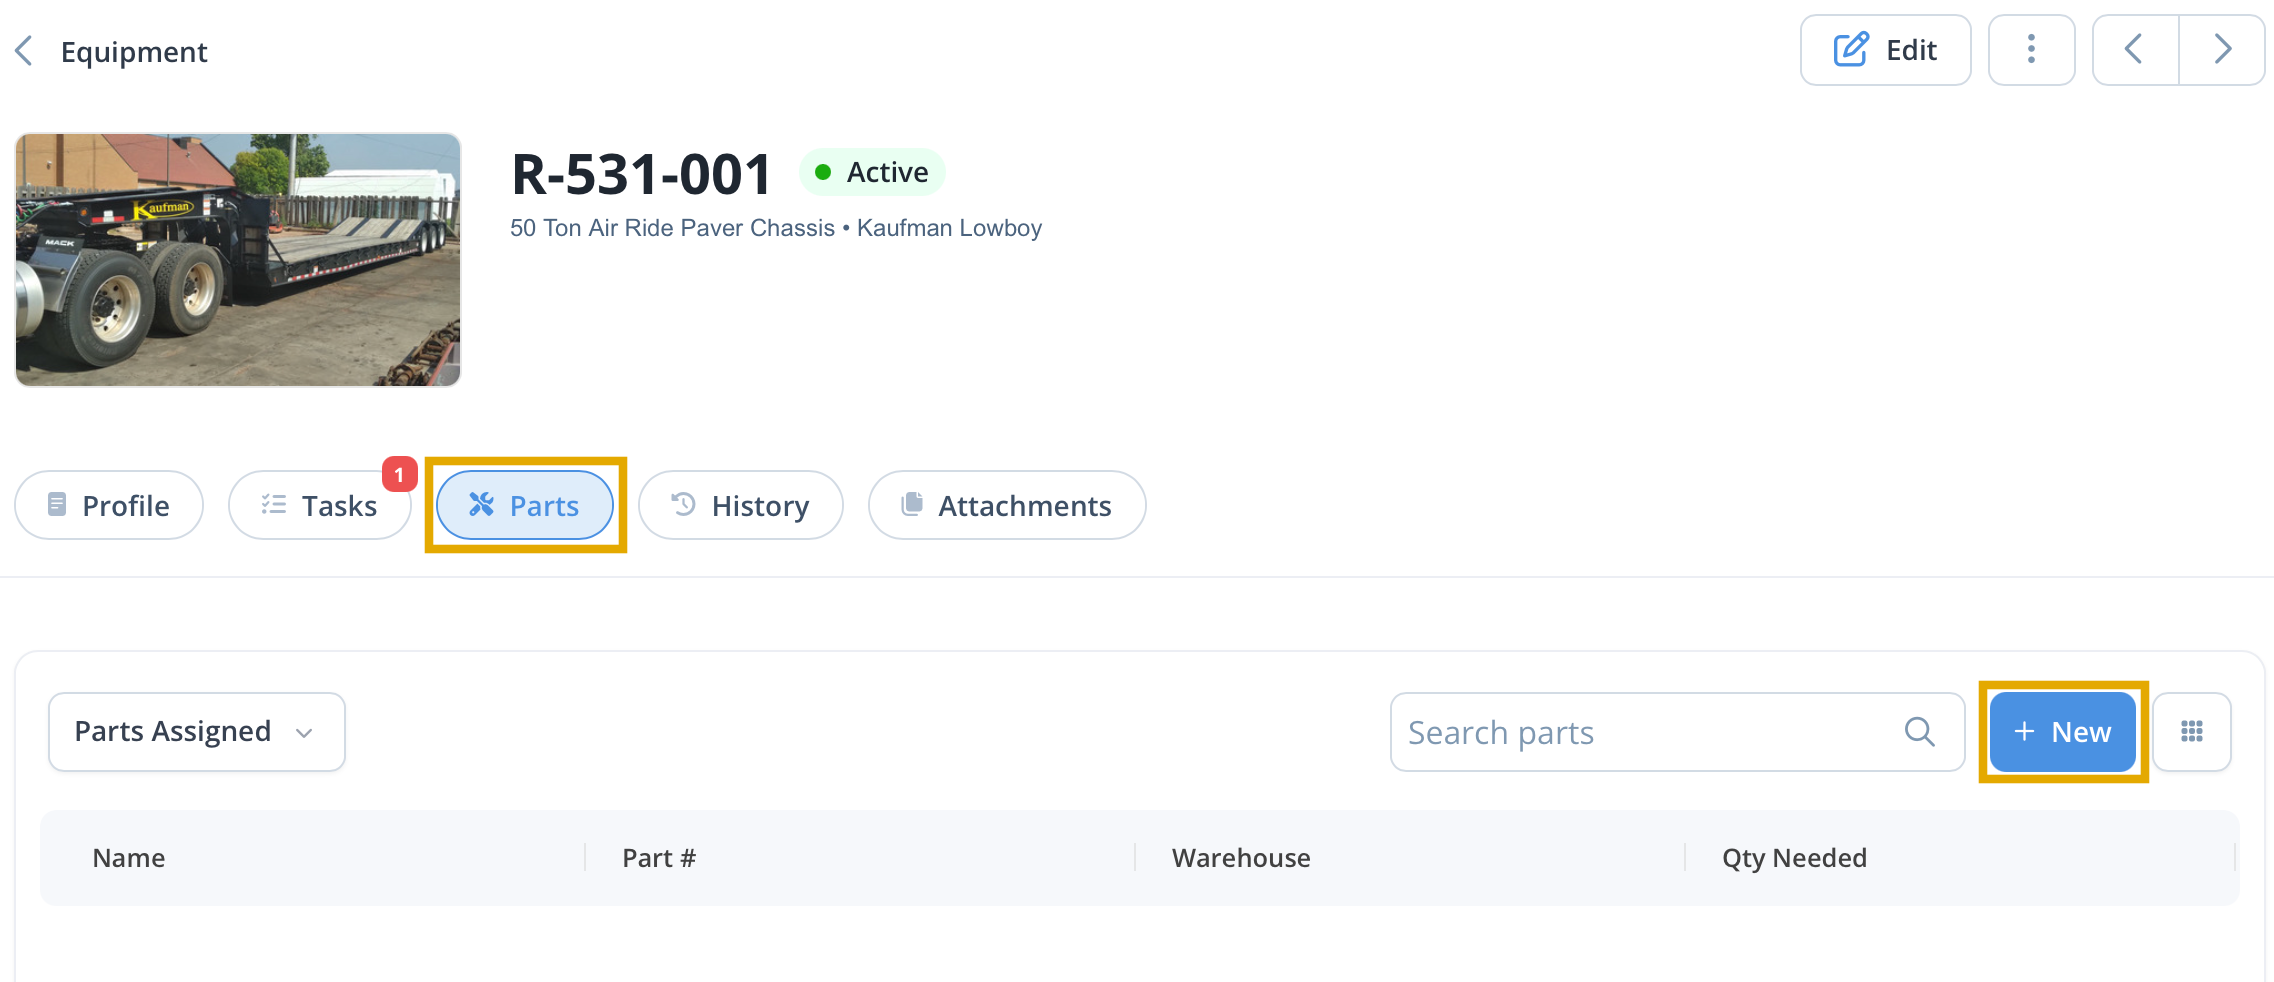
Complete the following fields:
- Part Number/Name – Select the part to be associated with the equipment.
- Part Association (Optional) – Select a task to automatically associate the part with matching work orders.
- Quantity – Enter the quantity of the selected part assigned to the equipment.
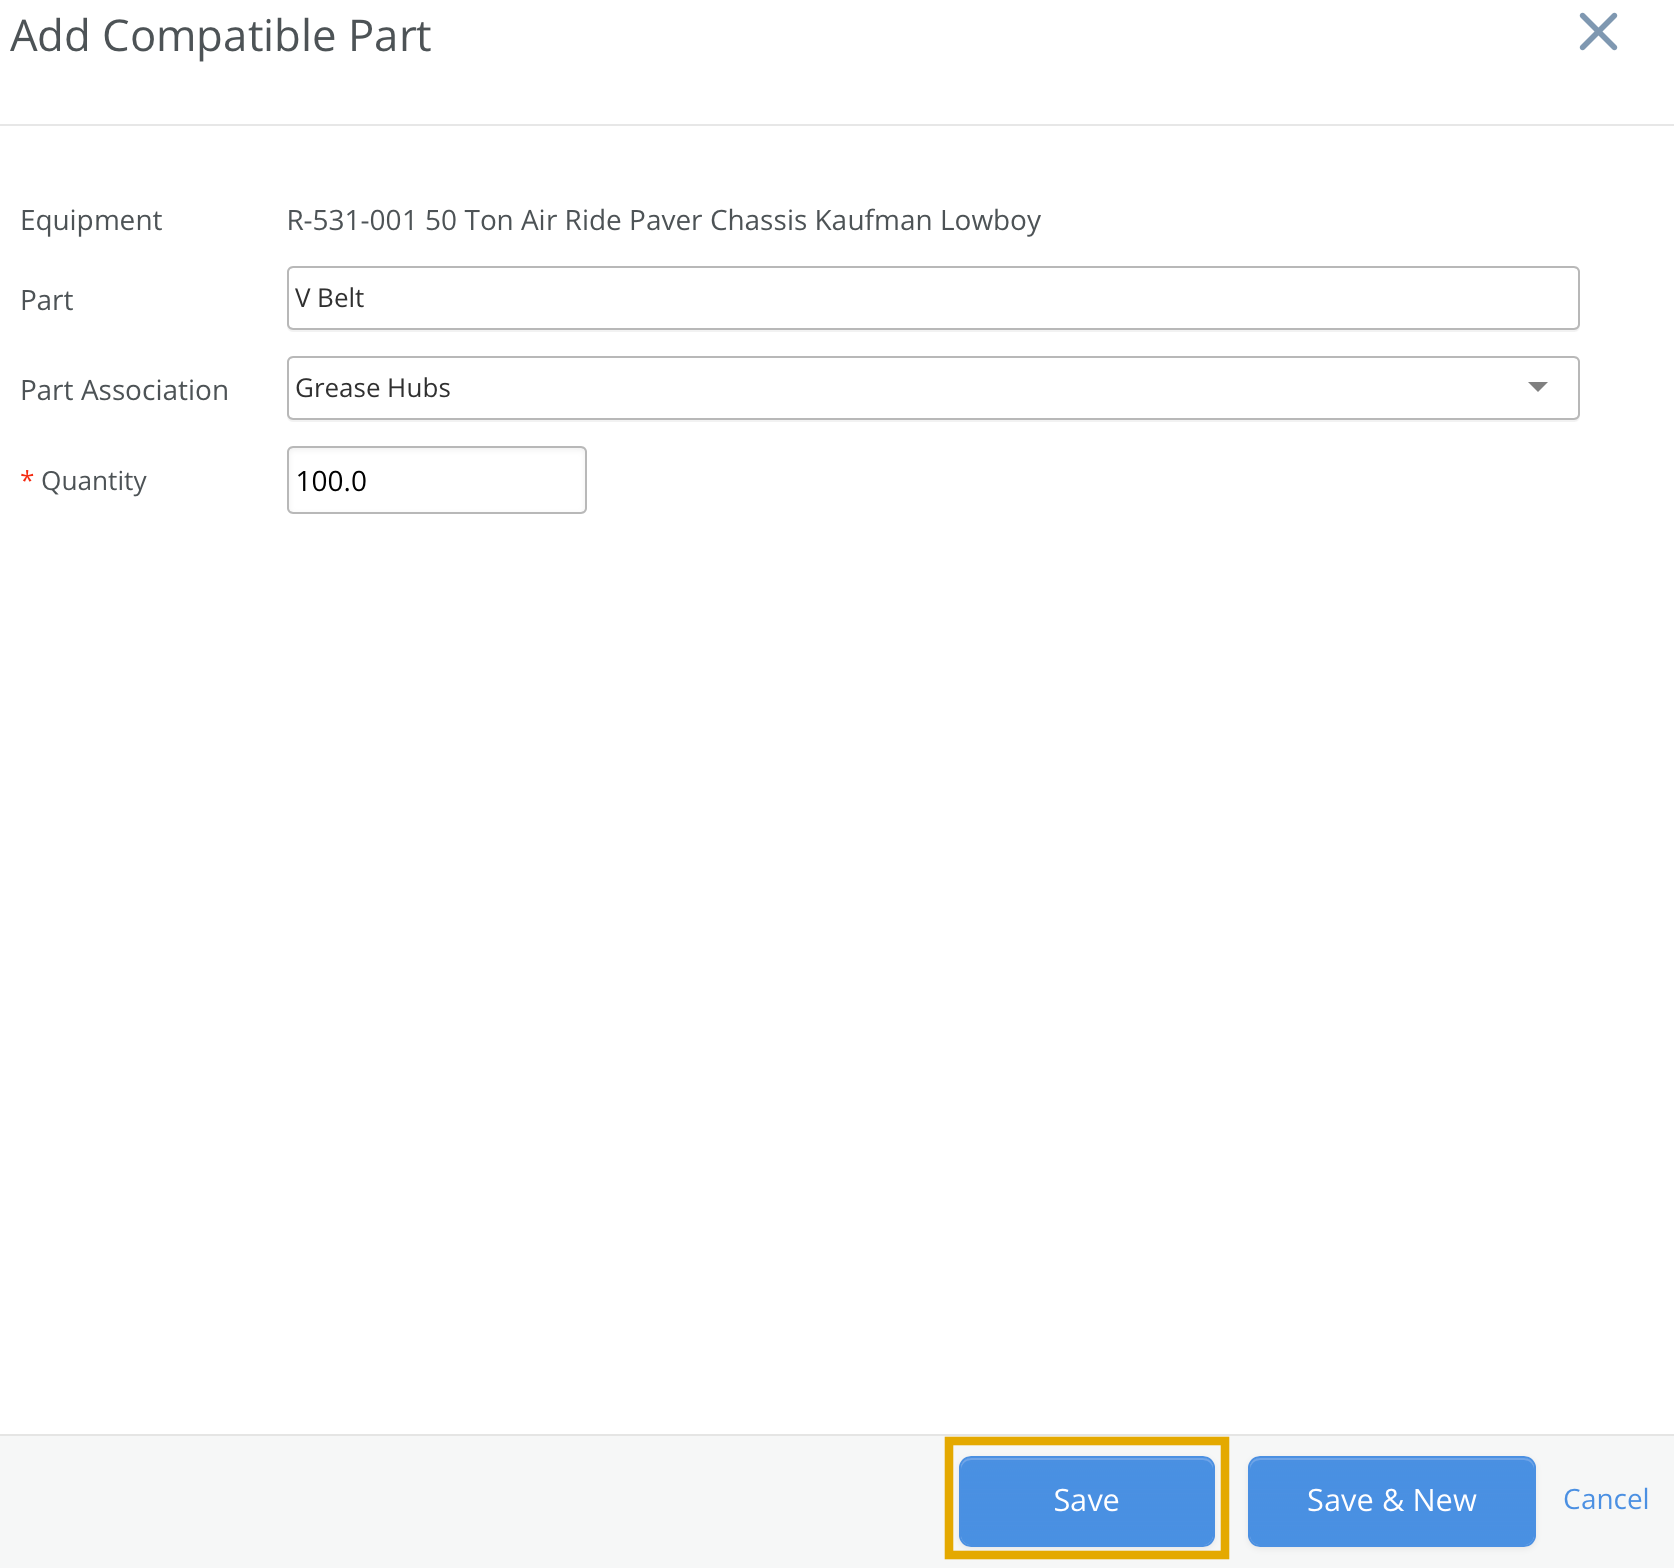
Click Save to add the part to the equipment record.
The part will now appear in the equipment's Parts list and can be used for inventory tracking and automatic work order associations when applicable.