Fuel Tank Management (Enterprise)
⛽ Fuel Tank Management Overview
Fuel Tank Management is an Enterprise-only feature in Maintenance Pro. This module allows efficient tracking of on-site fuel tank inventory. Each tank can be added to the Inventory list with a defined capacity. Fuel receipts increase tank quantity, while fuel transactions decrease it. Real-time levels provide visibility into which tanks require refueling.
➕ Add a New Fuel Tank
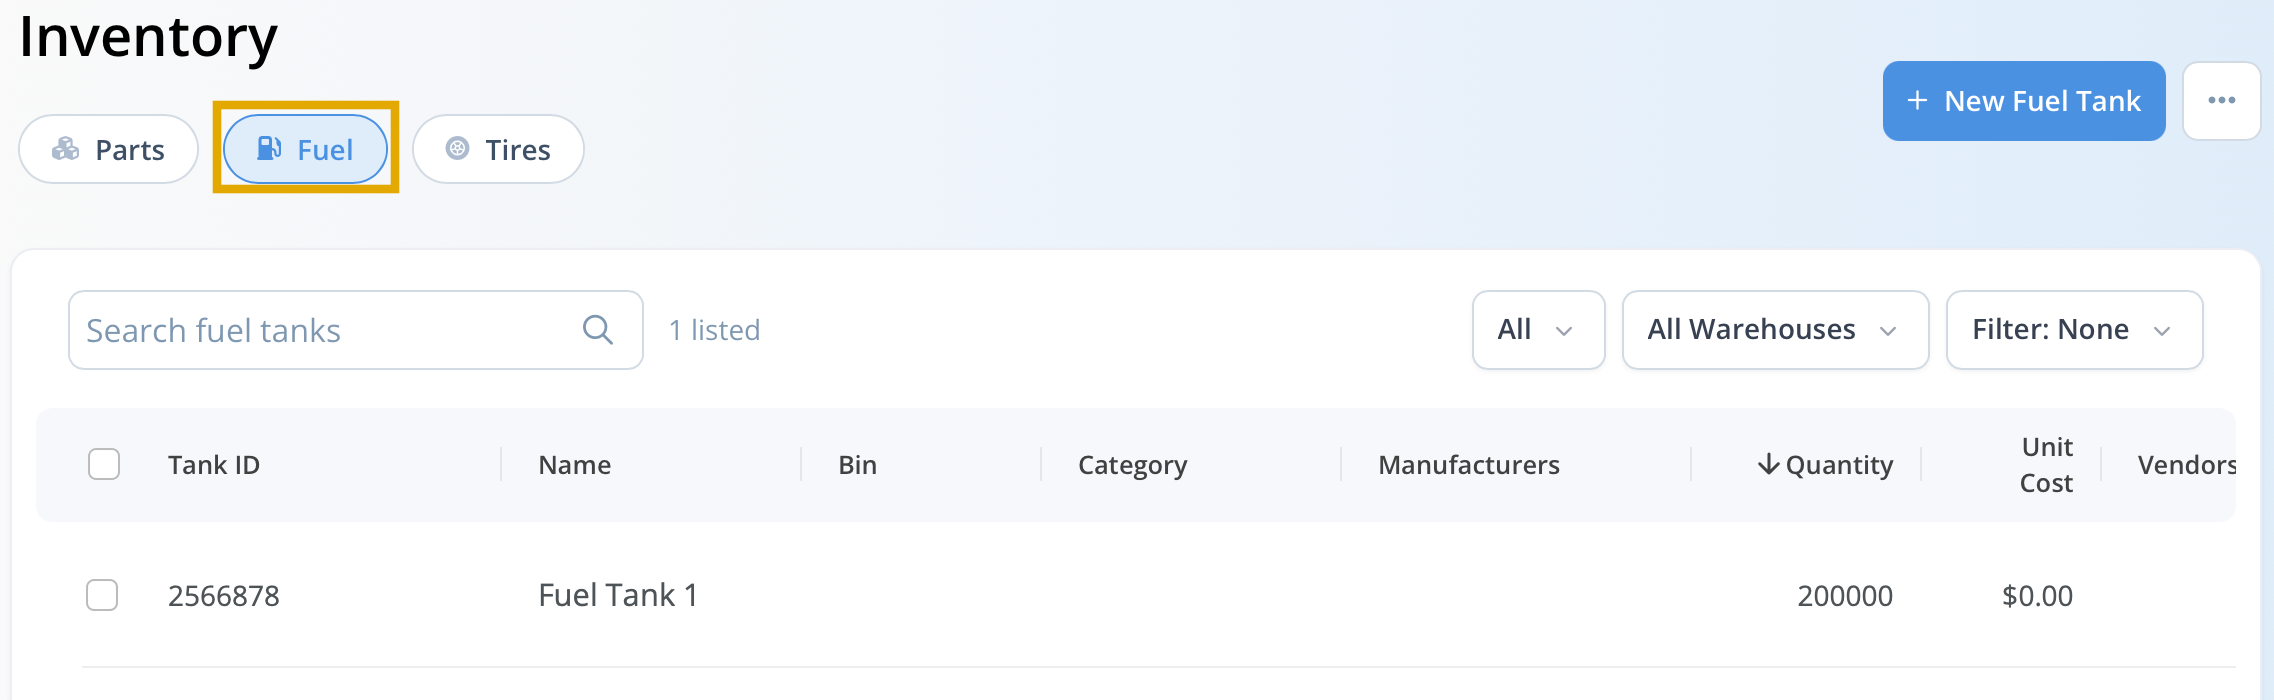
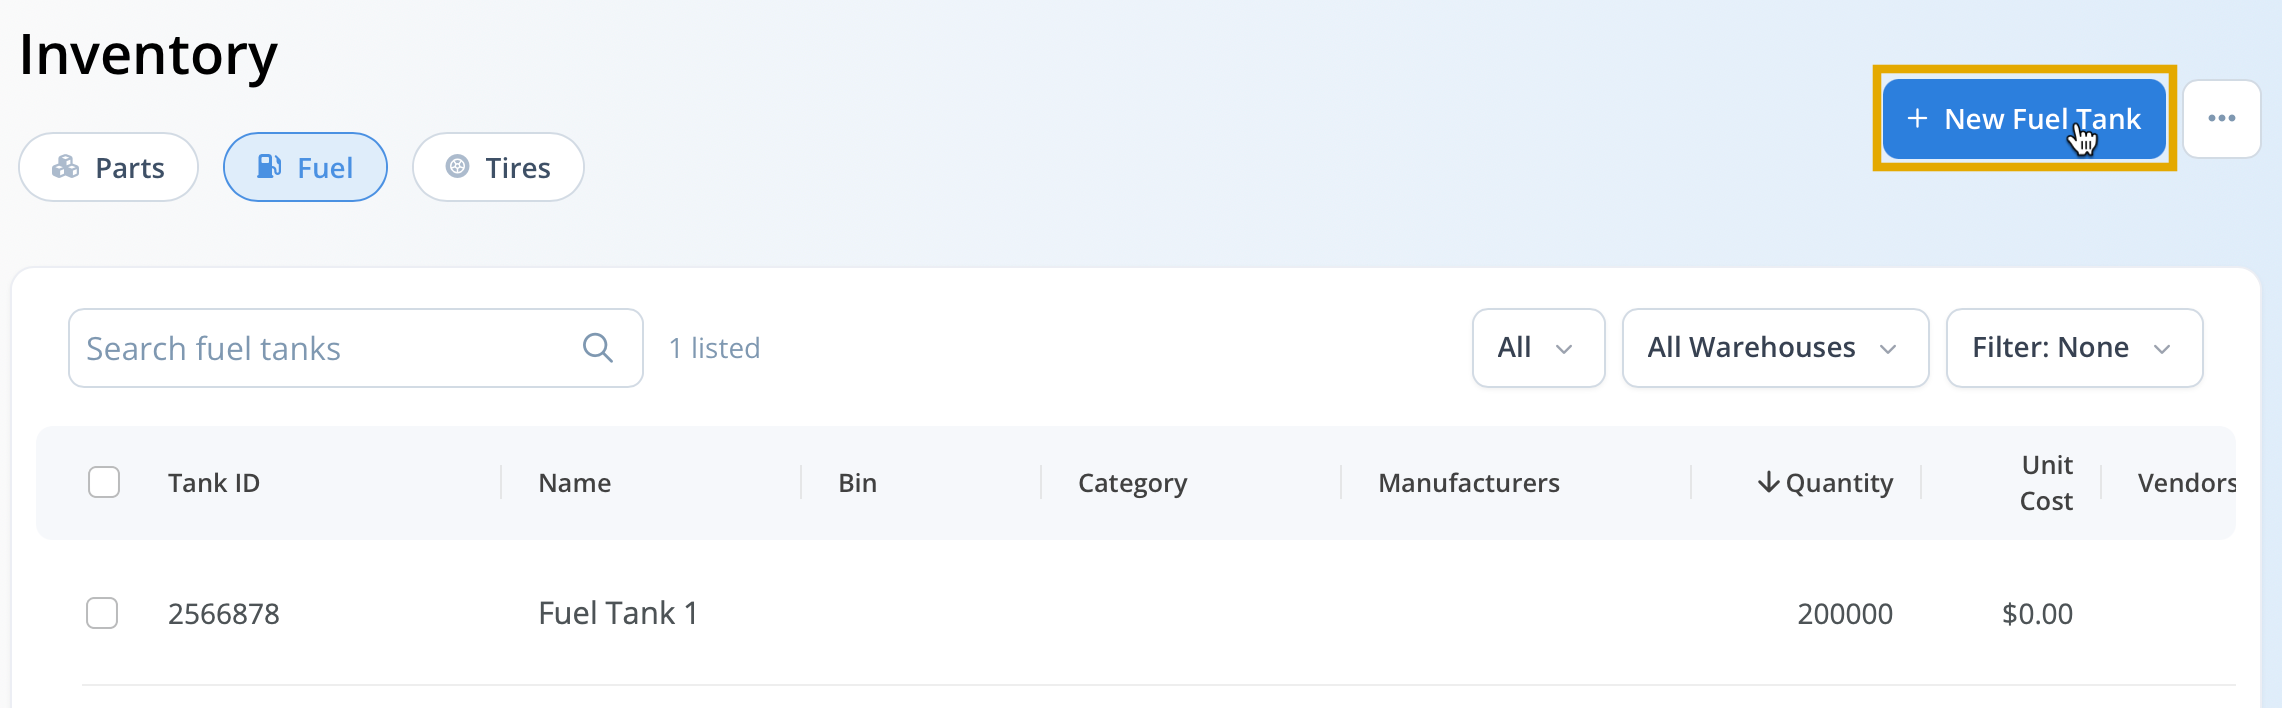
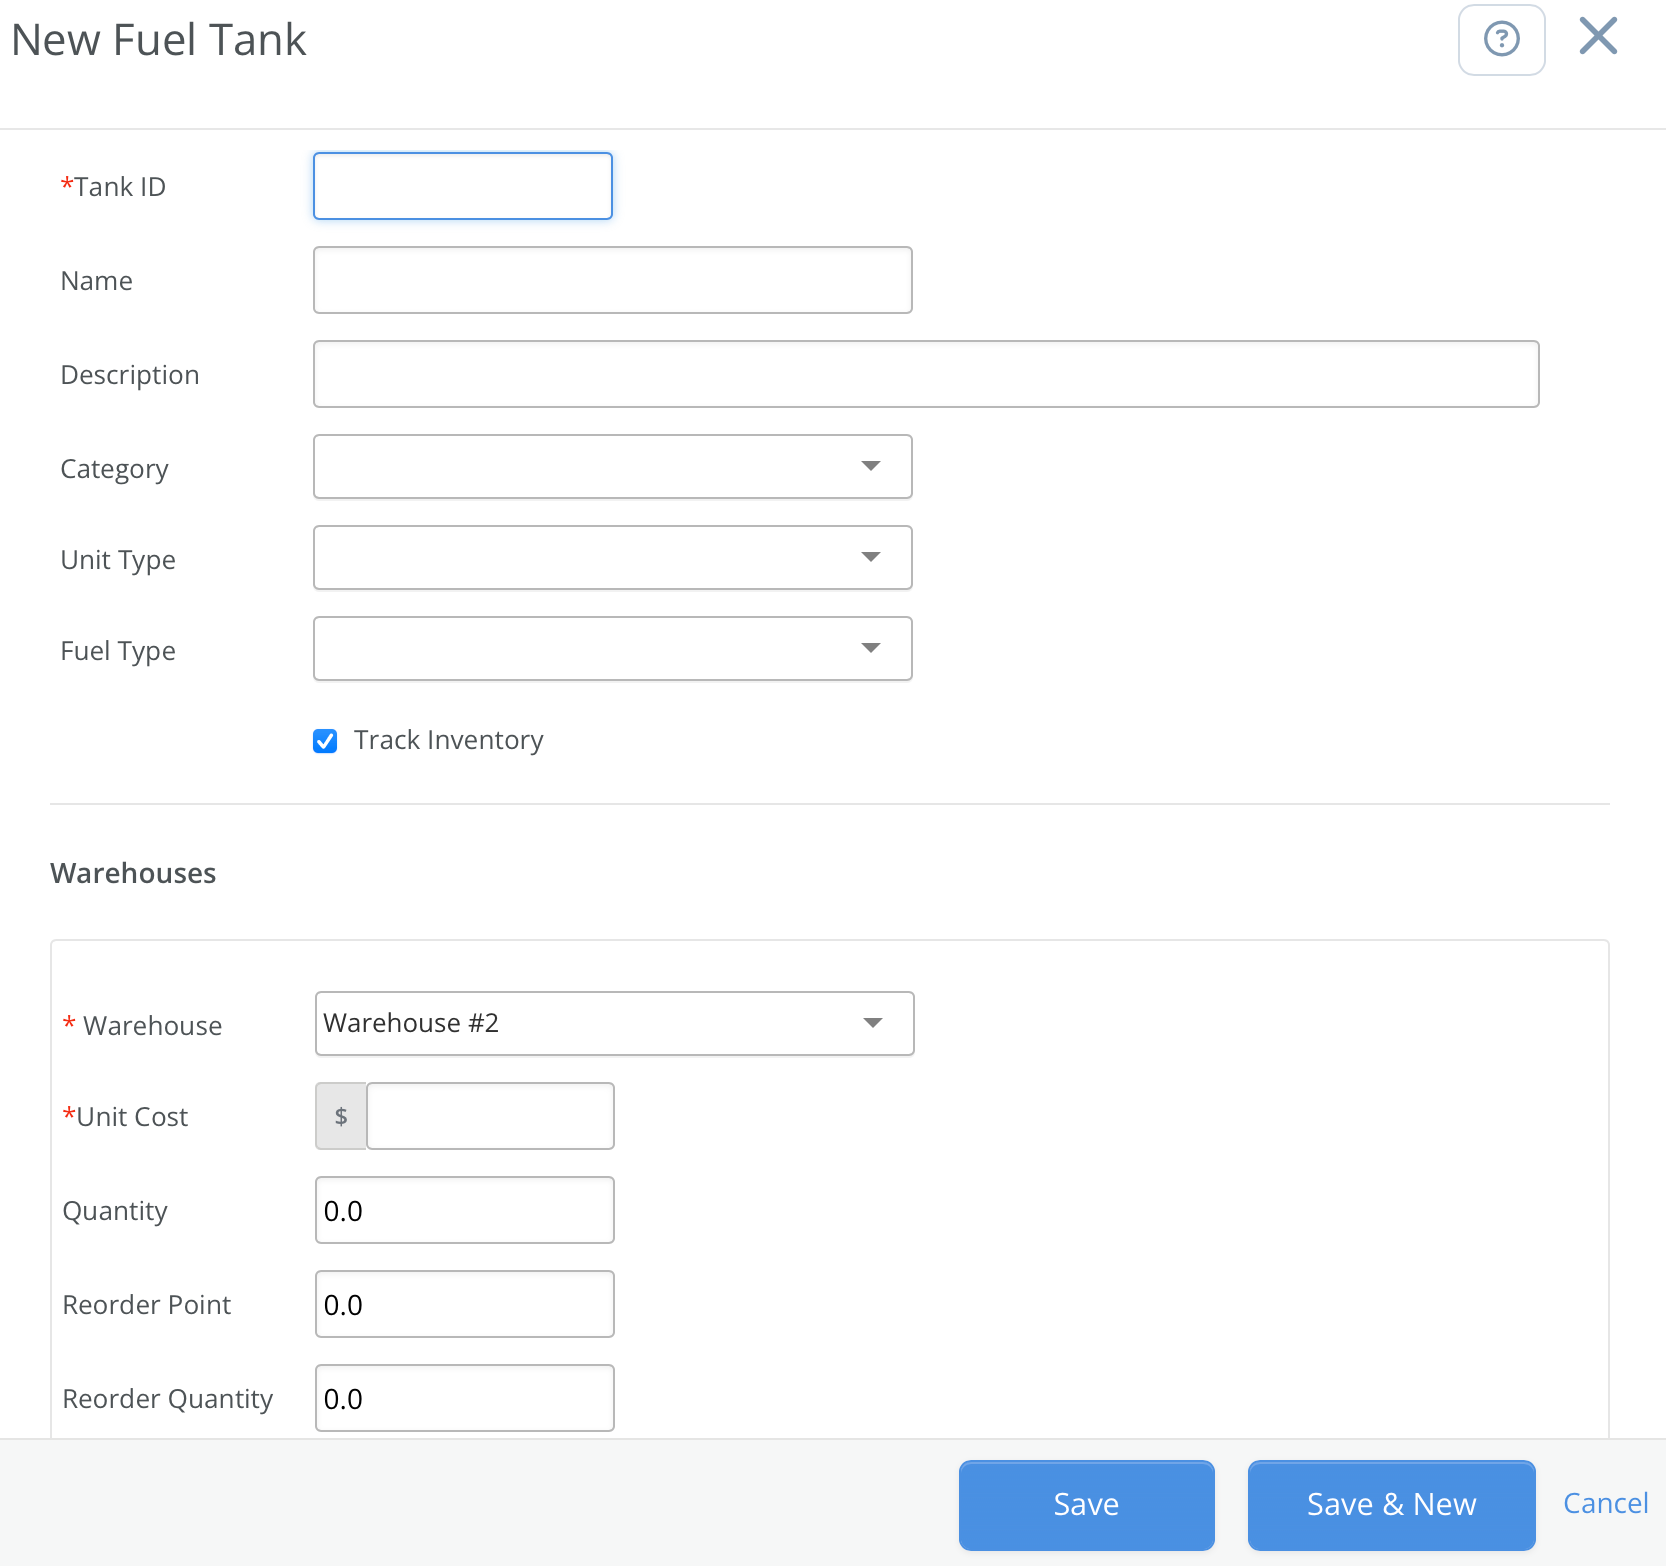
To add a new fuel tank in Maintenance Pro, navigate to Inventory → Fuel. If the Fuel tab is missing, Fuel Tank Management is not enabled—please contact support@mtcpro.com. Select New (top-right) and complete the required and optional fields below.
- Tank ID (required): Short identifier for the tank.
- Name / Description (optional)
- Category (optional)
- Fuel Tank checkbox: Ensure this is selected; otherwise, the item is treated as a standard inventory part.
- Warehouse: Physical tank location.
- Unit Cost: Used only if quantity is not tracked.
- Track Inventory: Enable to monitor fuel levels.
- Quantity on Hand: Initial volume (recommended to leave at 0 and add via a receipt later).
- Reorder Point: Low-level threshold (e.g., 500).
- Reorder Quantity: Typical refill amount.
- Capacity: Maximum tank volume.
- Vendor: Optional default vendor.
Select Save to add the tank.

✏️ Edit or Delete Fuel Tanks
To modify an existing fuel tank, navigate to Inventory → Fuel and select the tank you wish to update. Choose Edit, make any necessary changes, and select Save.
- Open the Gear menu and select Delete to remove an unused tank.
- Deletion is unavailable if the tank has existing transactions.
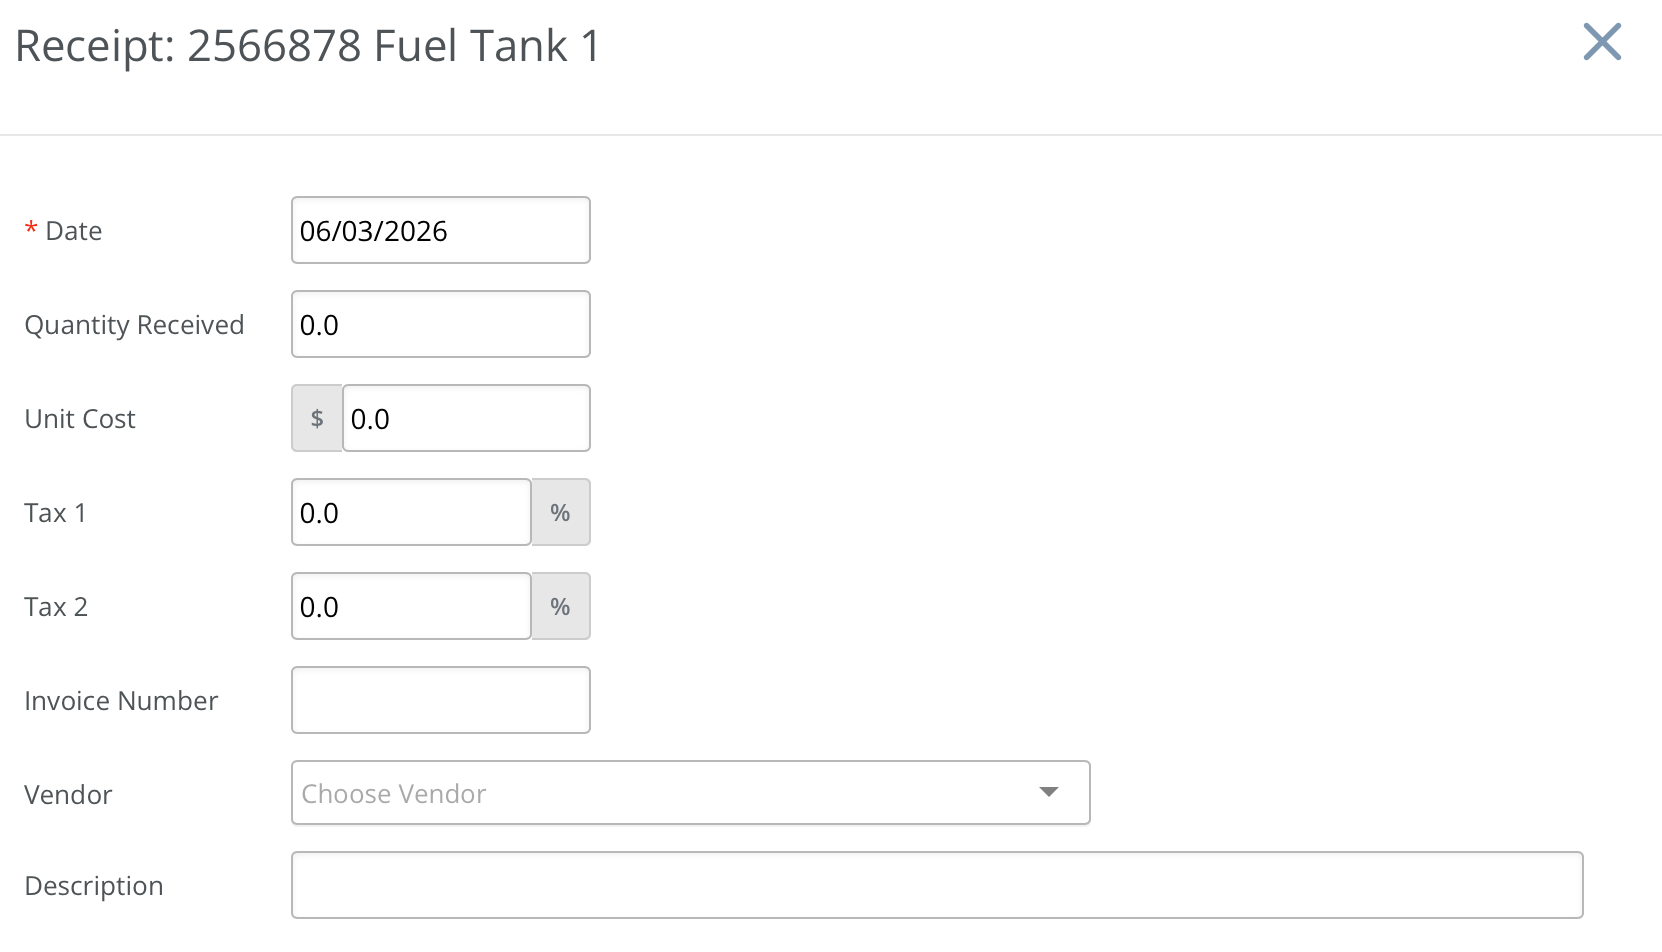
➕ Add Fuel (Receipt)
From the tank list, open the Gear menu and select Receipt.
Enter:
• Date
• Quantity Received (gallons/liters)
• Unit Cost
• Optional: tax rate, invoice number, vendor, description
Select Save to increase the tank’s quantity.
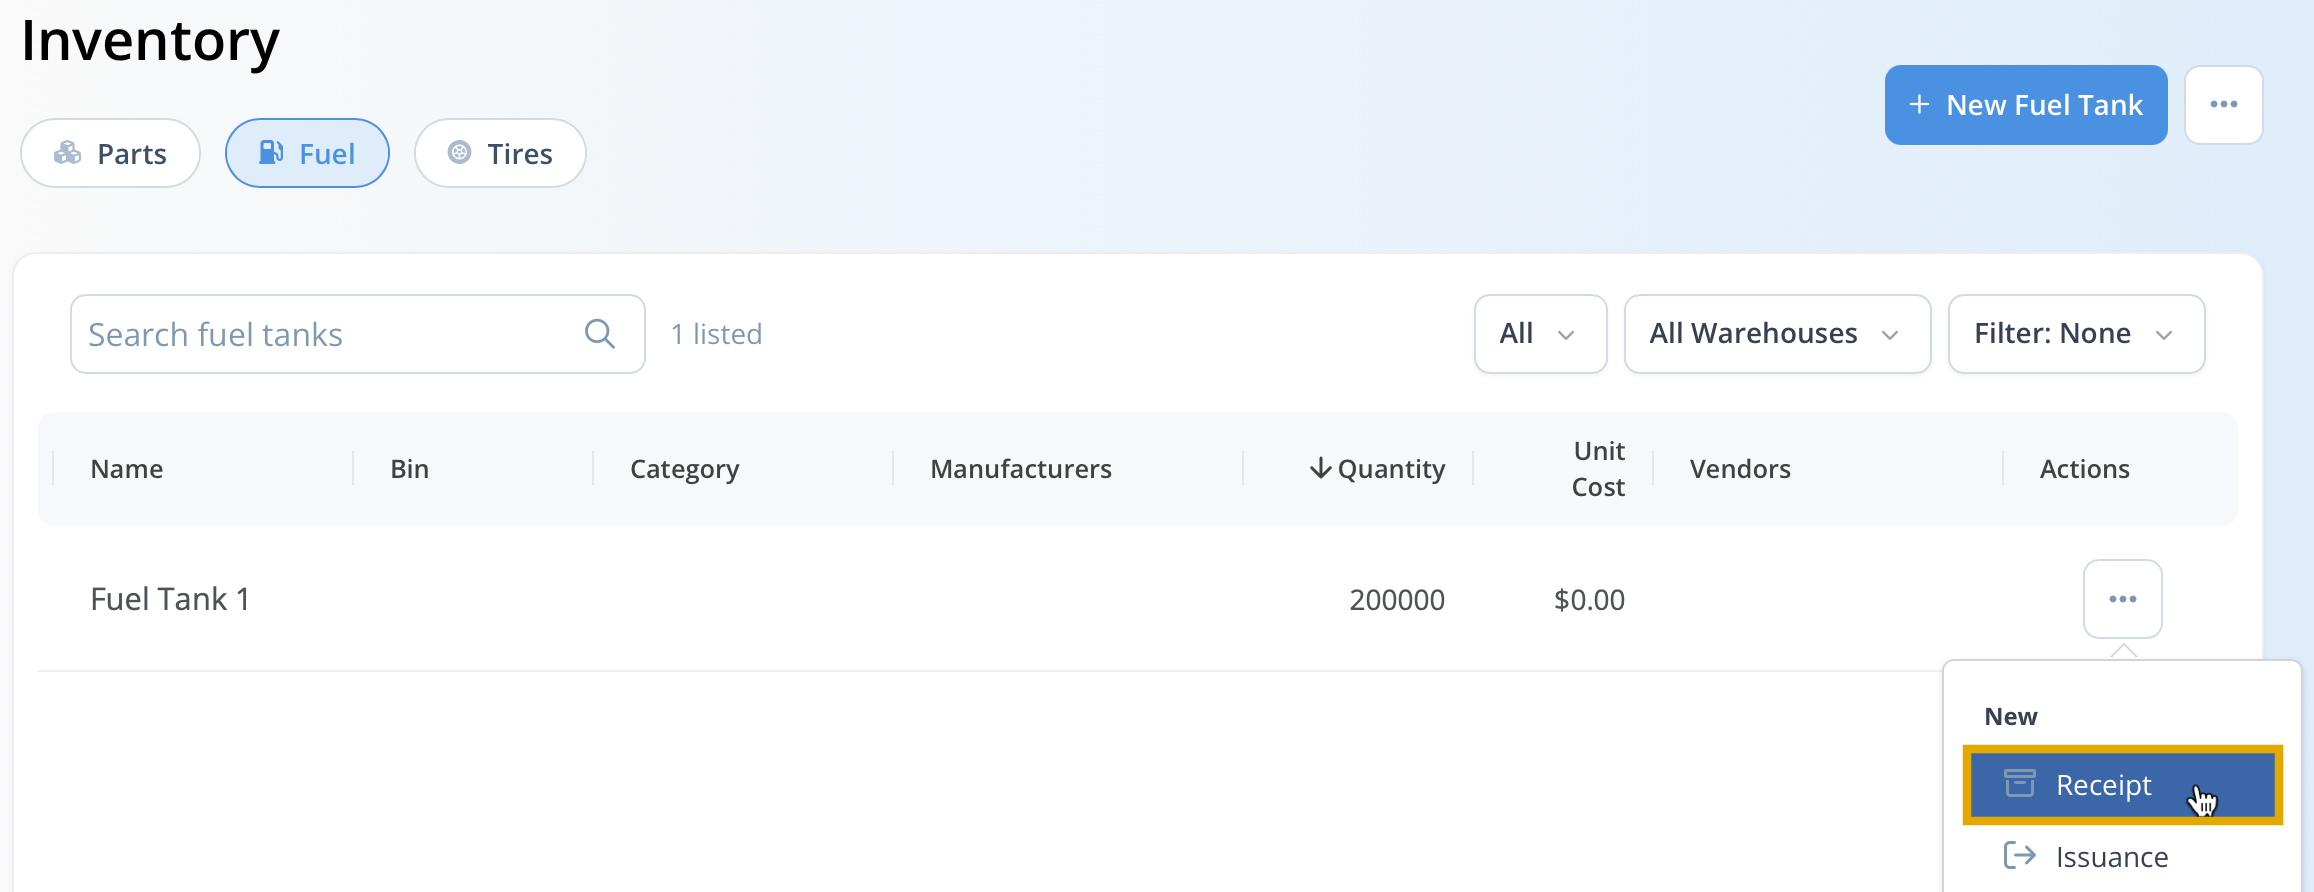
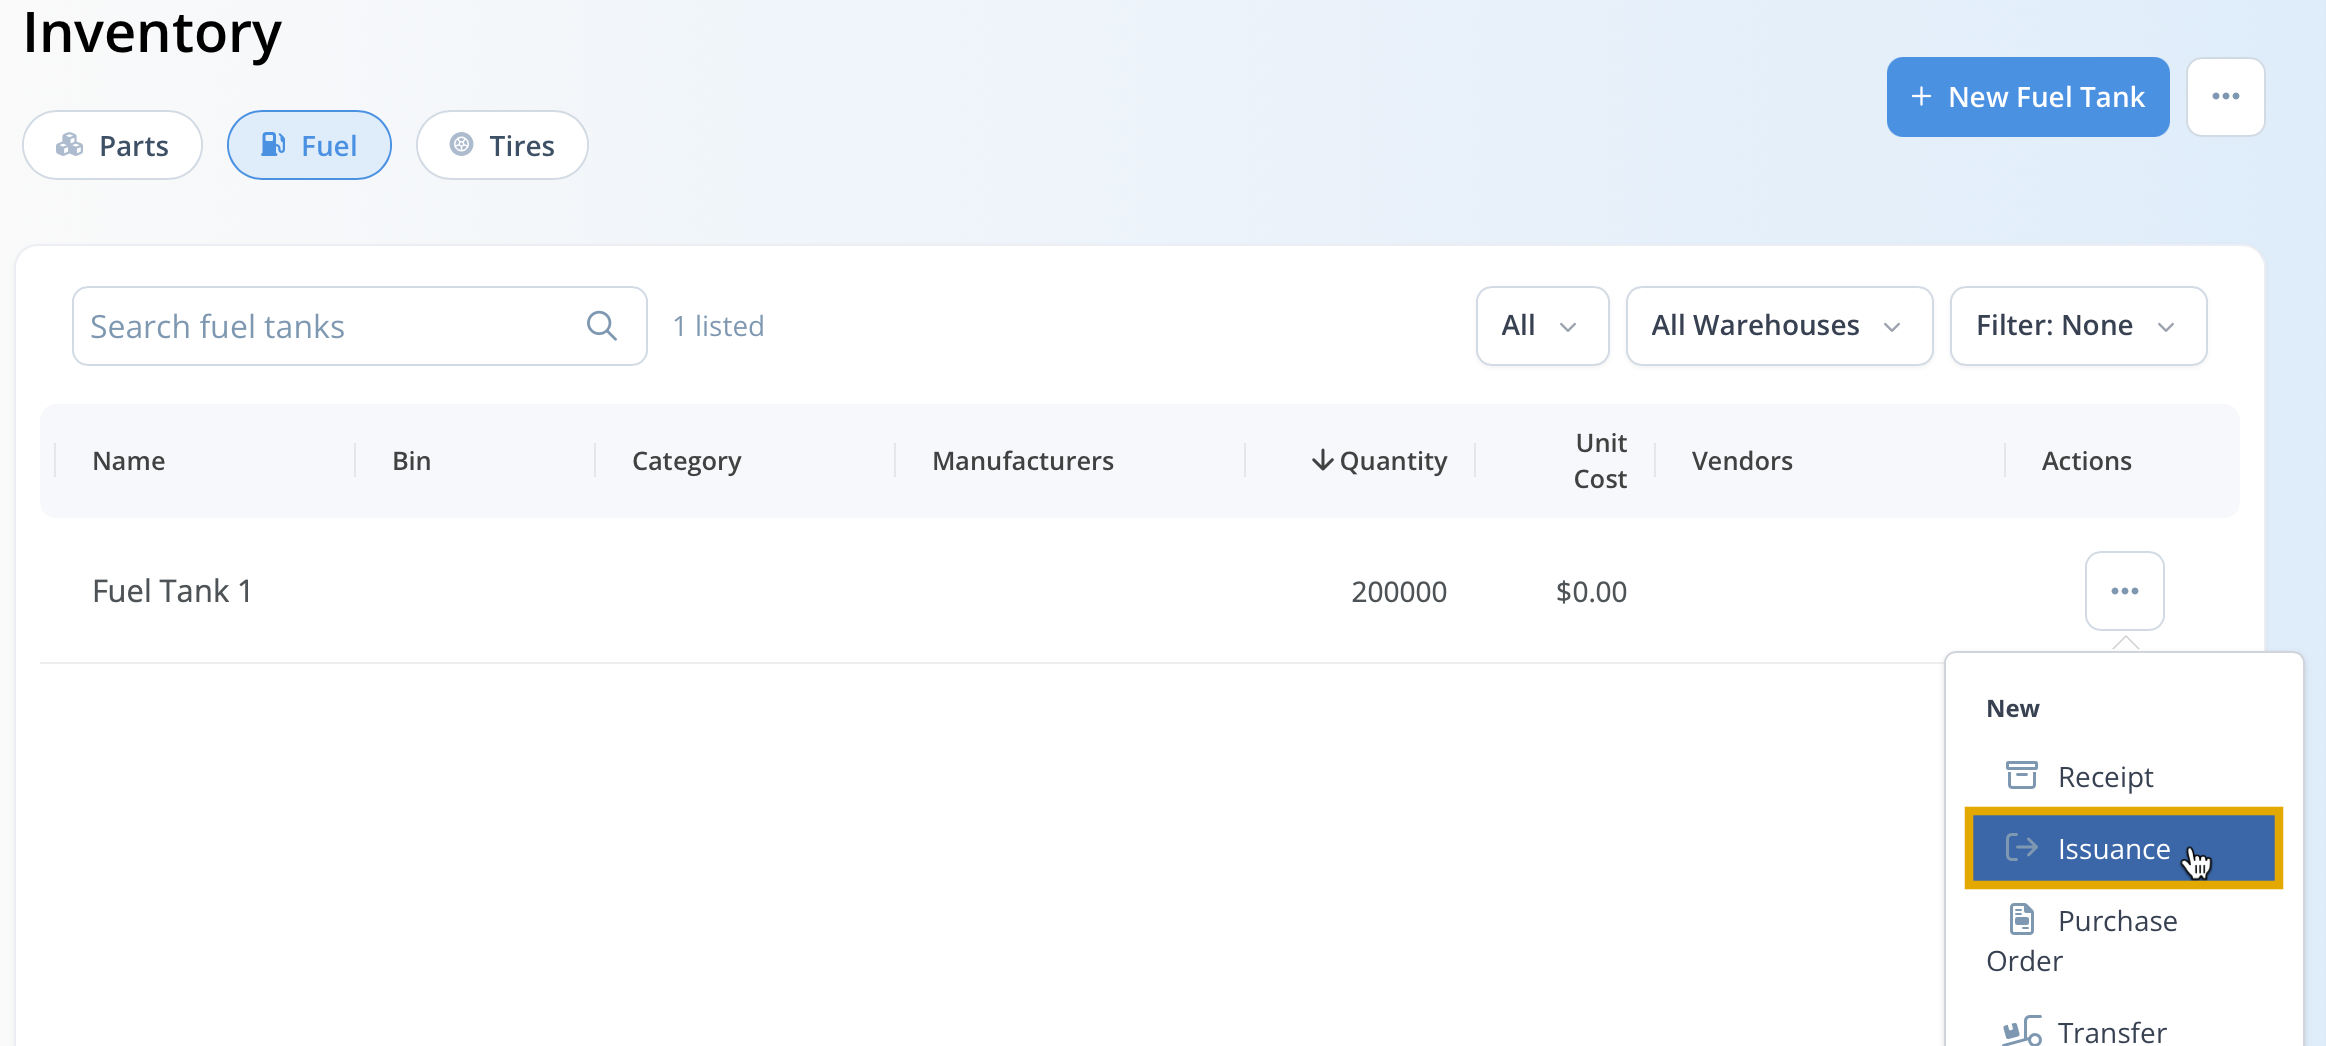
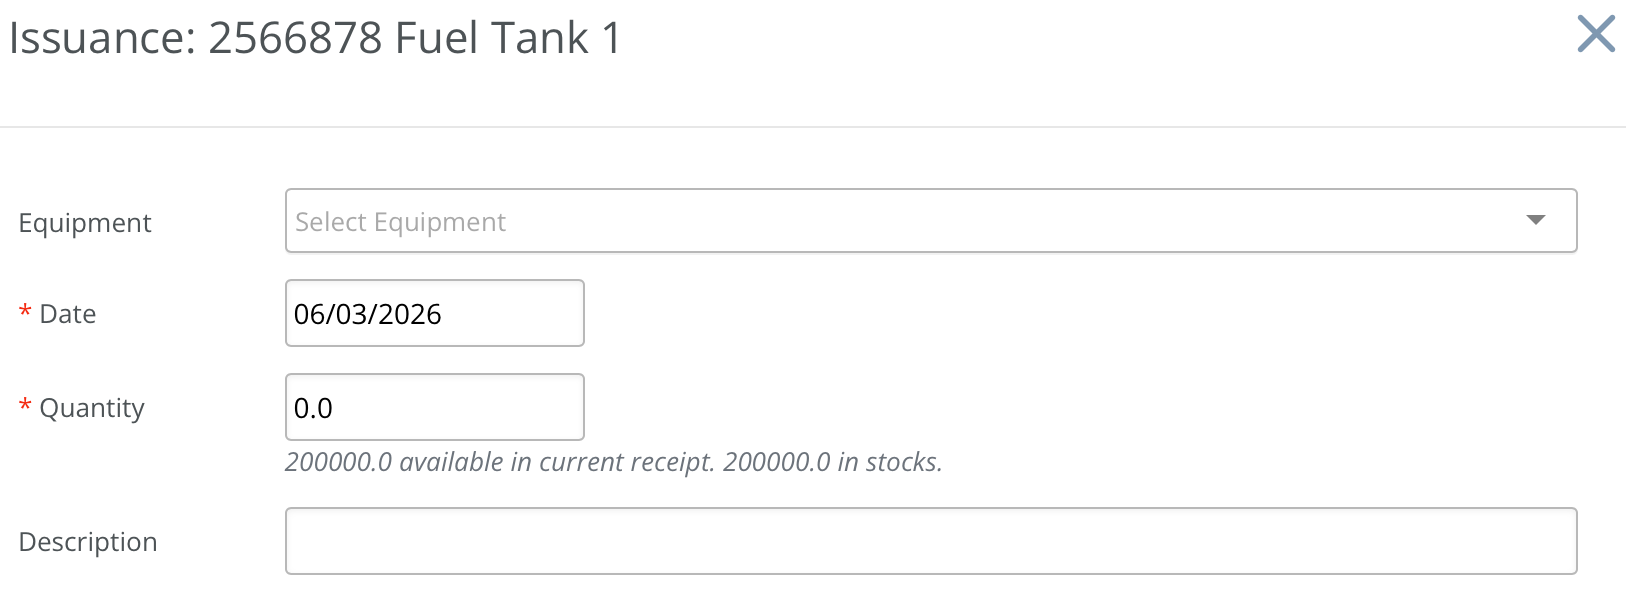
➖ Subtract Fuel (Issuance)
From the tank list, open the Gear menu and select Issuance.
Enter:
• Date
• Quantity Removed (gallons/liters)
• Select Save
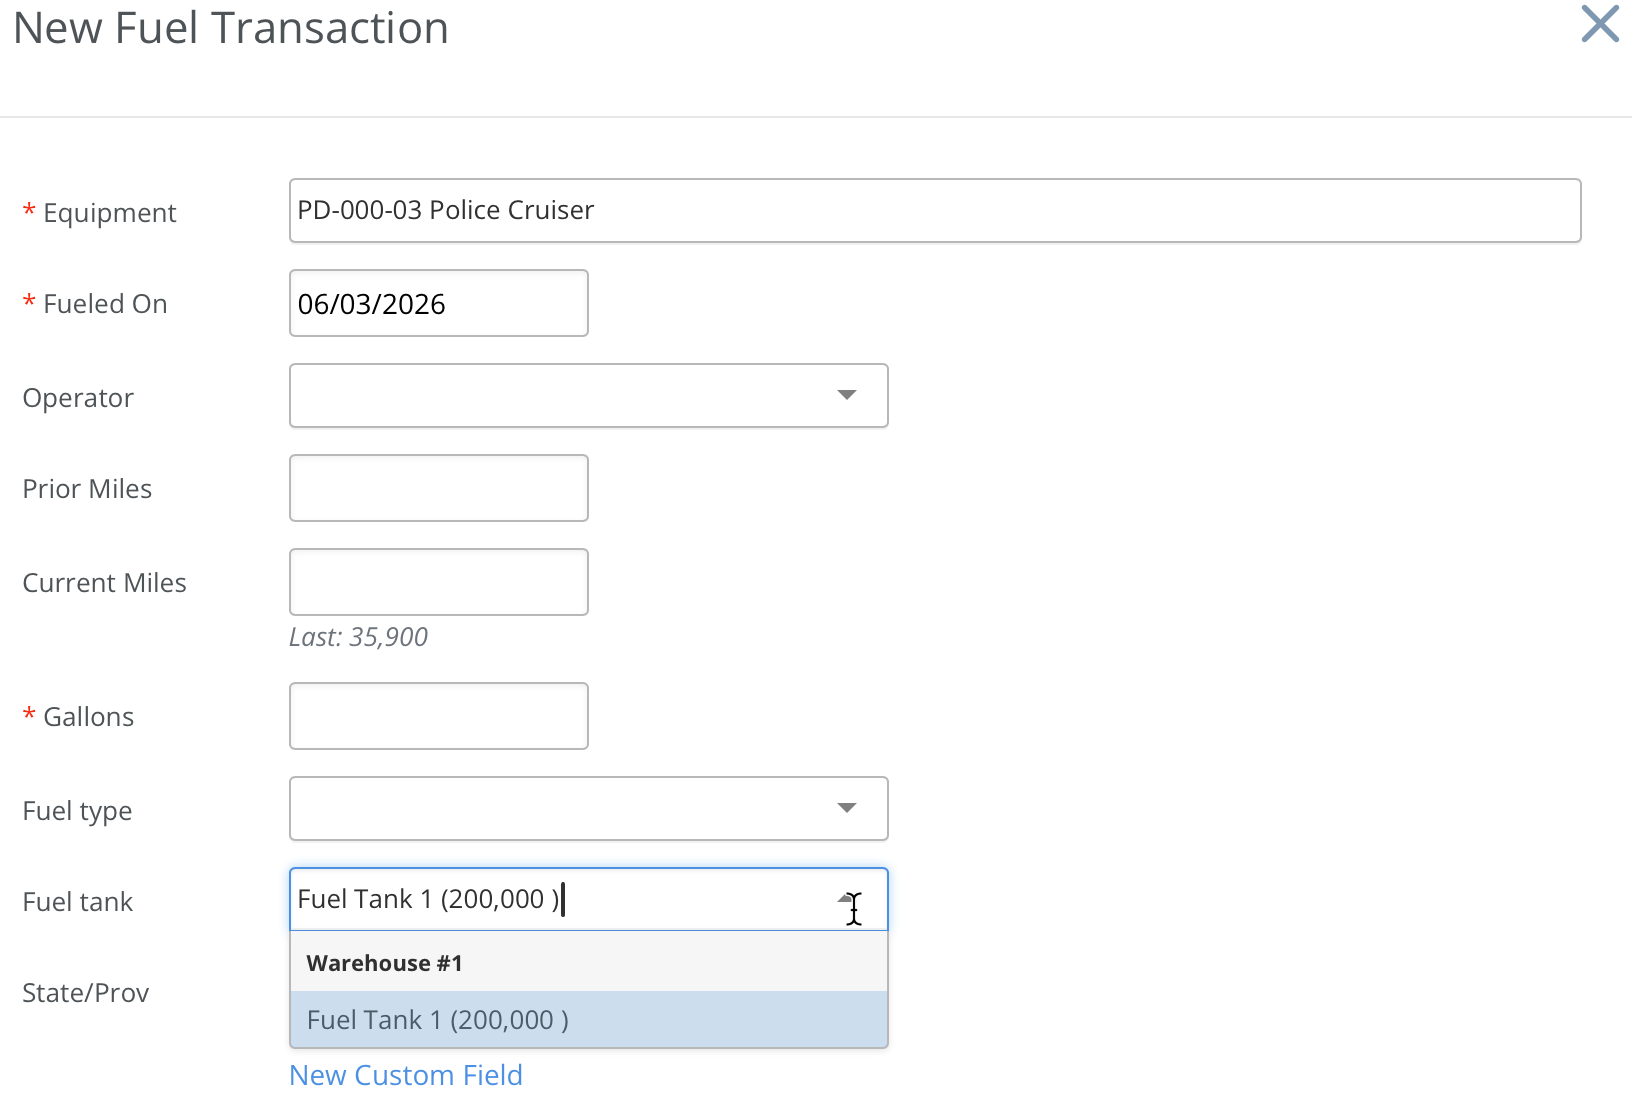
Link Fuel Transactions to a Fuel Tank
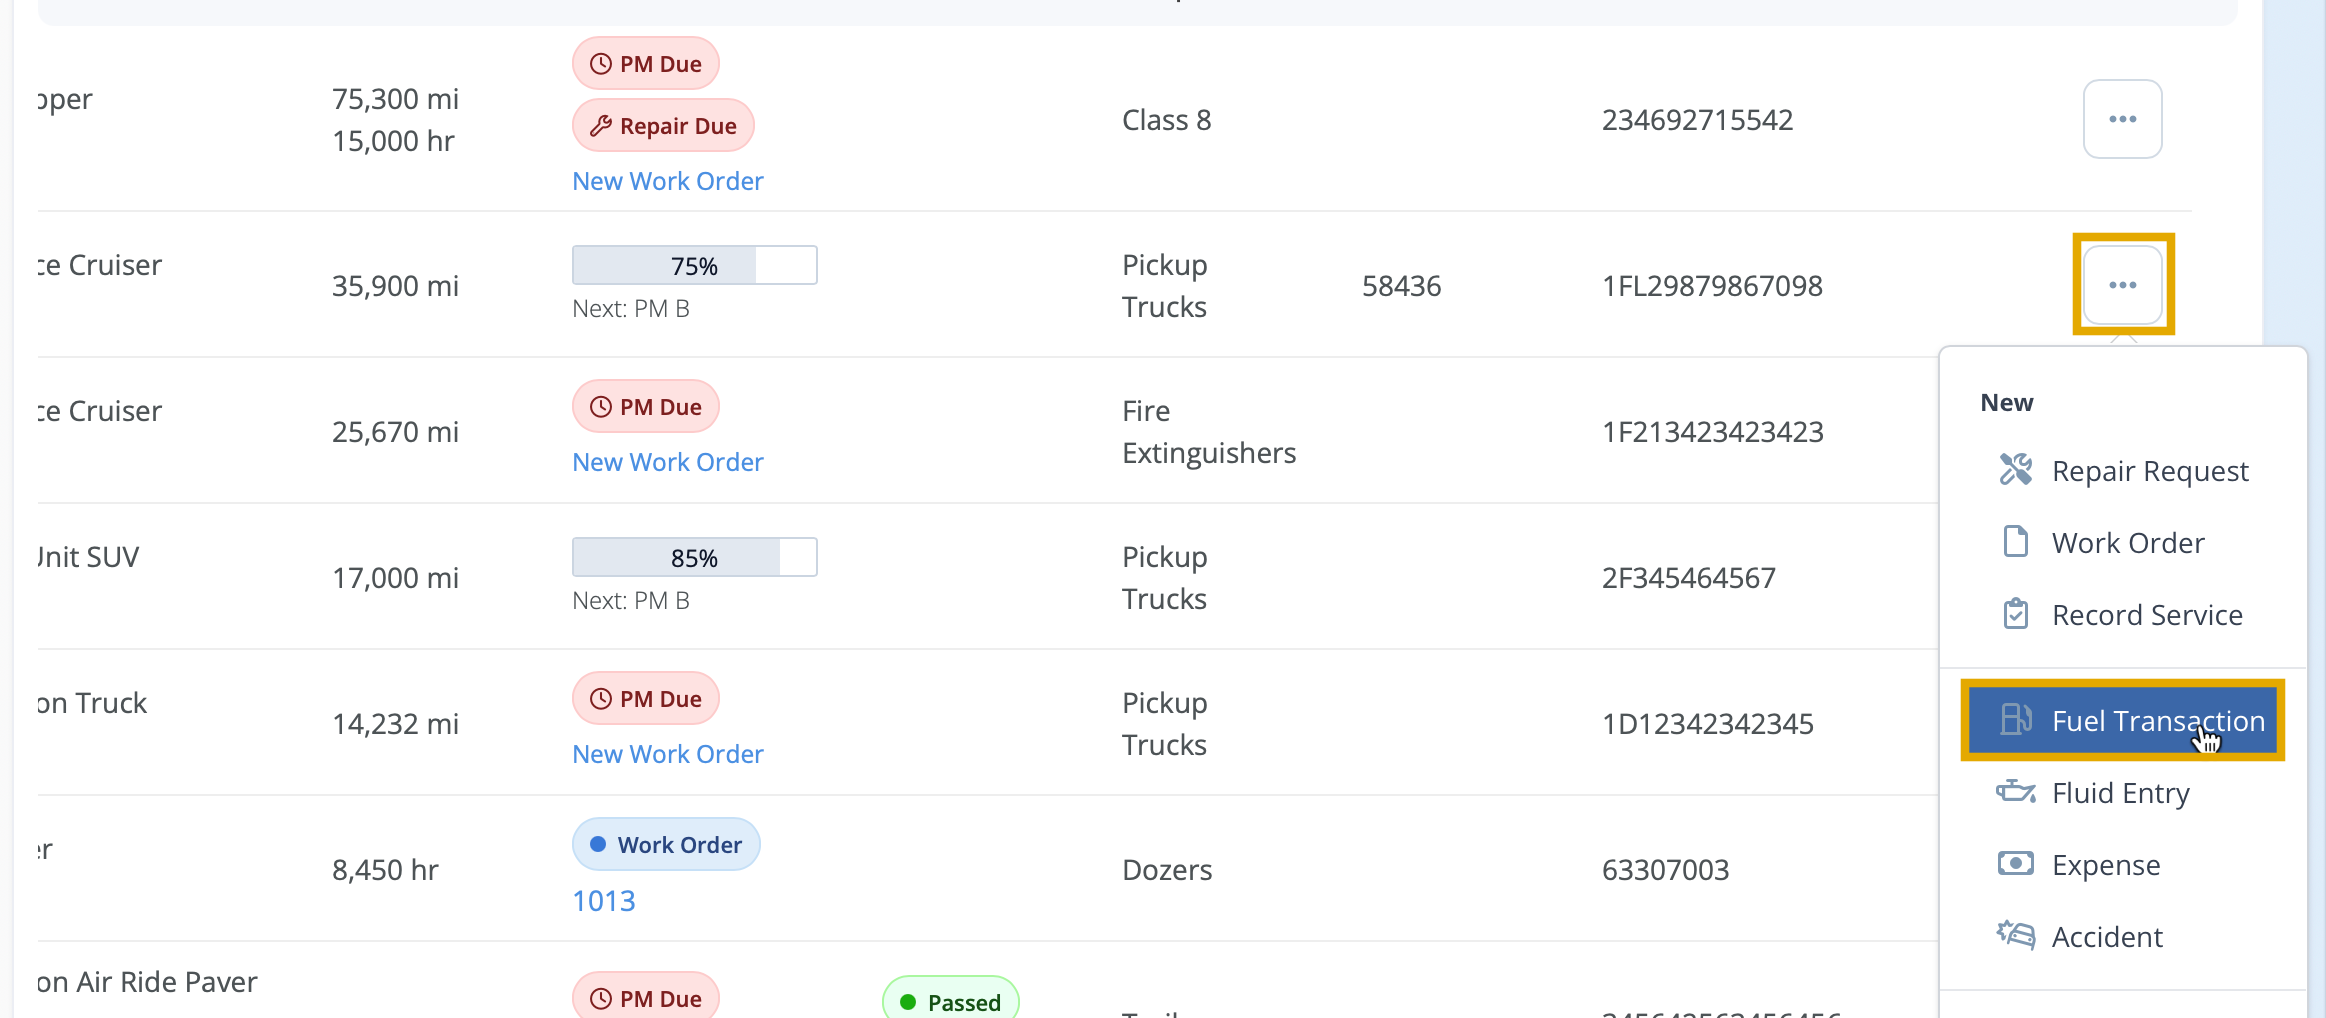
Adding manual fuel transactions to equipment:
- Navigate to the Equipment List, select the Gear, and choose Fuel Transaction.
- Select the appropriate Fuel Tank.
- Select Save.
- Inventory levels update automatically.
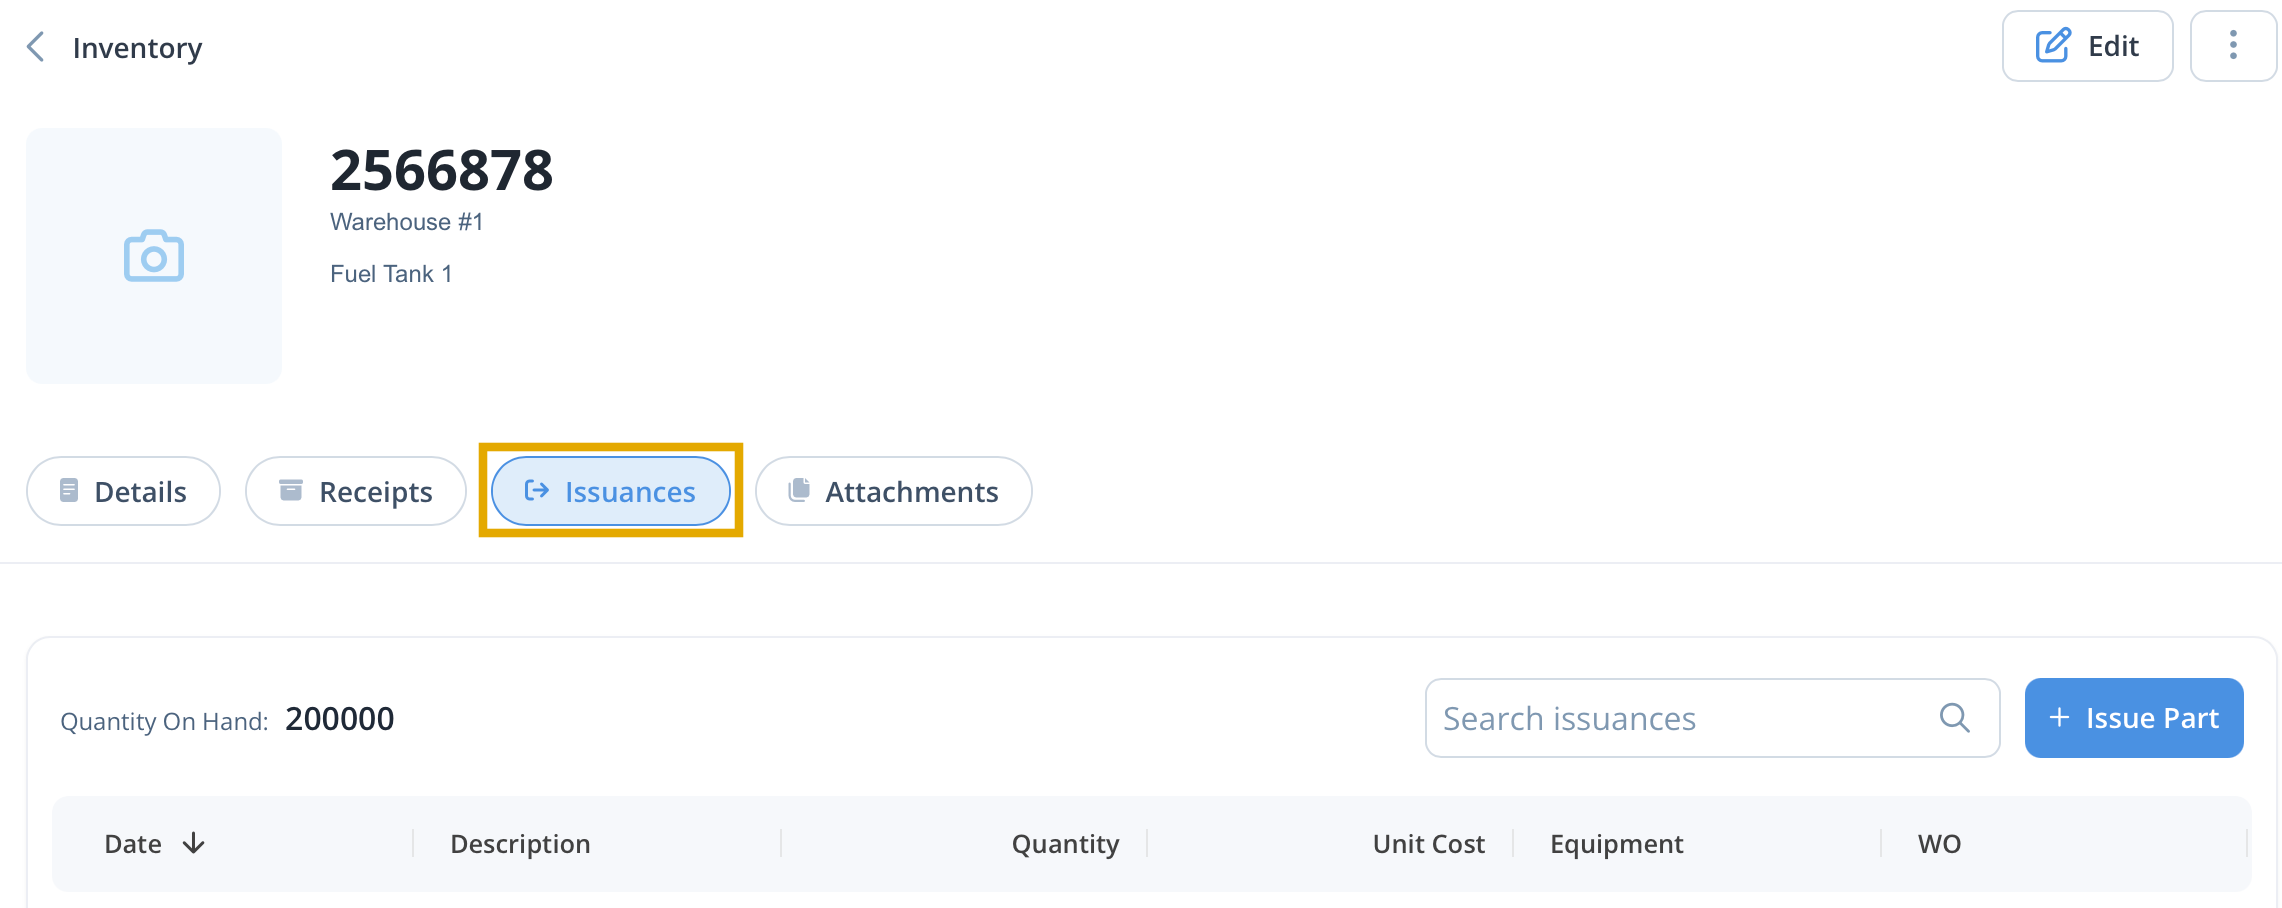
- The Tank Issuances tab displays linked equipment transactions.
Returning to Inventory and selecting the Fuel tab displays the quantity removed from the tank. Selecting the tank name and opening the Issuances tab provides a list of equipment that recieved the issued fuel.
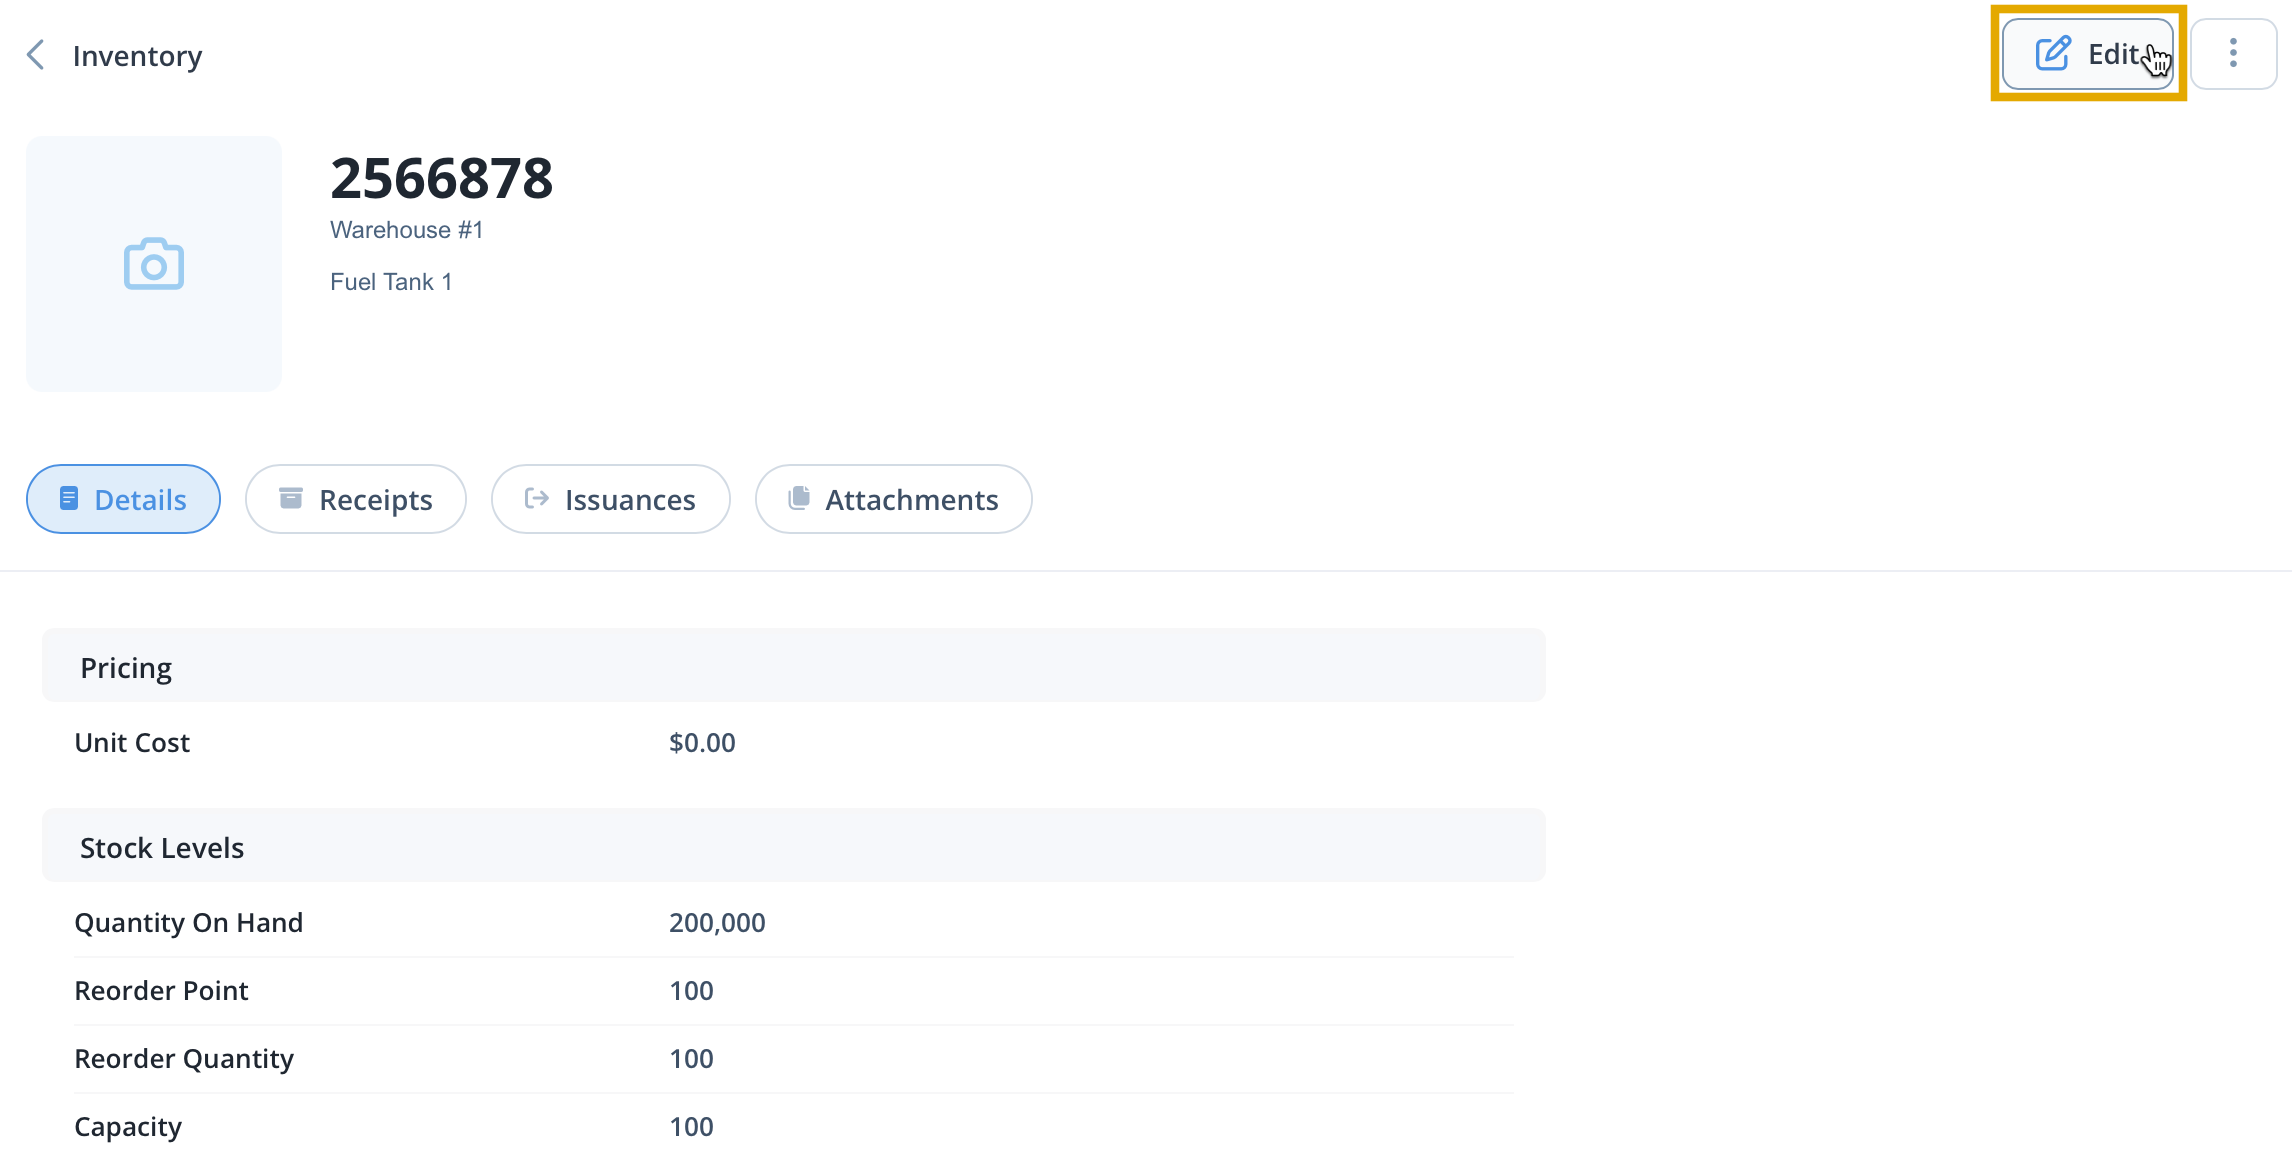
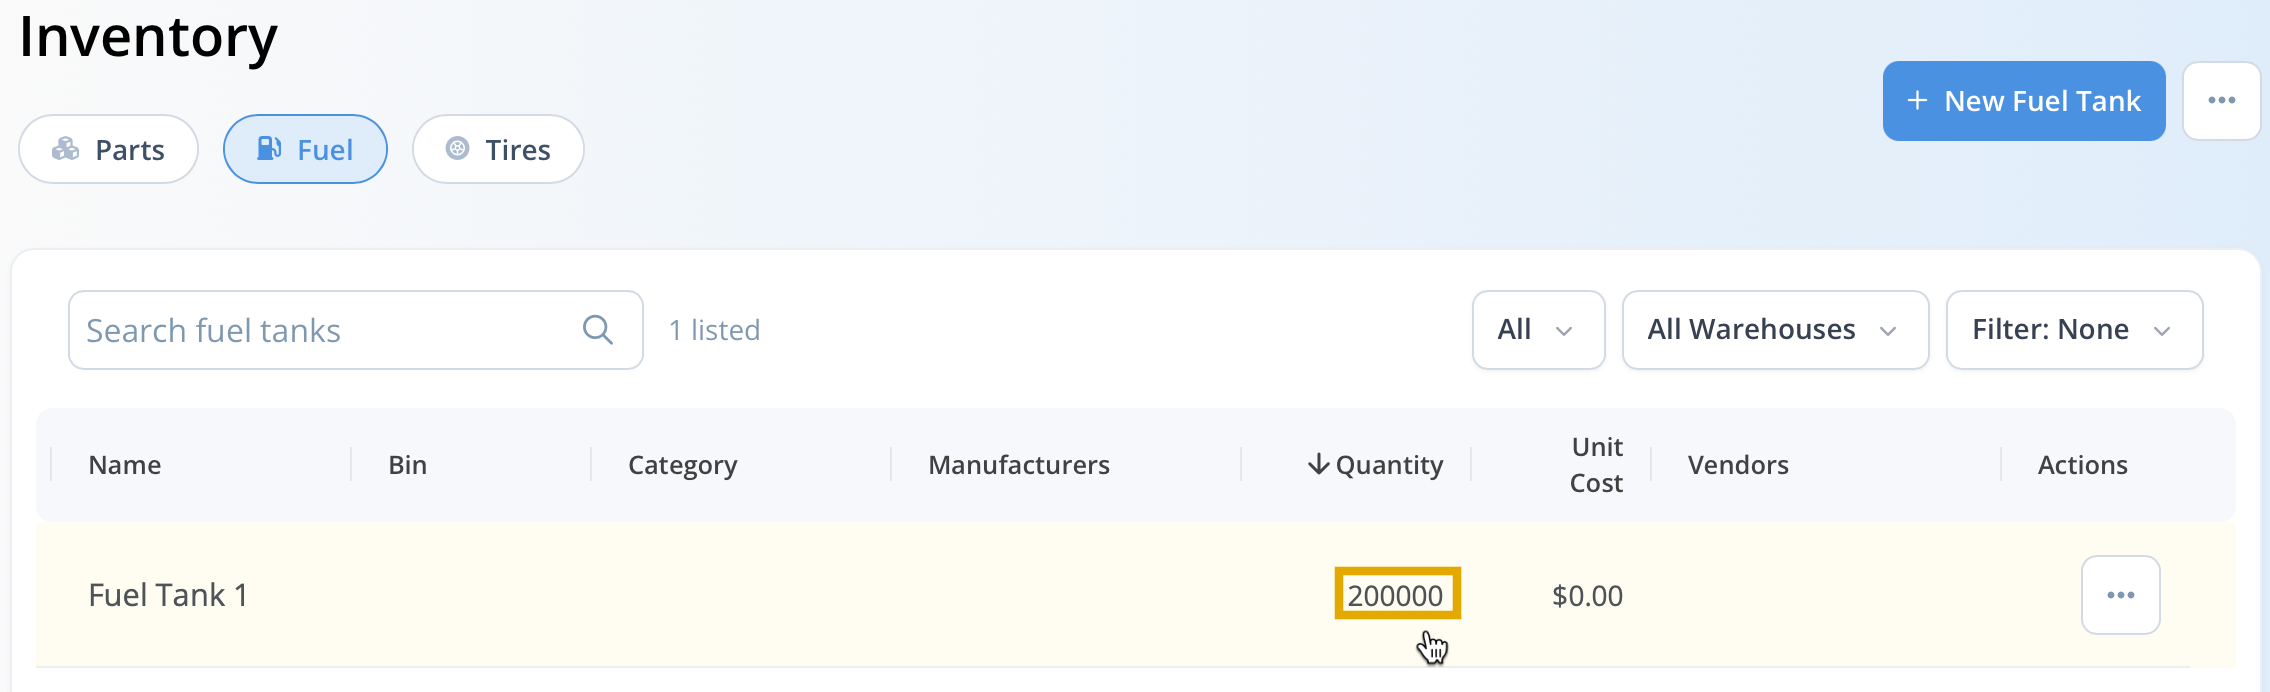
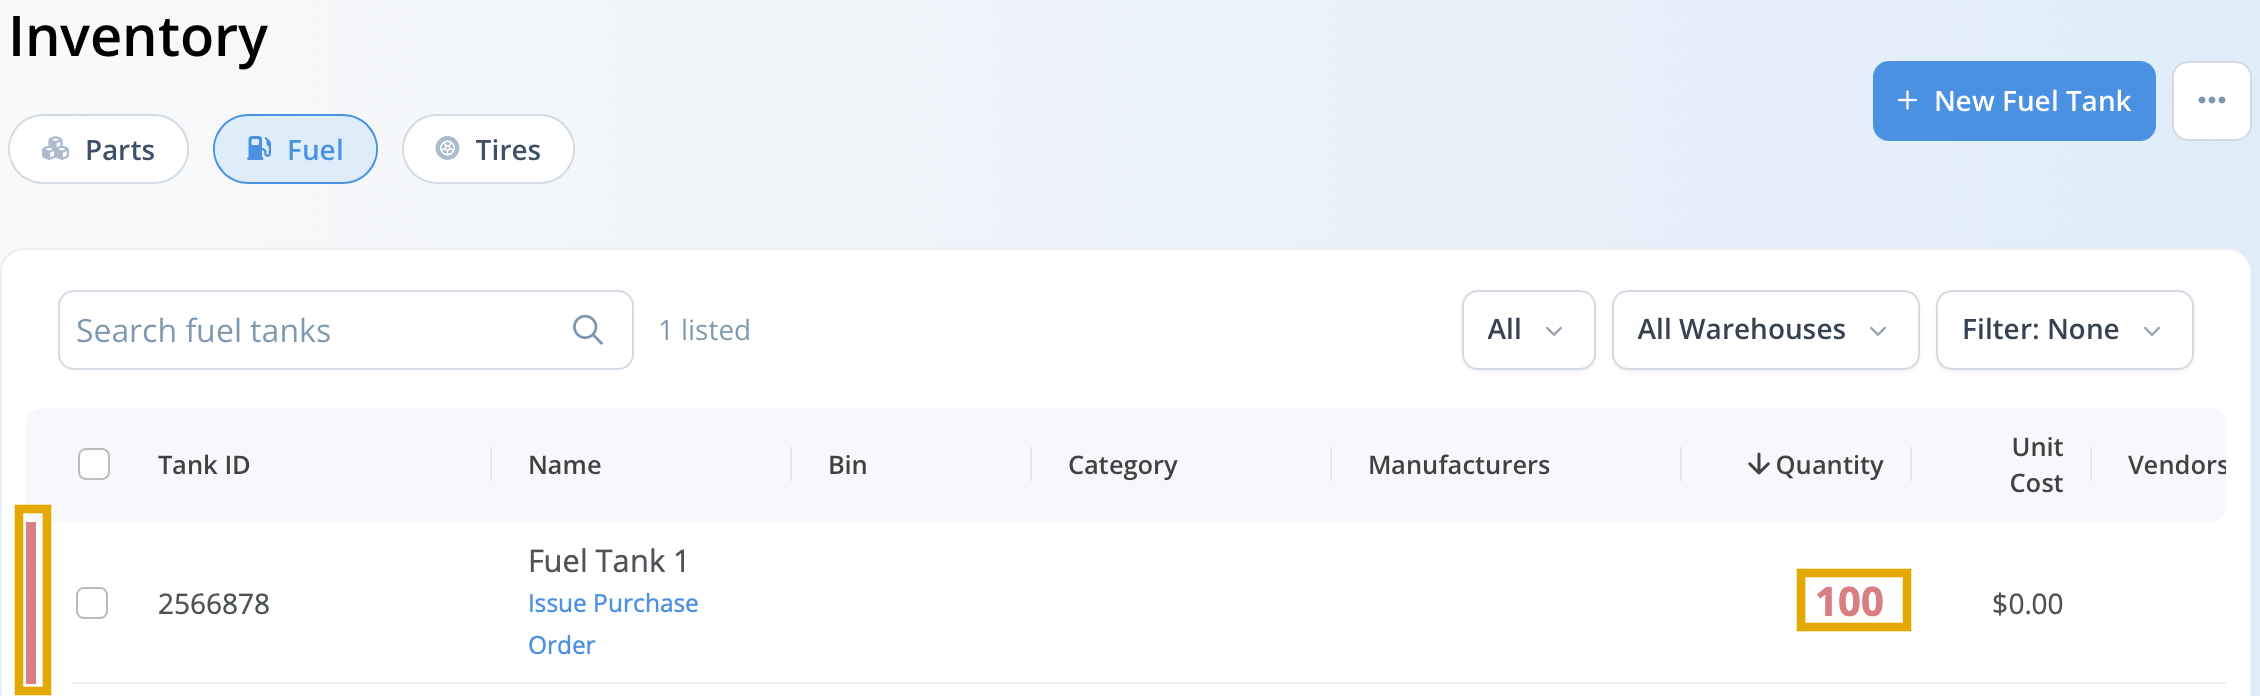
View Fuel Tank Levels
- Navigate to Inventory → Fuel to view all fuel tanks.
- The Quantity column displays current fuel levels.
- Tanks falling below the configured Reorder Point are highlighted in red for quick identification.
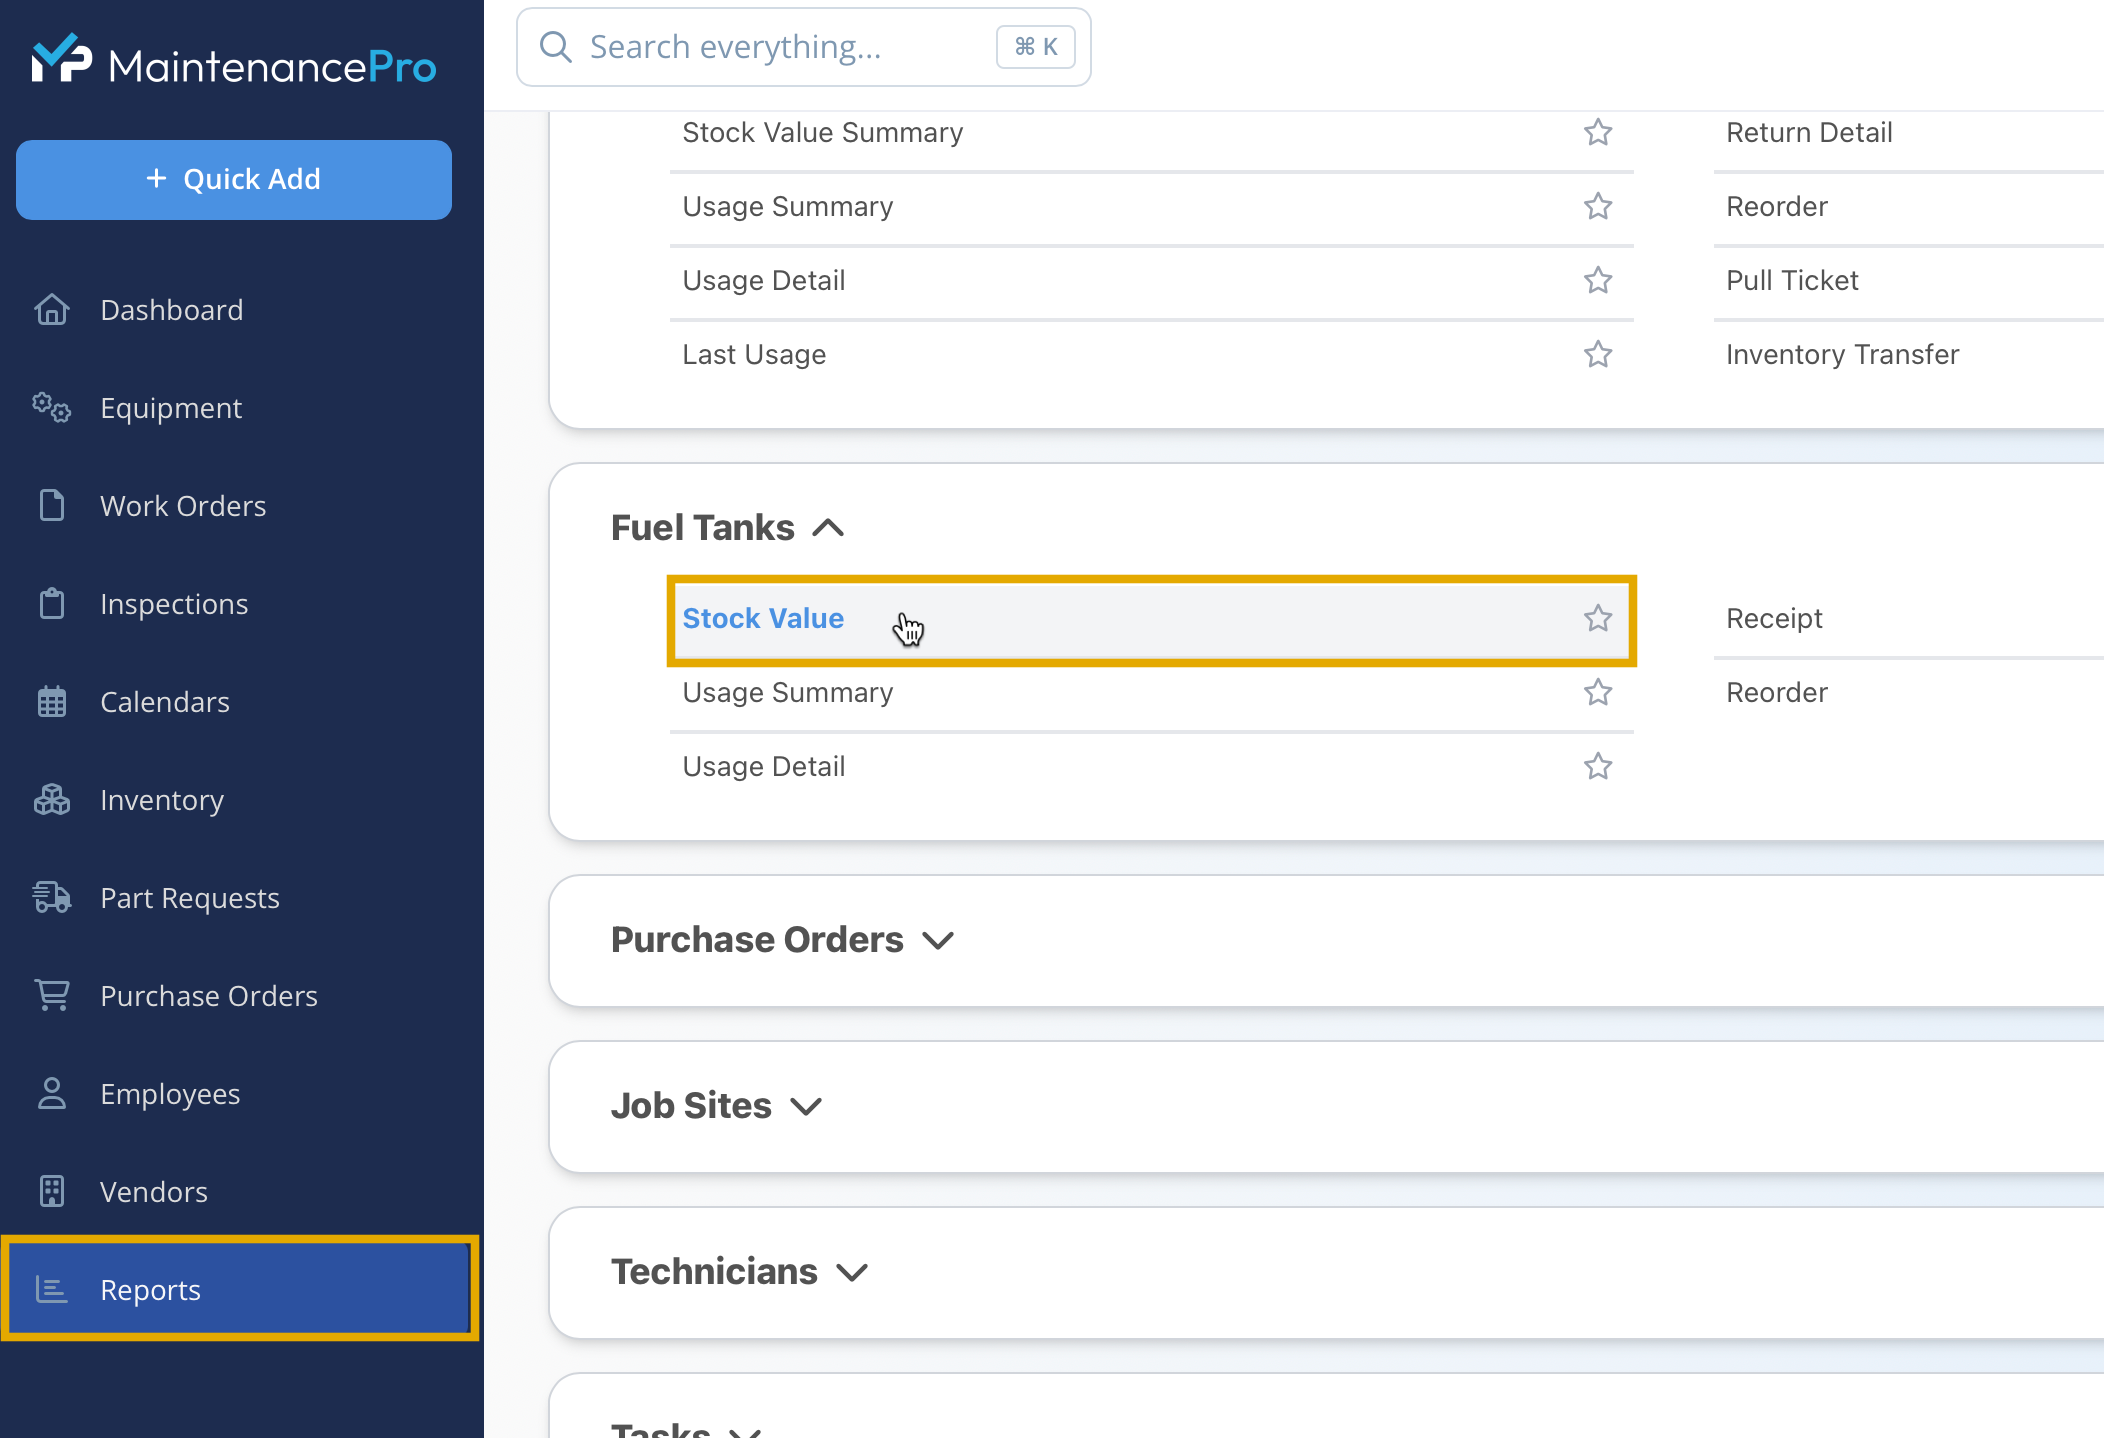
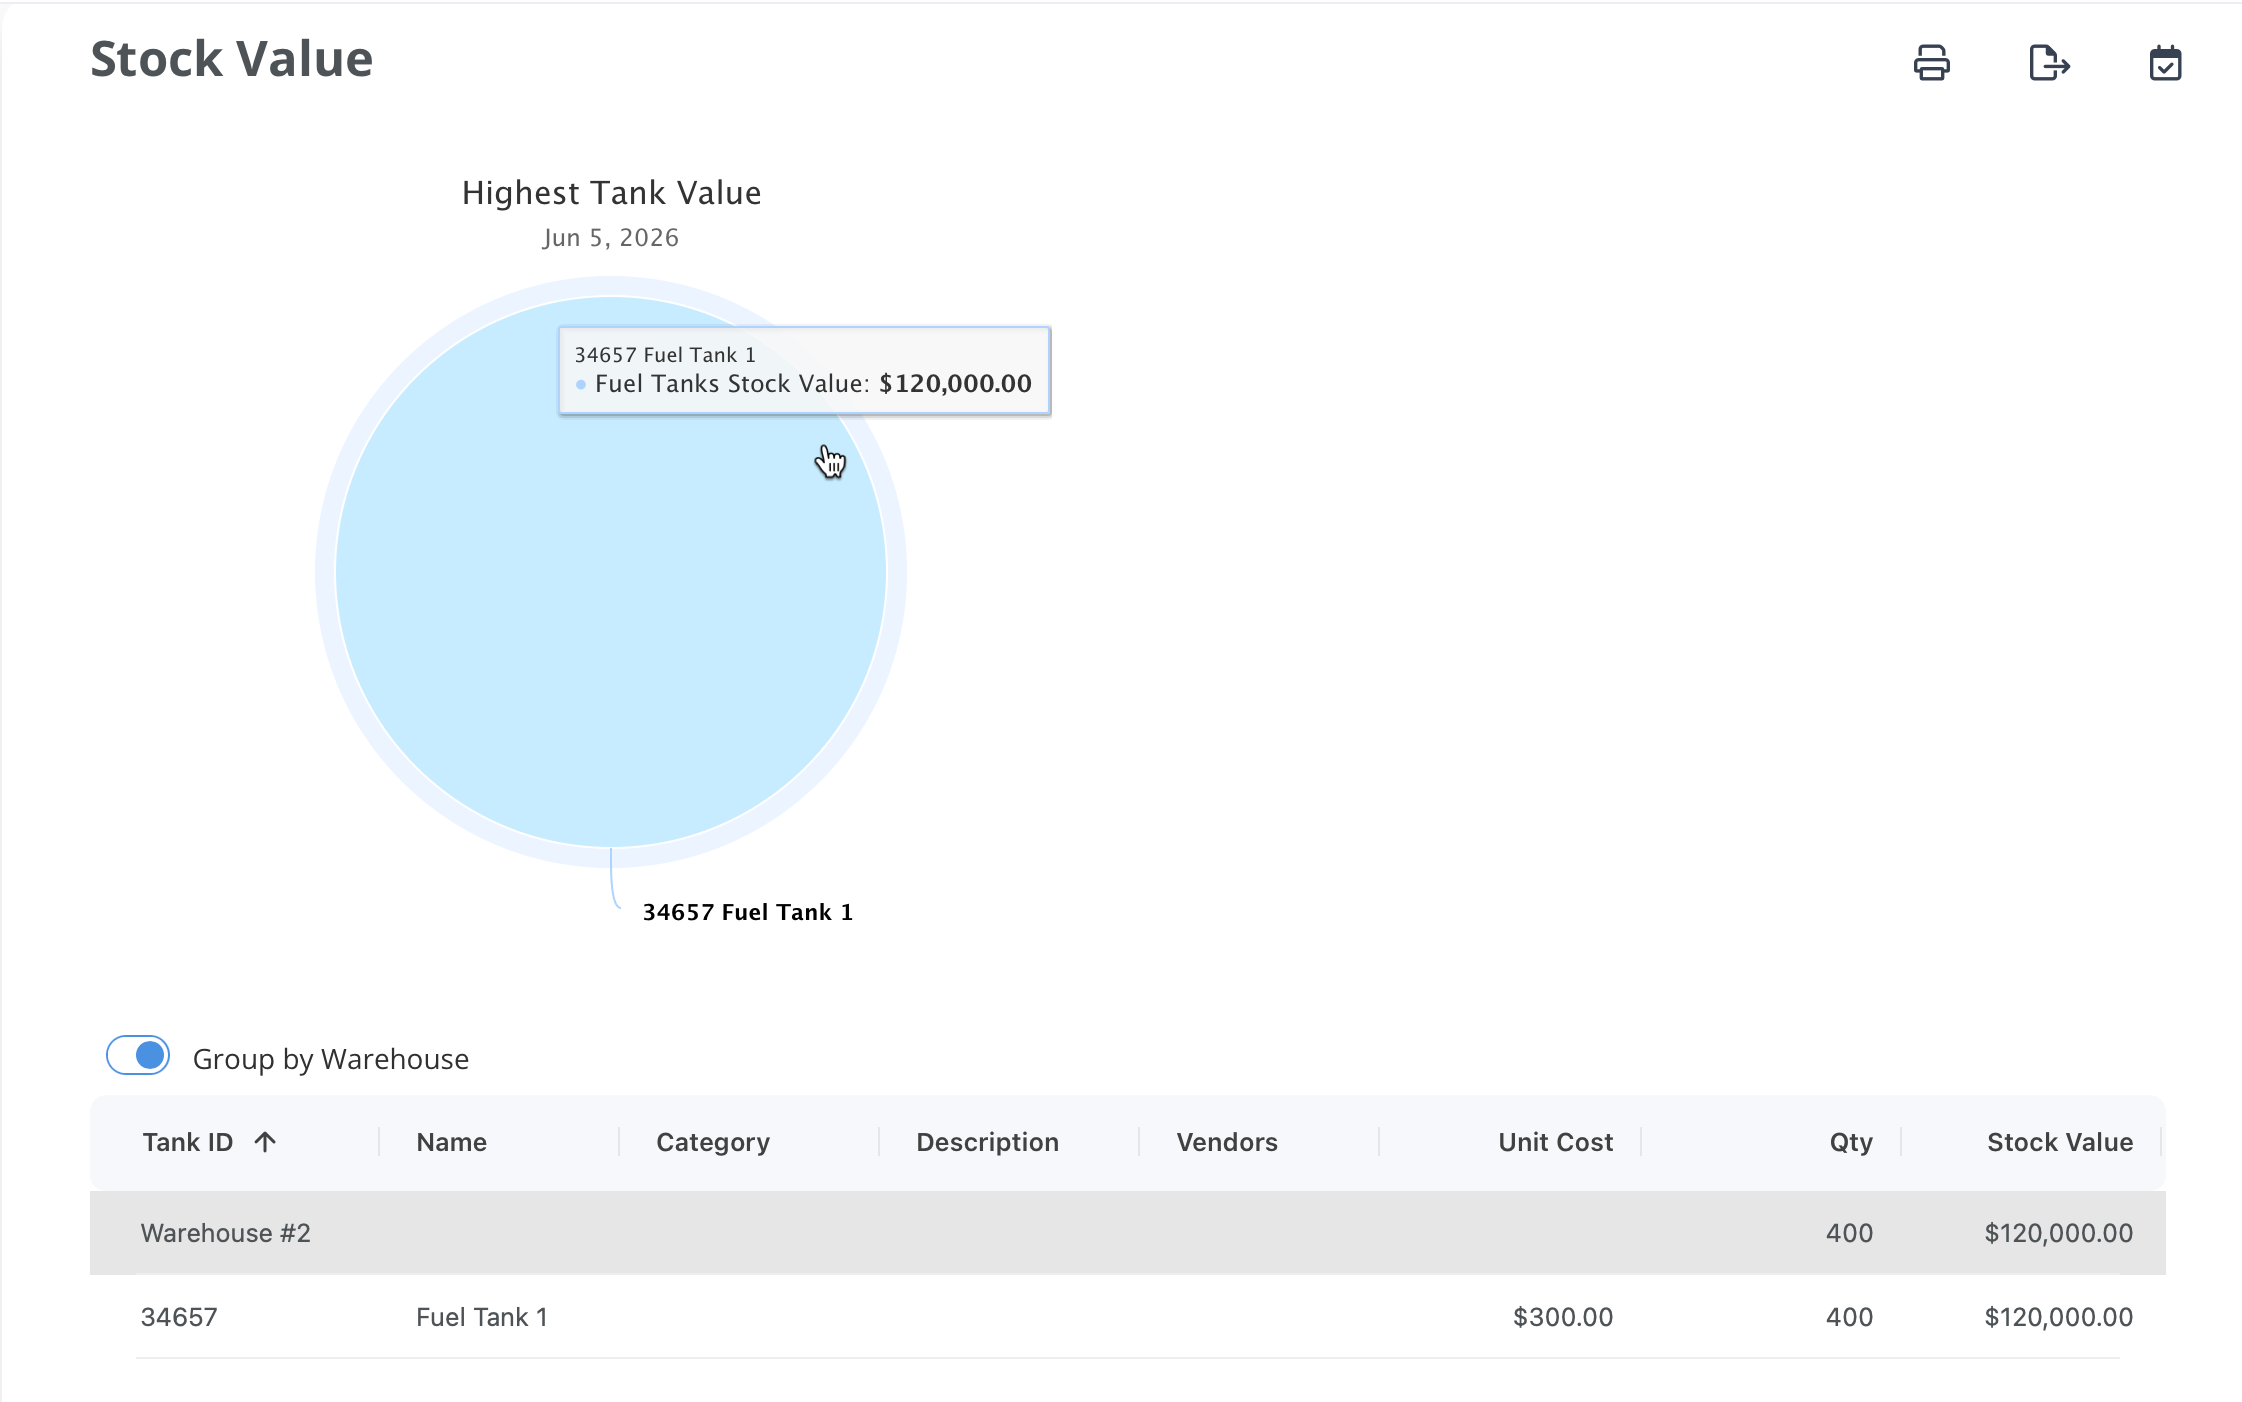
Fuel Tank Reports
-
Navigate to Reports → Fuel Tanks to access available fuel tank reporting options.