Custom Filters
Overview
Custom Filters can be applied to lists and reports throughout Maintenance Pro Web. This filtering system allows data to be refined based on specific criteria. While the search box provides a quick way to locate assets, more advanced results can be achieved by creating and using a custom filter.

Create New Custom Filter
To create a new filter, click the Filter button and select New from the dropdown menu.
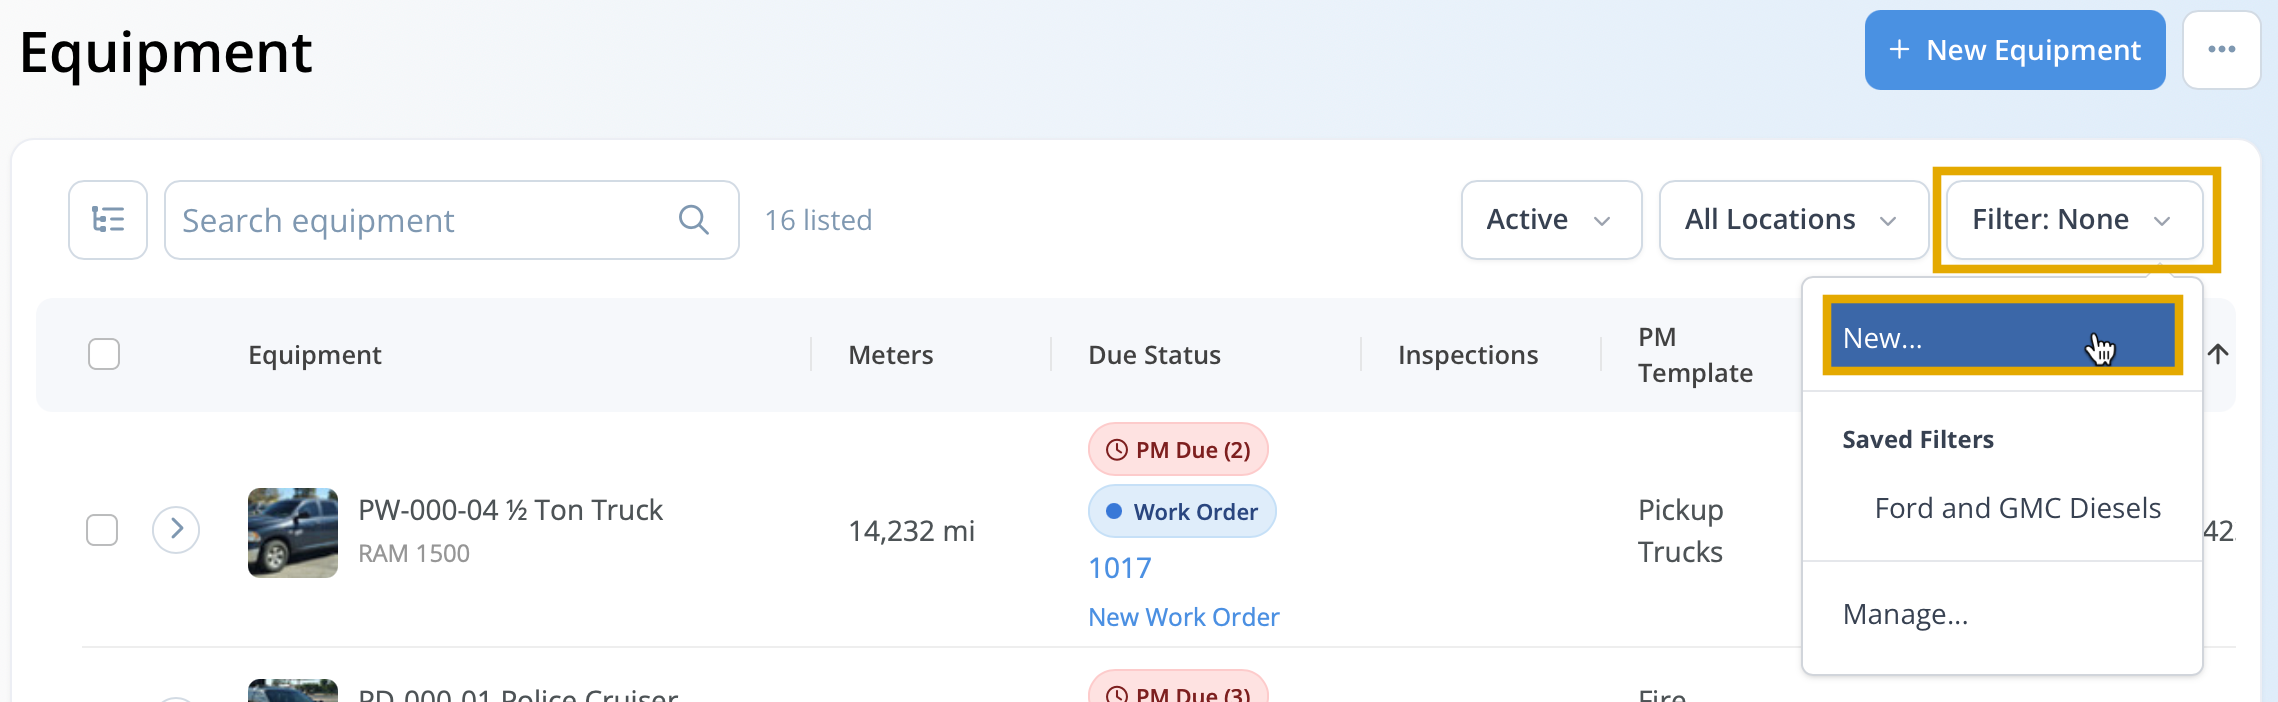
If no filters have been configured, clicking the filter icon will open the New Custom Filter screen. If filters already exist, a new filter can be created by selecting the New option.
Setting Up Conditions
On the New Filter screen, select a data field from the dropdown list to define the filter. The available fields vary by screen or report, displaying only the data relevant to that section of the application.
After selecting a data field, a second dropdown menu appears to specify how the filter is applied. The available options vary based on the selected field's data type, such as text or numeric values.
In the example below, the filter is applied to the equipment's Make field. The condition is set to return results where the Make is exactly equal to Ford.
The Equals option returns only equipment records where the Make value exactly matches Chevrolet. Variations such as Chevy, Chevrolet Truck, or values with additional or missing spaces are not included. The value must match exactly, including spelling and spacing.
The Does Not Equal option returns all equipment records where the Make value is anything other than Chevrolet.

The Begins With and Ends With options match the search value to the beginning or end of the Make field. For example, Begins With "Chevrolet" returns values such as "Chevrolet Trucks", but excludes values like "Classic Chevrolet".
The Contains option returns any record where the specified value appears anywhere within the Make field. For example, a value such as "Classic Chevrolet Trucks" is included because it contains "Chevrolet".

The Does Not Contain option returns only records where the specified value does not appear anywhere in the selected field. For example, filtering Does Not Contain "Chevrolet" excludes any record with a Make value that contains "Chevrolet".
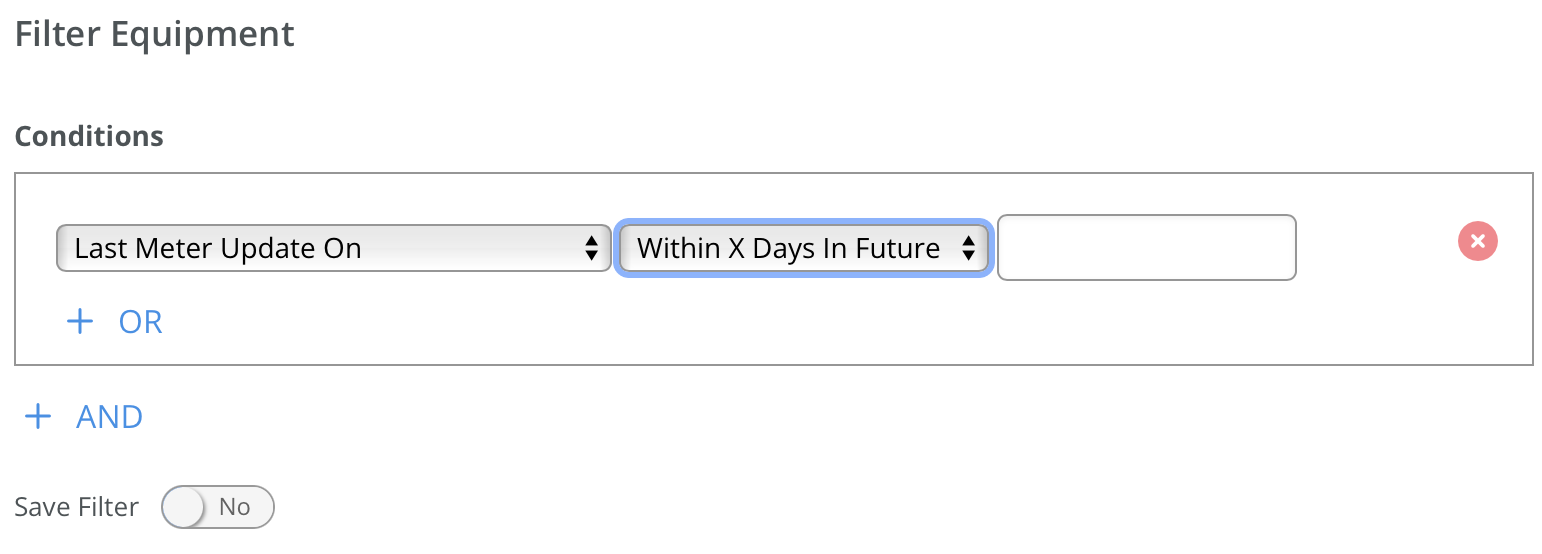
For non-text fields, such as dates, the available filter options differ based on the data type. For example, the X Days option filters records that fall within a specified number of days from the current date.
For numeric fields, filter options include Less Than and Greater Than to compare values against a specified number.

Conditionals: AND / OR
Use + OR and + AND to combine multiple criteria within a single filter. The example below demonstrates how each option affects the filtered results in the Equipment List.
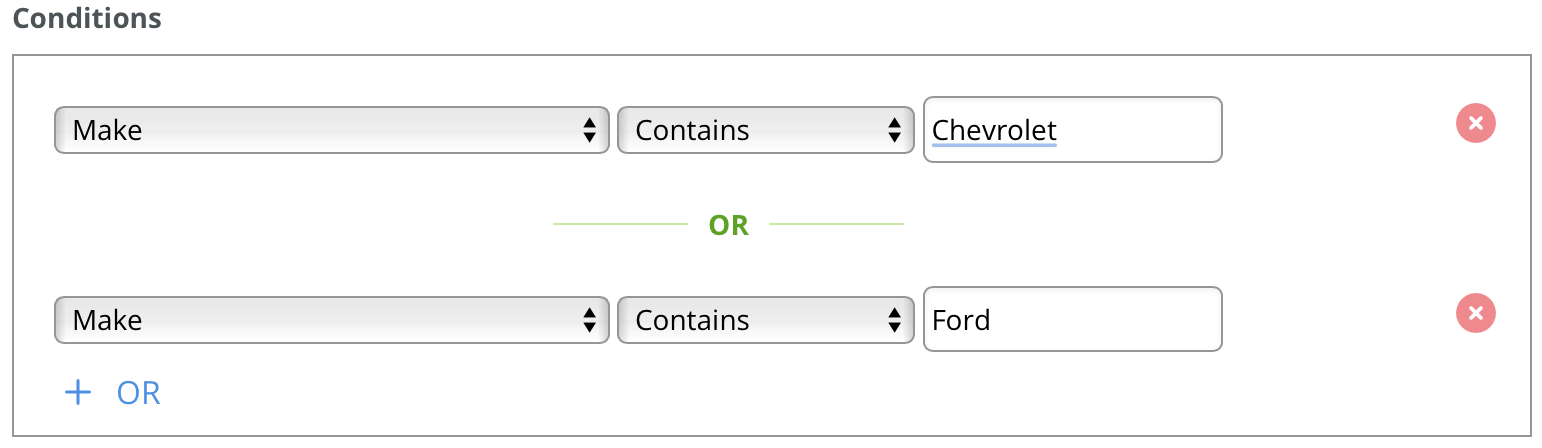
Multiple criteria can be combined within a single filter using + OR and + AND. The example below illustrates how each option is used when creating a custom filter for the Equipment List.
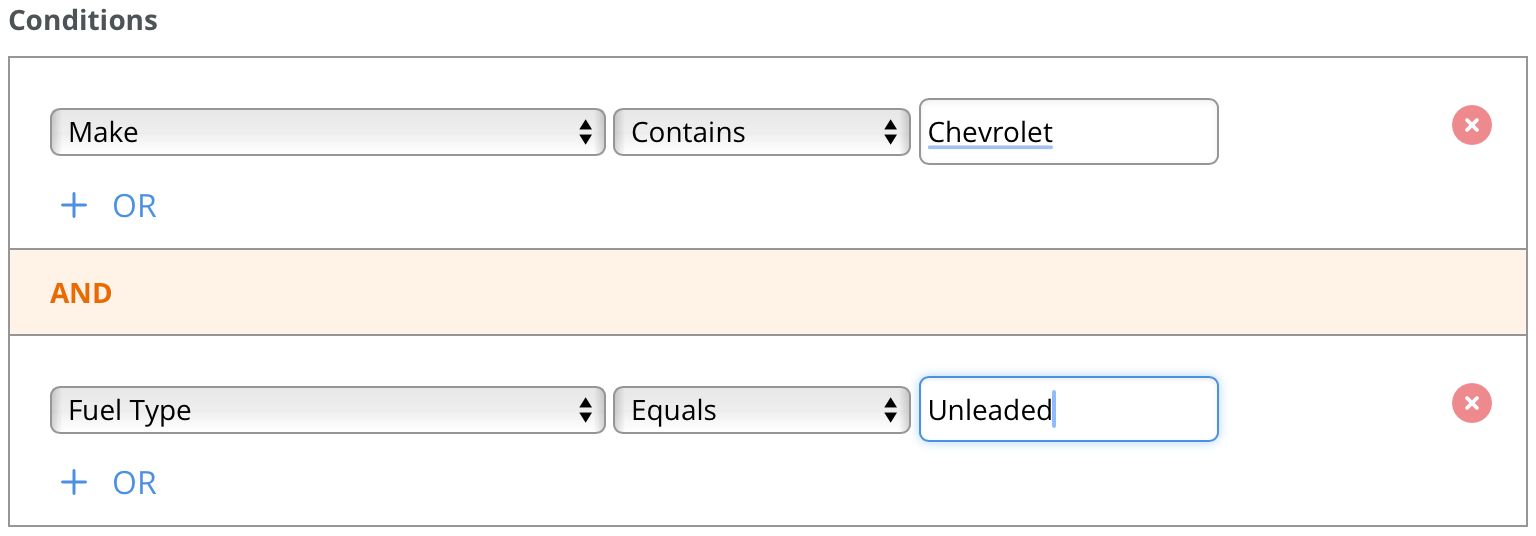
The AND operator requires all specified criteria to be met before a record is included in the results. In the example above, the filter returns only equipment with a Make of Chevrolet and a Fuel Type of Unleaded. Equipment with a Make of Chevrolet but a different fuel type is excluded.
Multiple AND and OR operators can be combined to create more advanced custom filters.
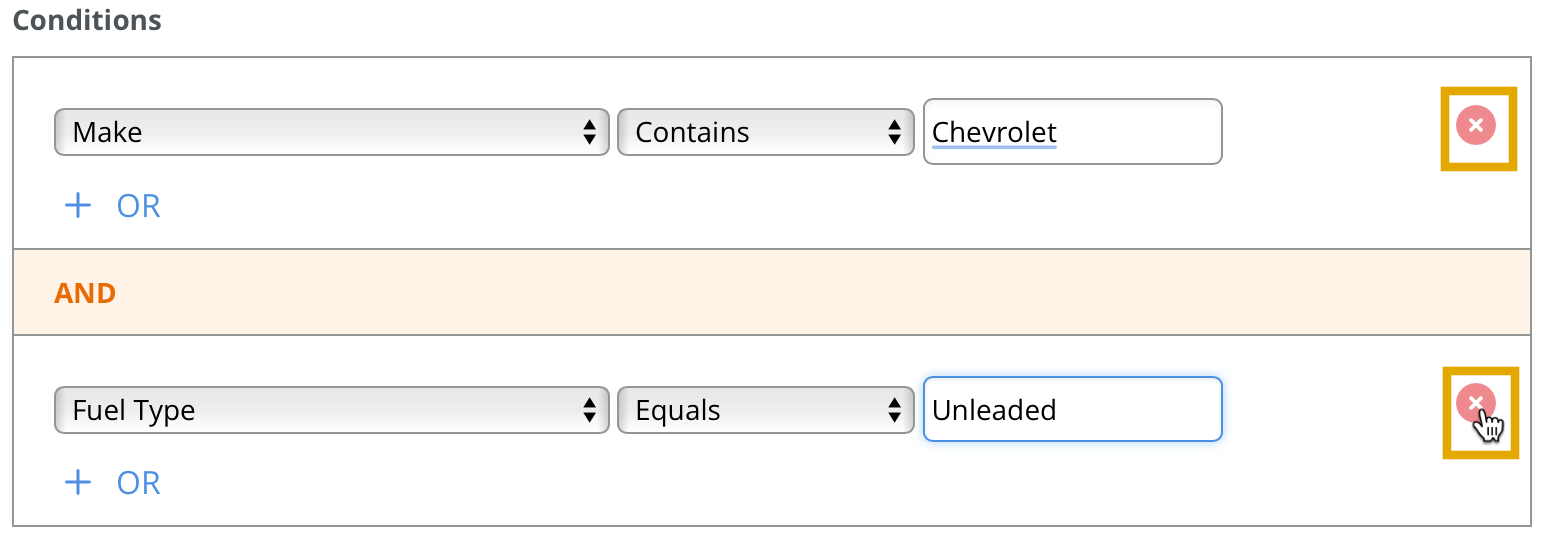
Remove Condition
To remove a condition, click the red X on the right side of the filter row.
Save Custom Filter
After configuring the filter criteria, enable the Save Filter toggle to save the filter for future use. When enabled, a dialog box appears prompting for a name for the filter.
Click Apply to use the filter. If Save Filter is enabled, the filter is also saved for future use. To apply the filter without saving it, leave Save Filter disabled and click Apply.
Apply Previously Saved Filter
Click the Filter button to display all saved custom filters.
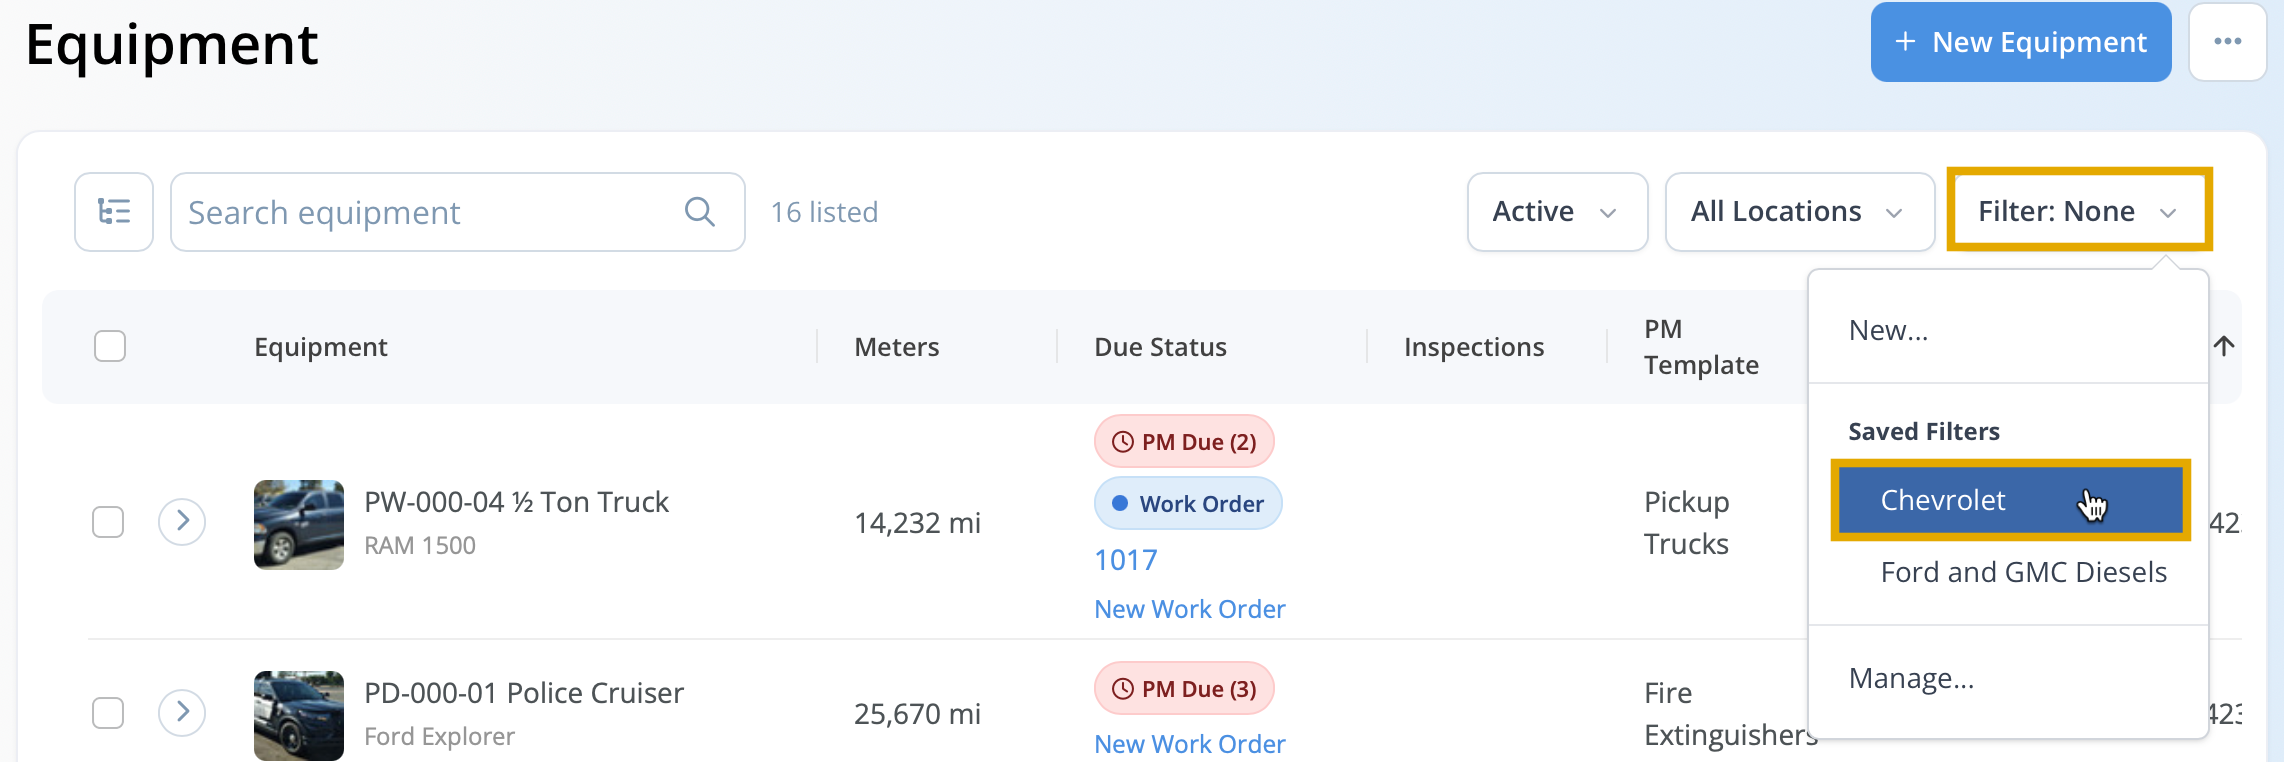
If the Create New Filter screen appears automatically, no saved filters exist for the current screen or report.
Clear / Remove Filter
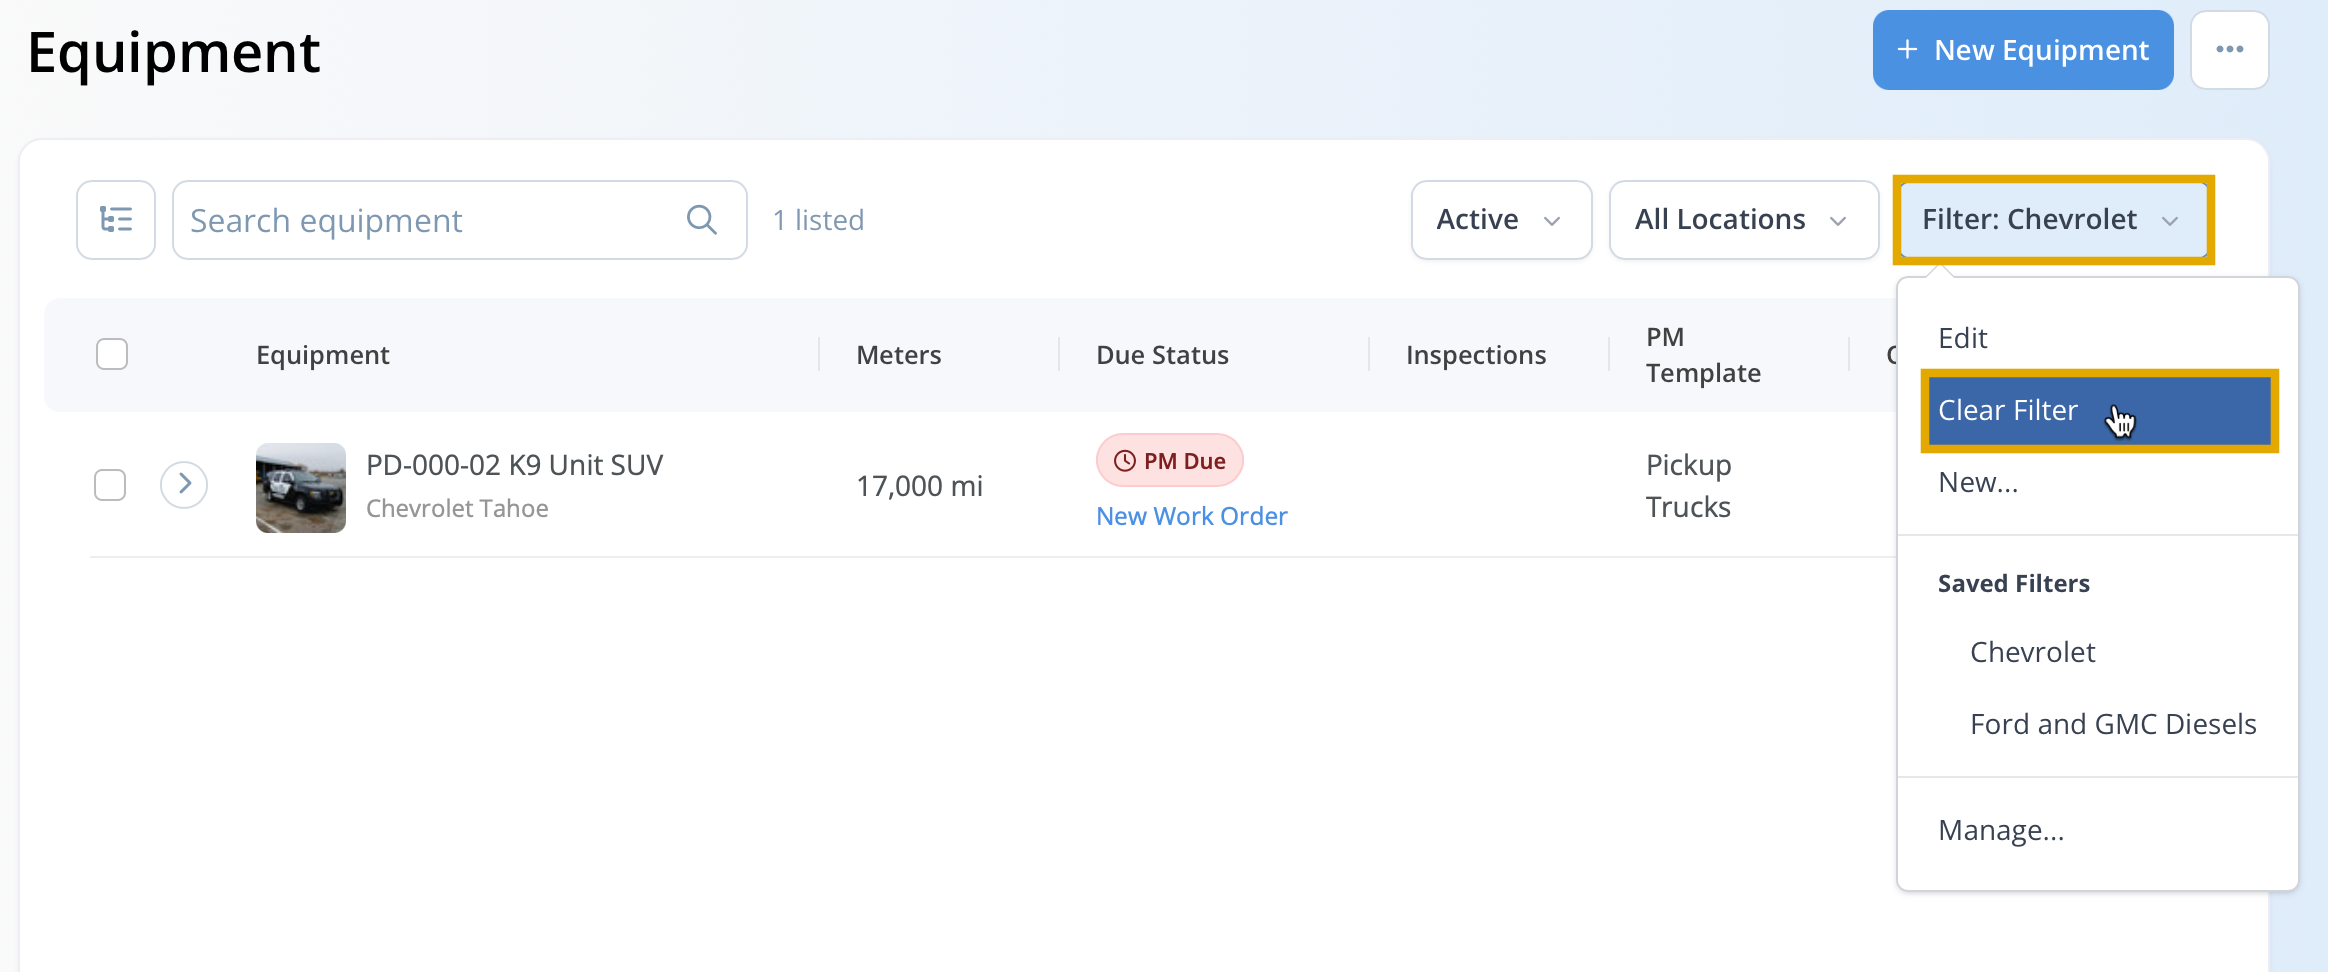
To clear a filter, click the Filter button and select Clear Filter from the dropdown menu.
Manage Saved Filter List
To manage saved filters, click the Filter button and select Manage. A list of all saved filters will be displayed.
To edit a filter, click its name in the first column. To apply it, click the blue Apply button. To delete it, click the red X on the right side.