Driver Vehicle Inspection Report - DVIR
Driver Vehicle Inspection Report Overview
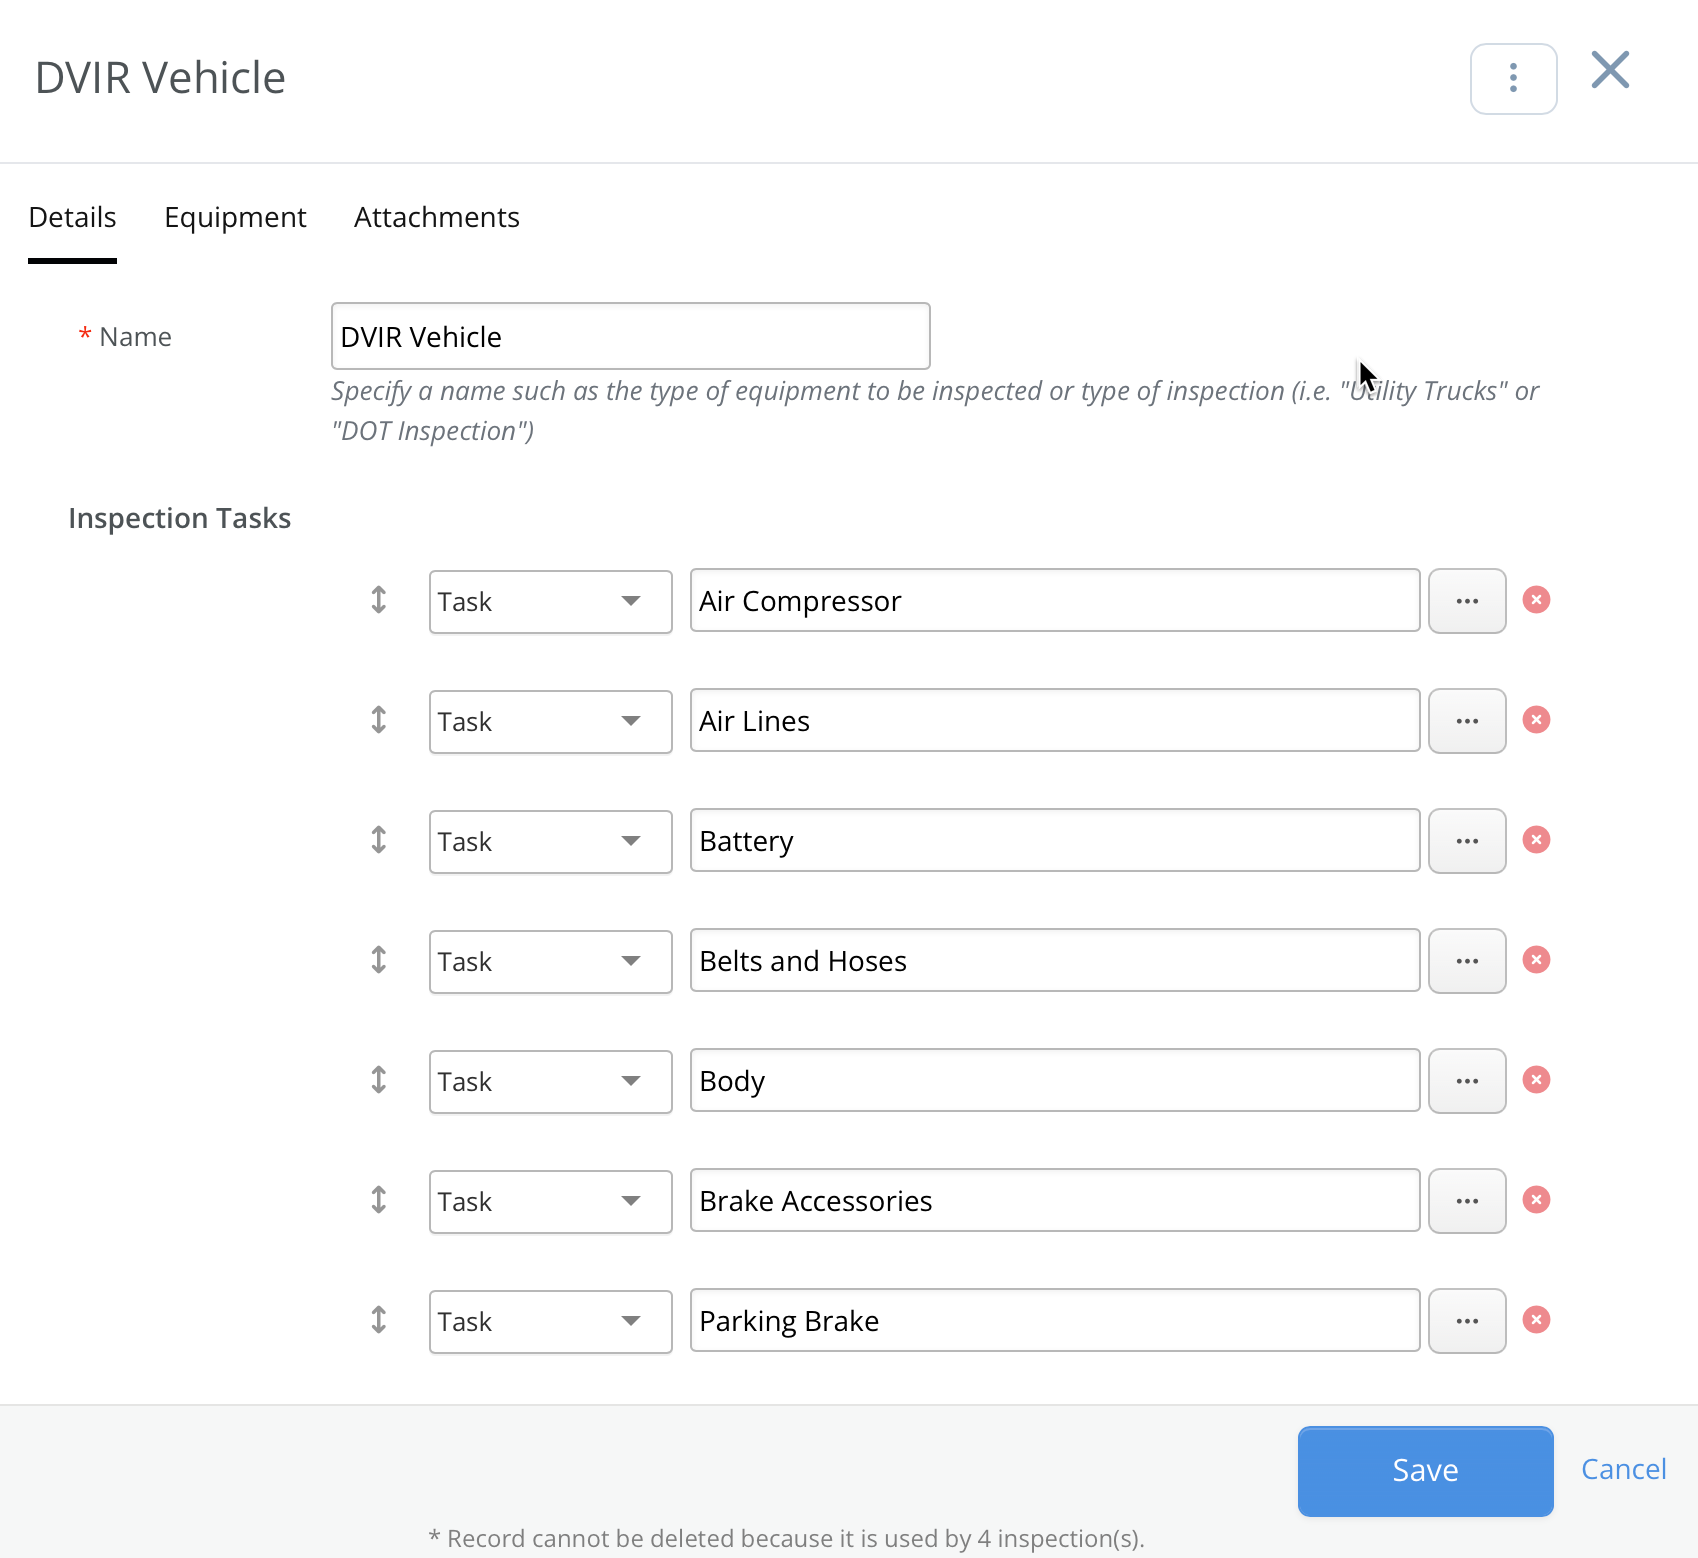
A Driver Vehicle Inspection Report (DVIR) is a document used to confirm that a vehicle inspection has been completed by a driver. DVIR checklists can be configured within the system for both vehicles and trailers.
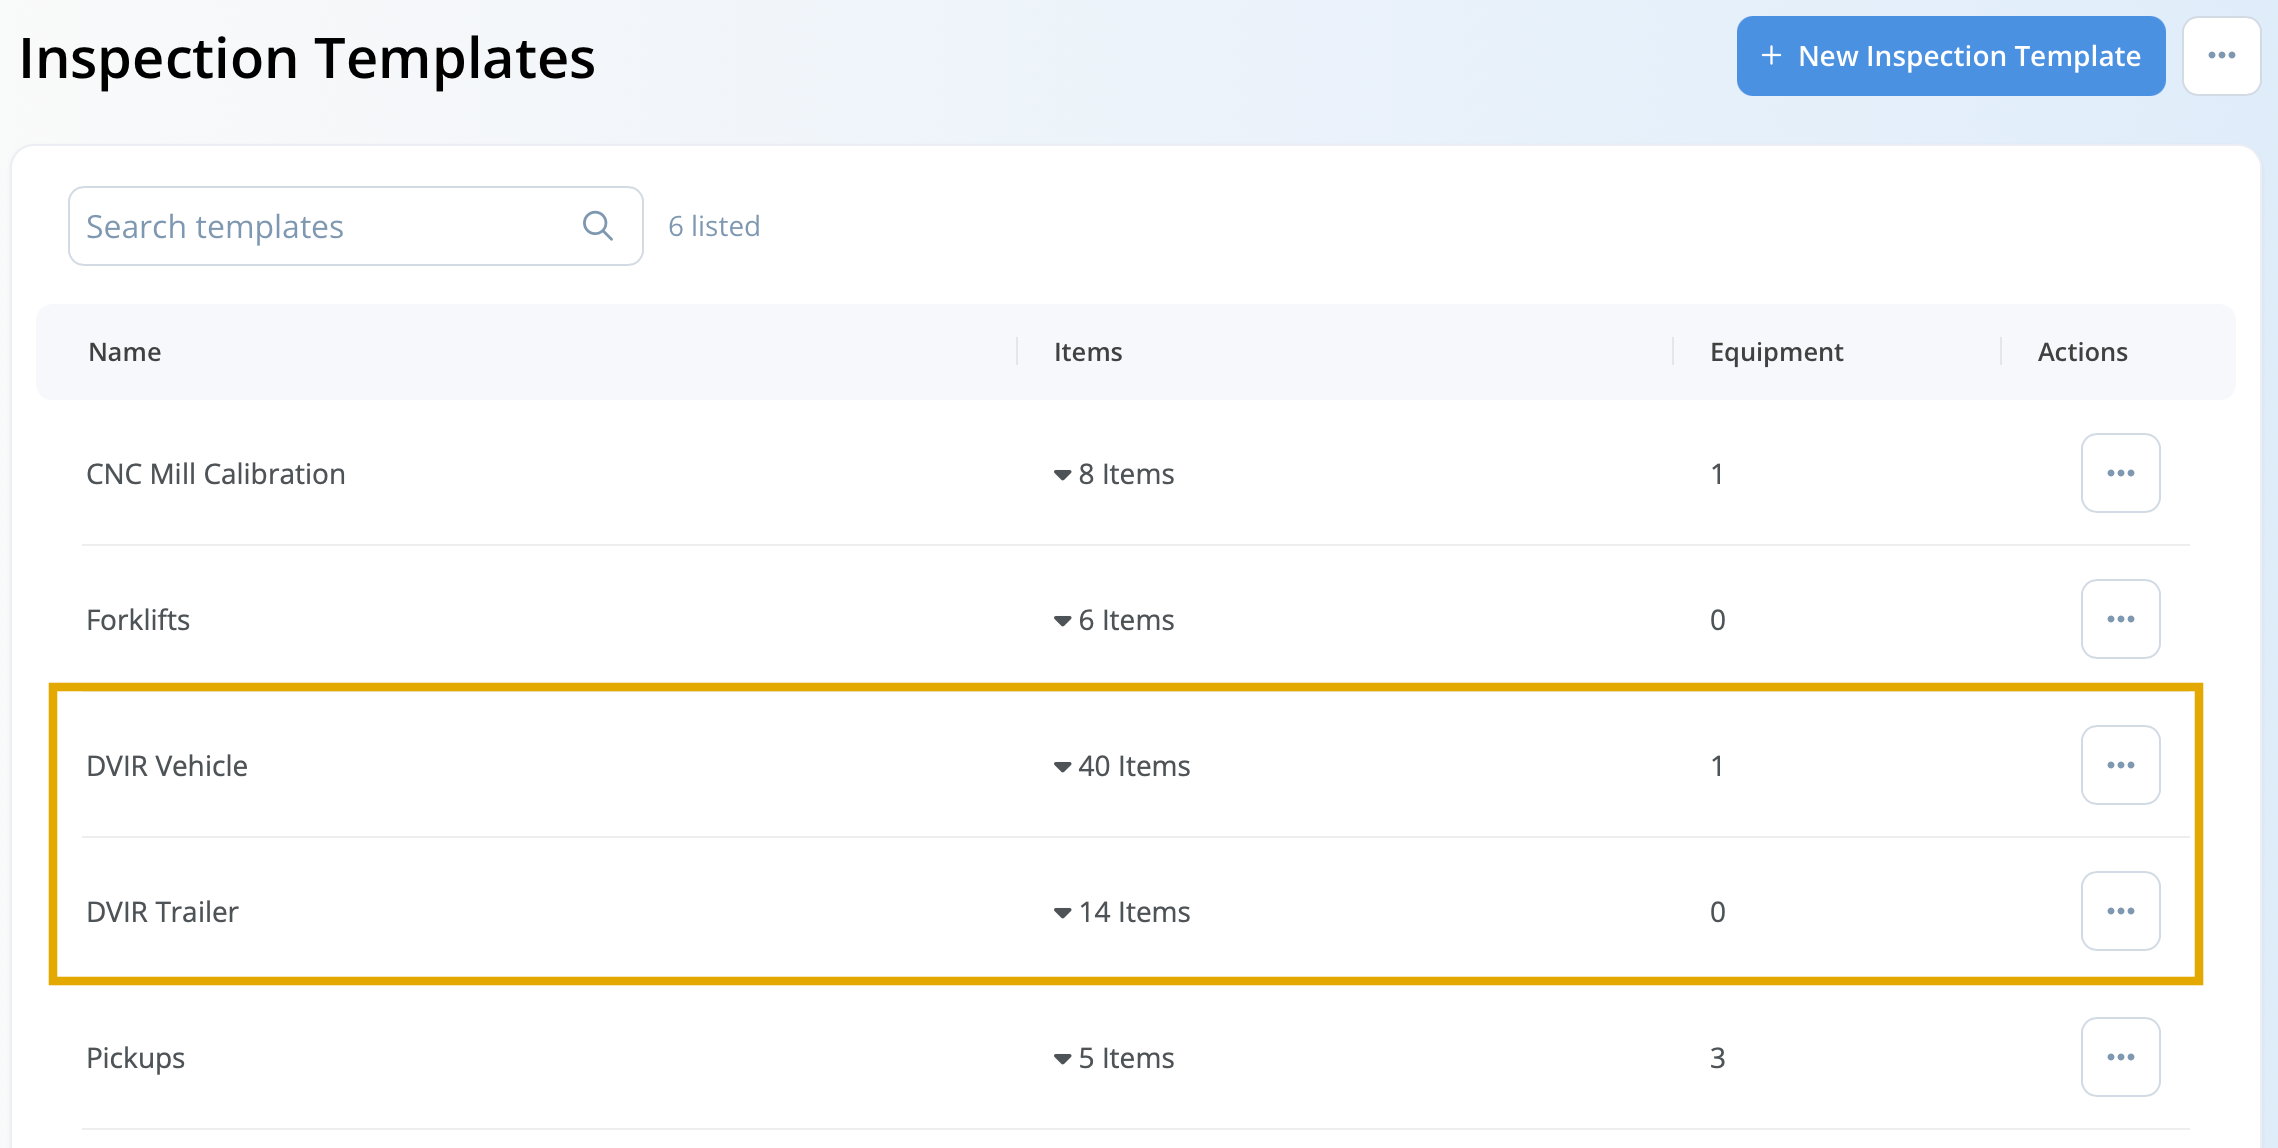
Two built-in DVIR templates are available: one for vehicles and one for trailers. To comply with DVIR regulations, these templates must be selected. Using any other template will result in a standard inspection checklist and will not include DVIR-specific functionality.
Assign DVIR To Equipment
To associate equipment with the new DVIR template, select the company named located in the upper-right corner and choose Inspection Templates.

On the Inspection Template screen, equipment can be added by selecting the action gear located to the right of the DVIR template.
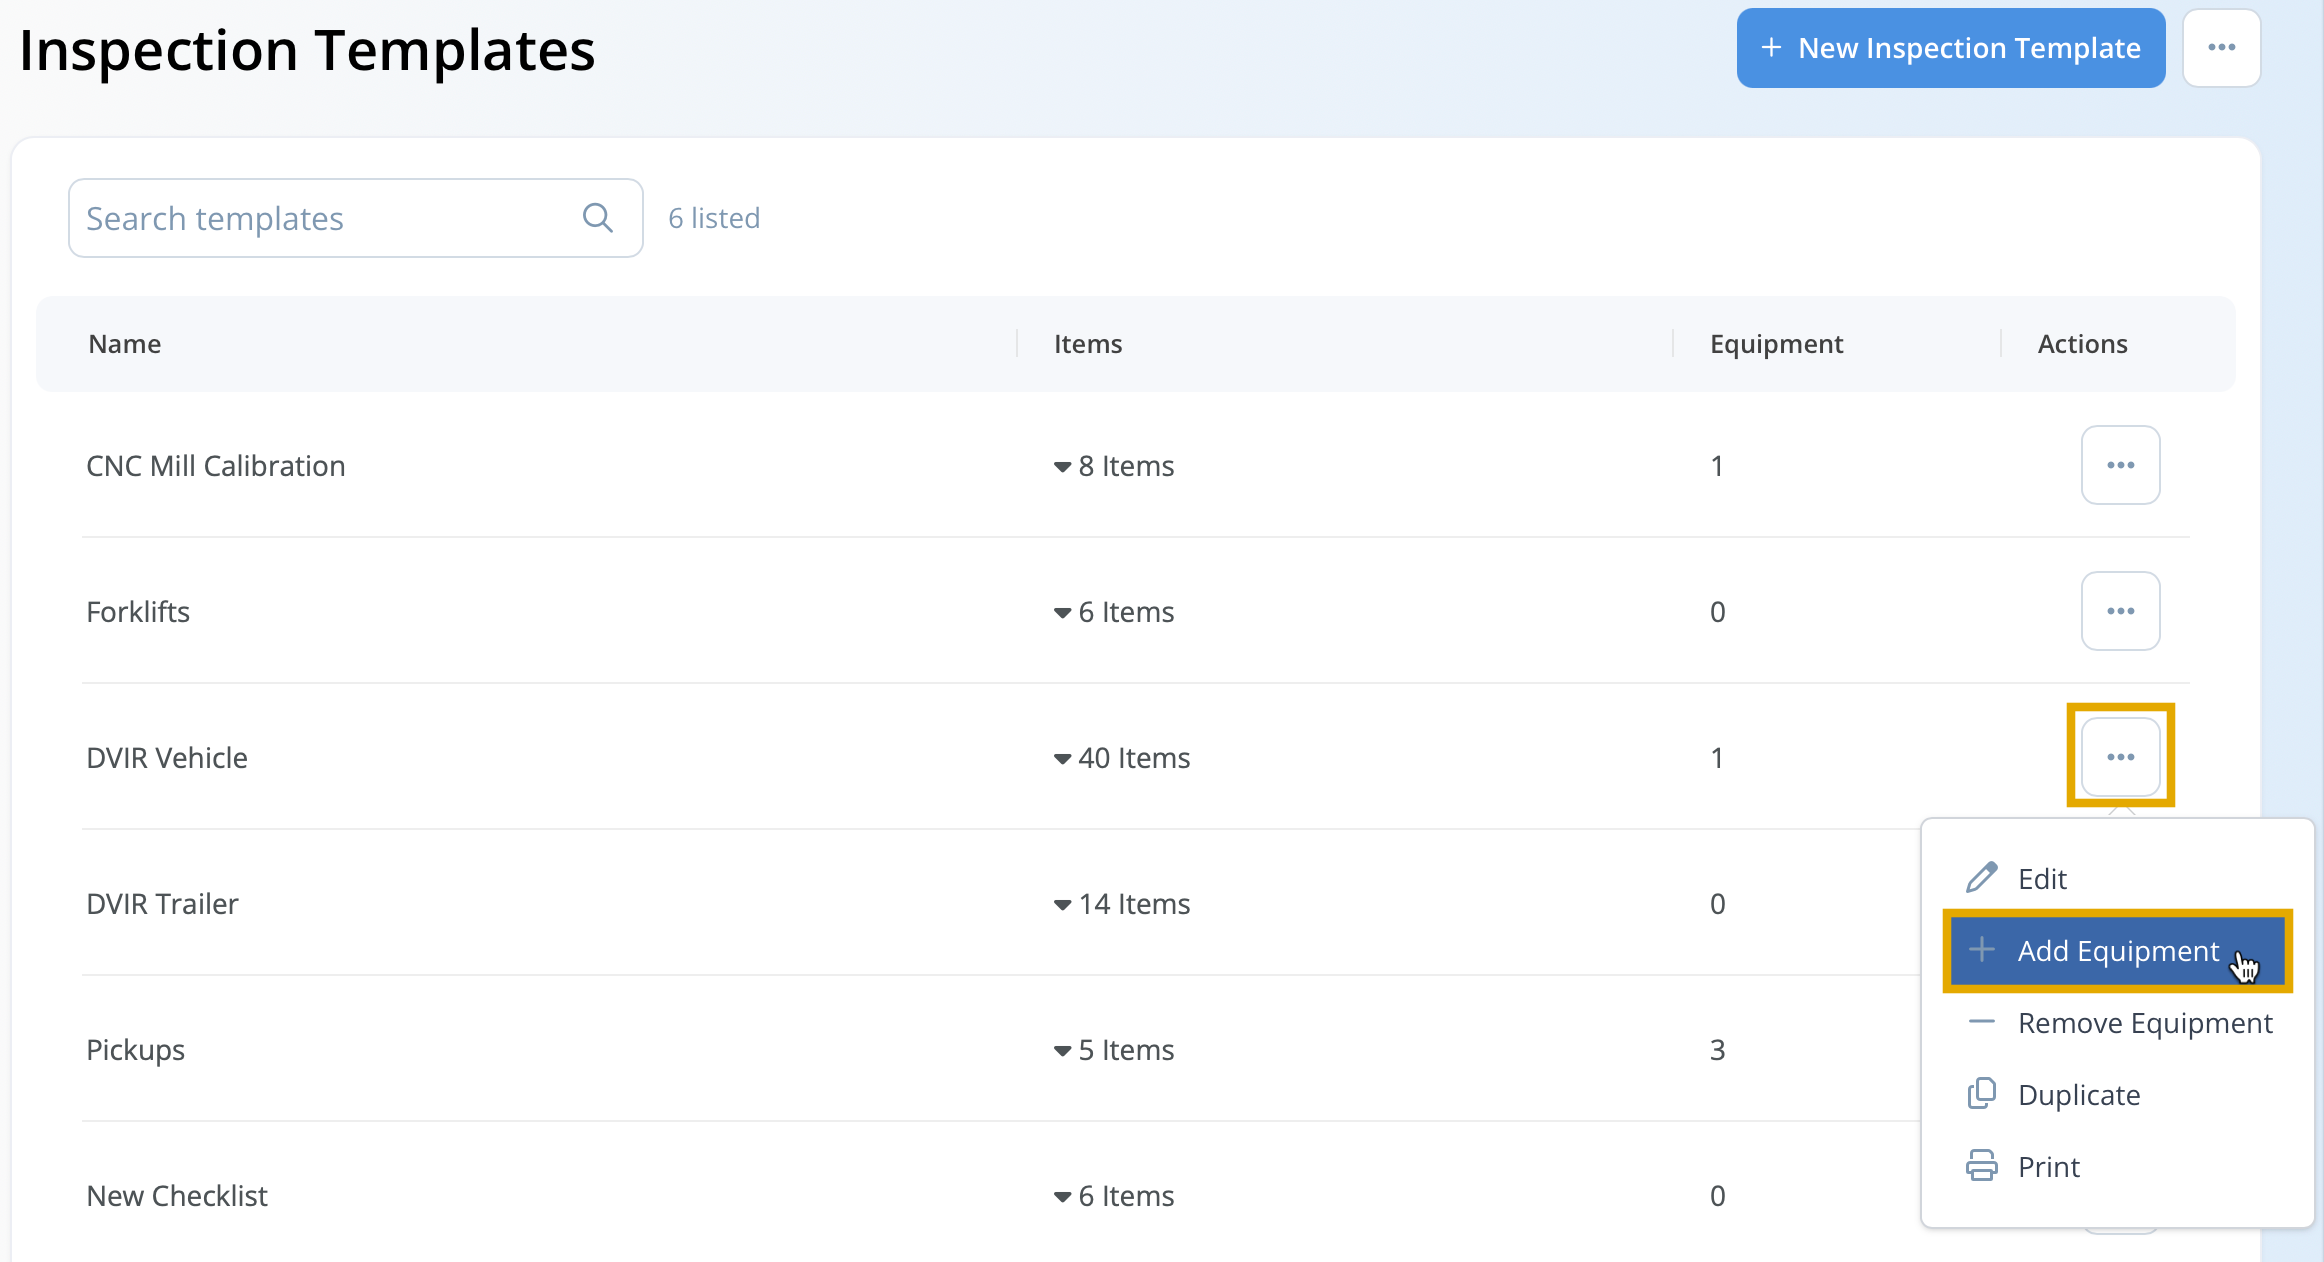
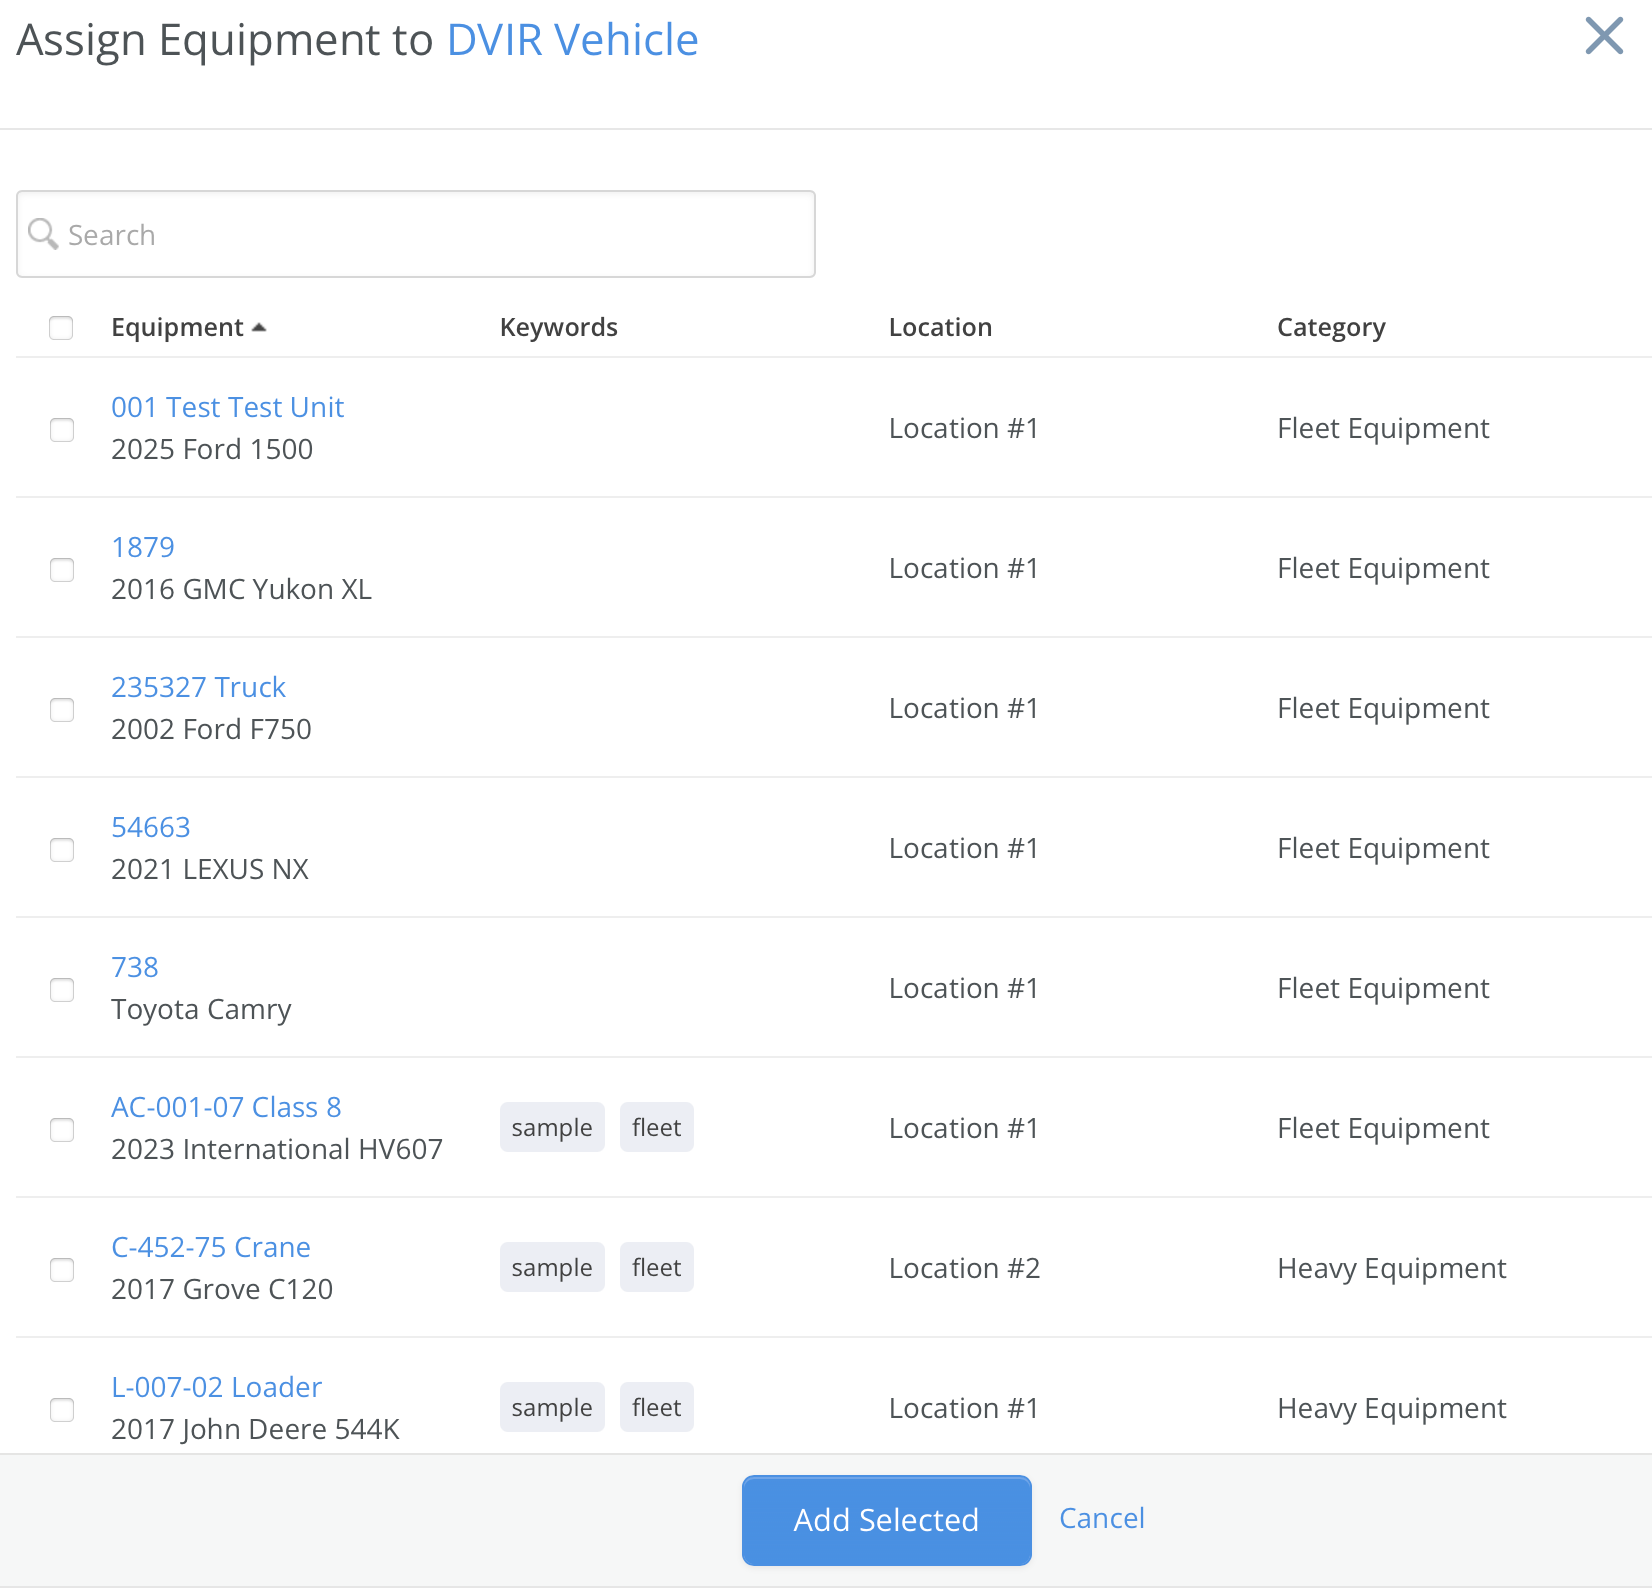
This action displays a list of available units, allowing the selected equipment to be added to the DVIR template.
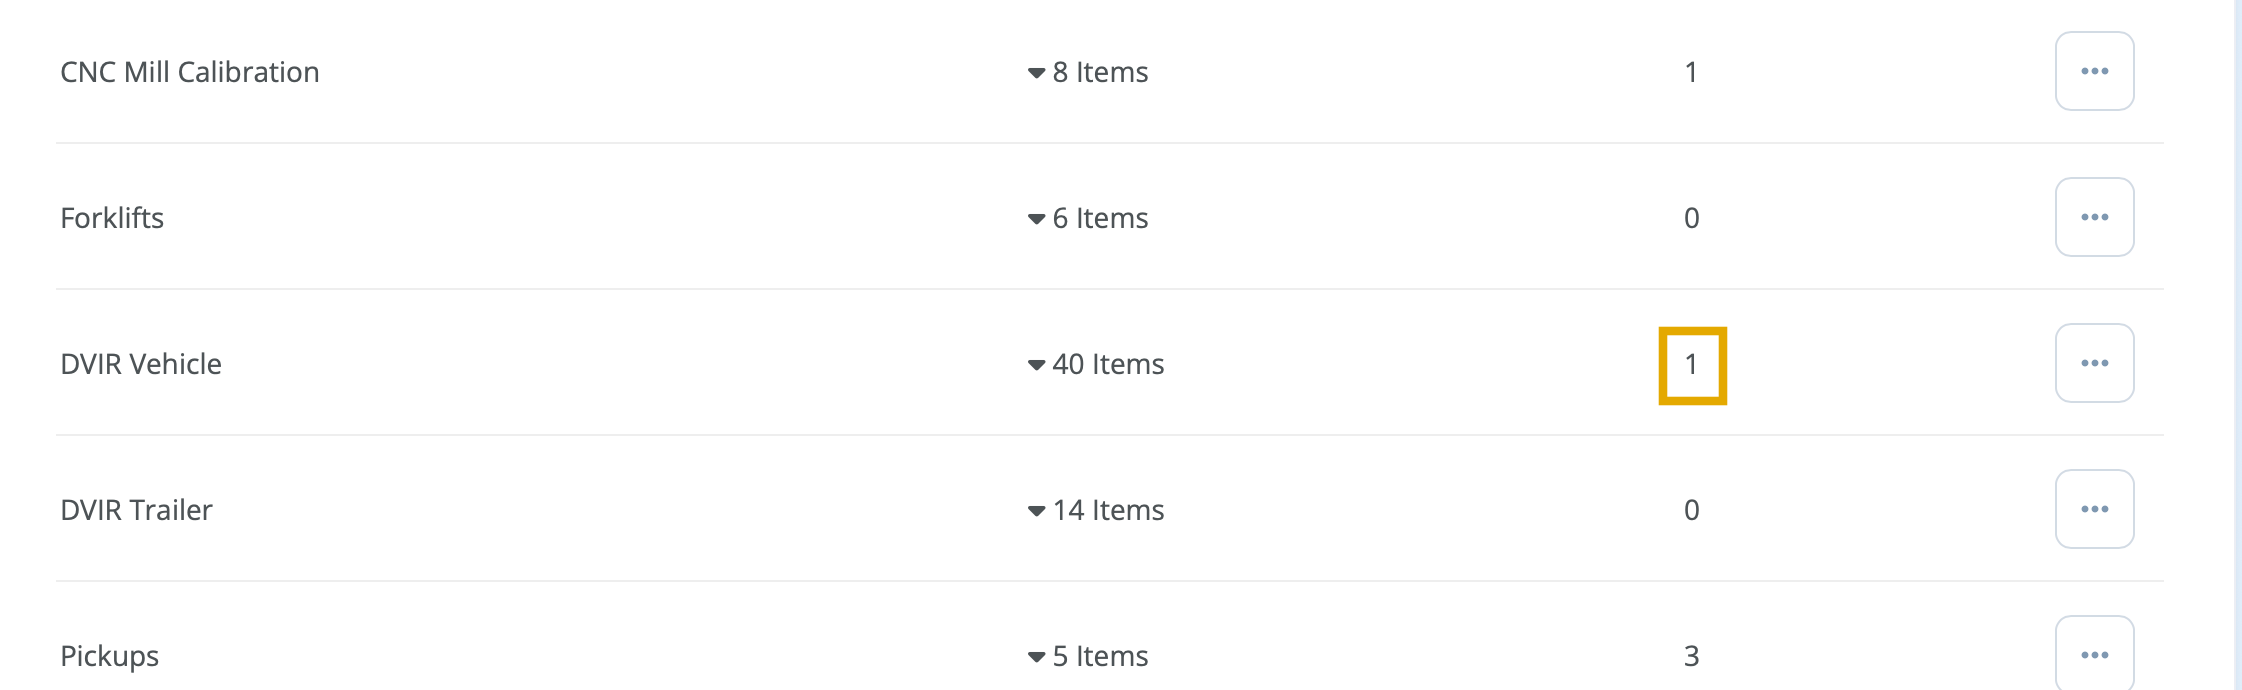
The equipment count updates once the equipment is officially saved to the template.
Create New DVIR Record
After equipment has been assigned to the DVIR template, new DVIR records may be created for the unit through the equipment list using the action gear.
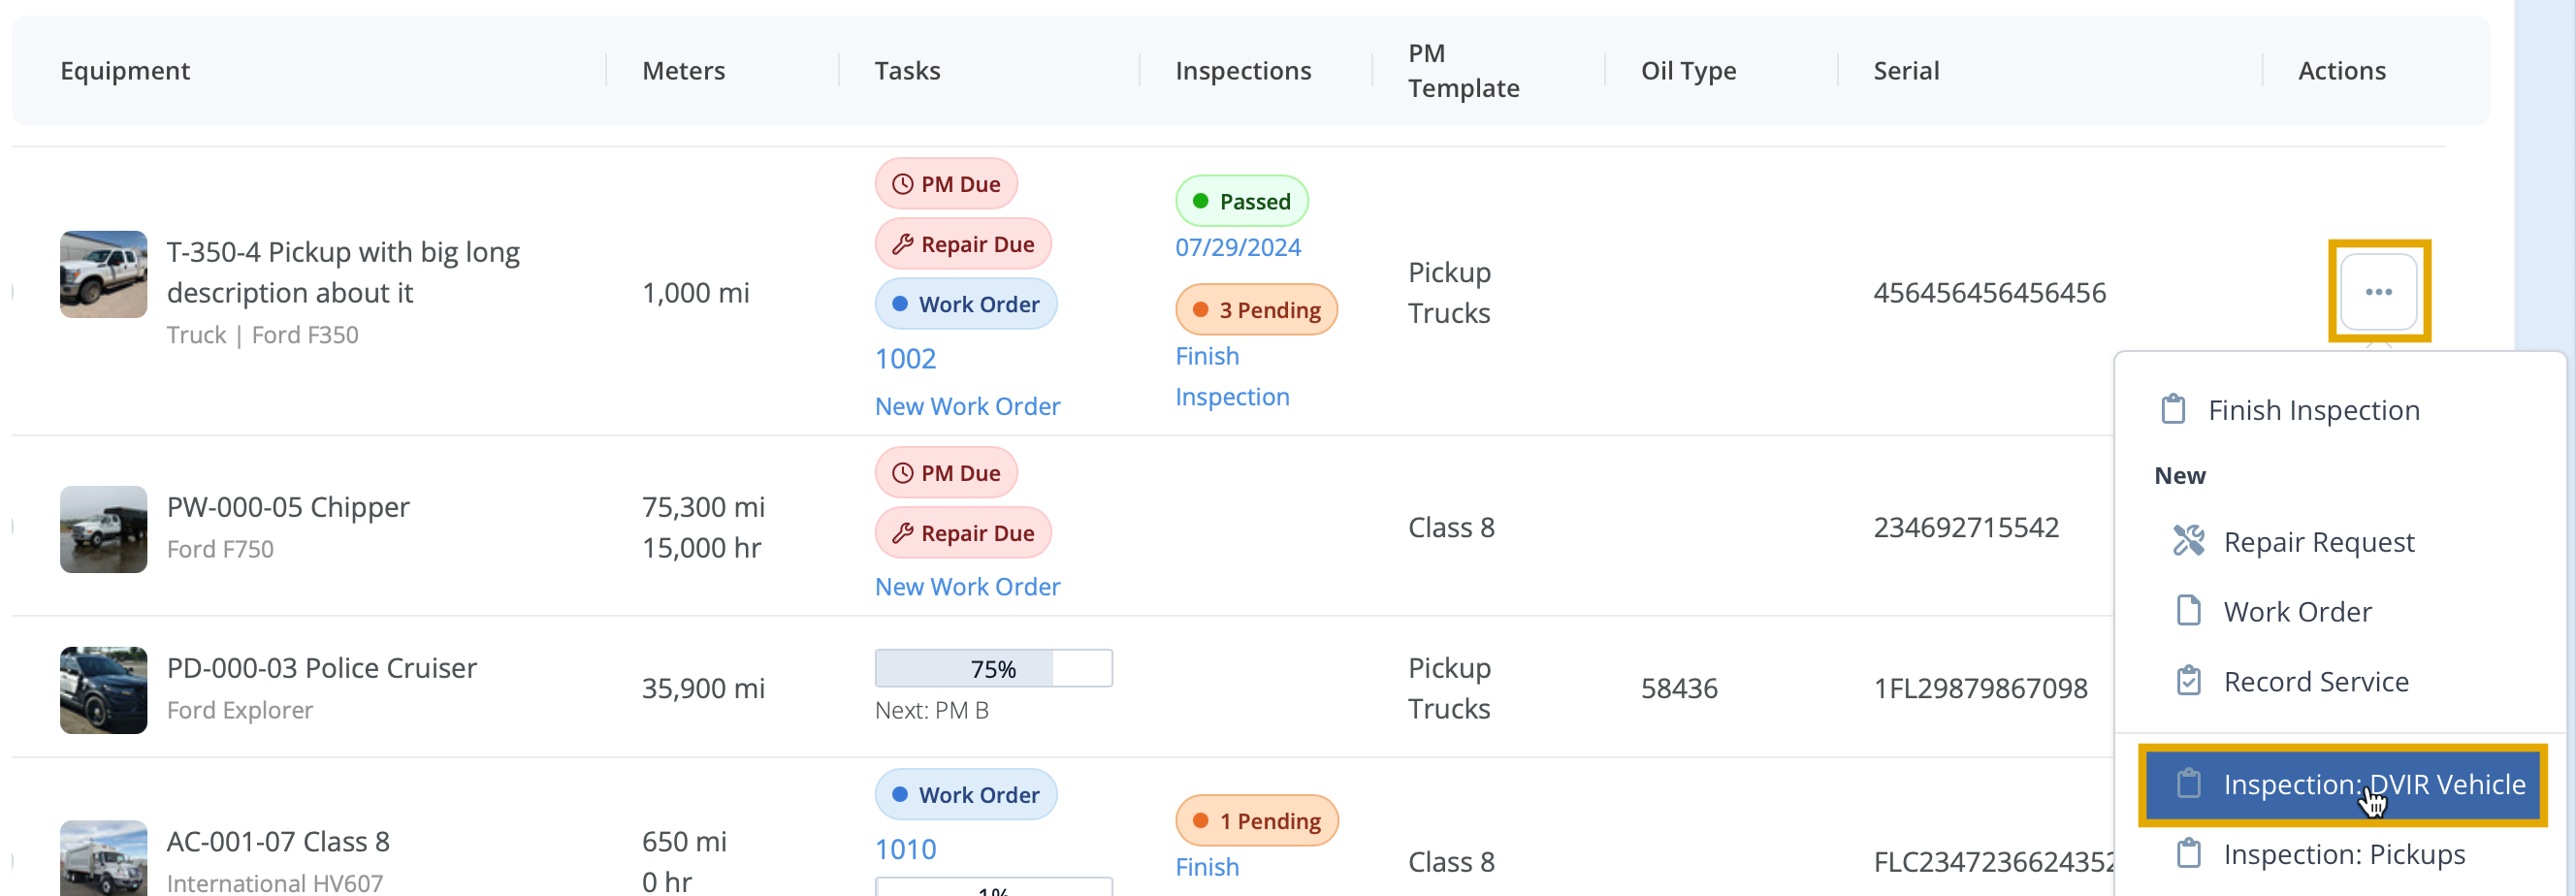
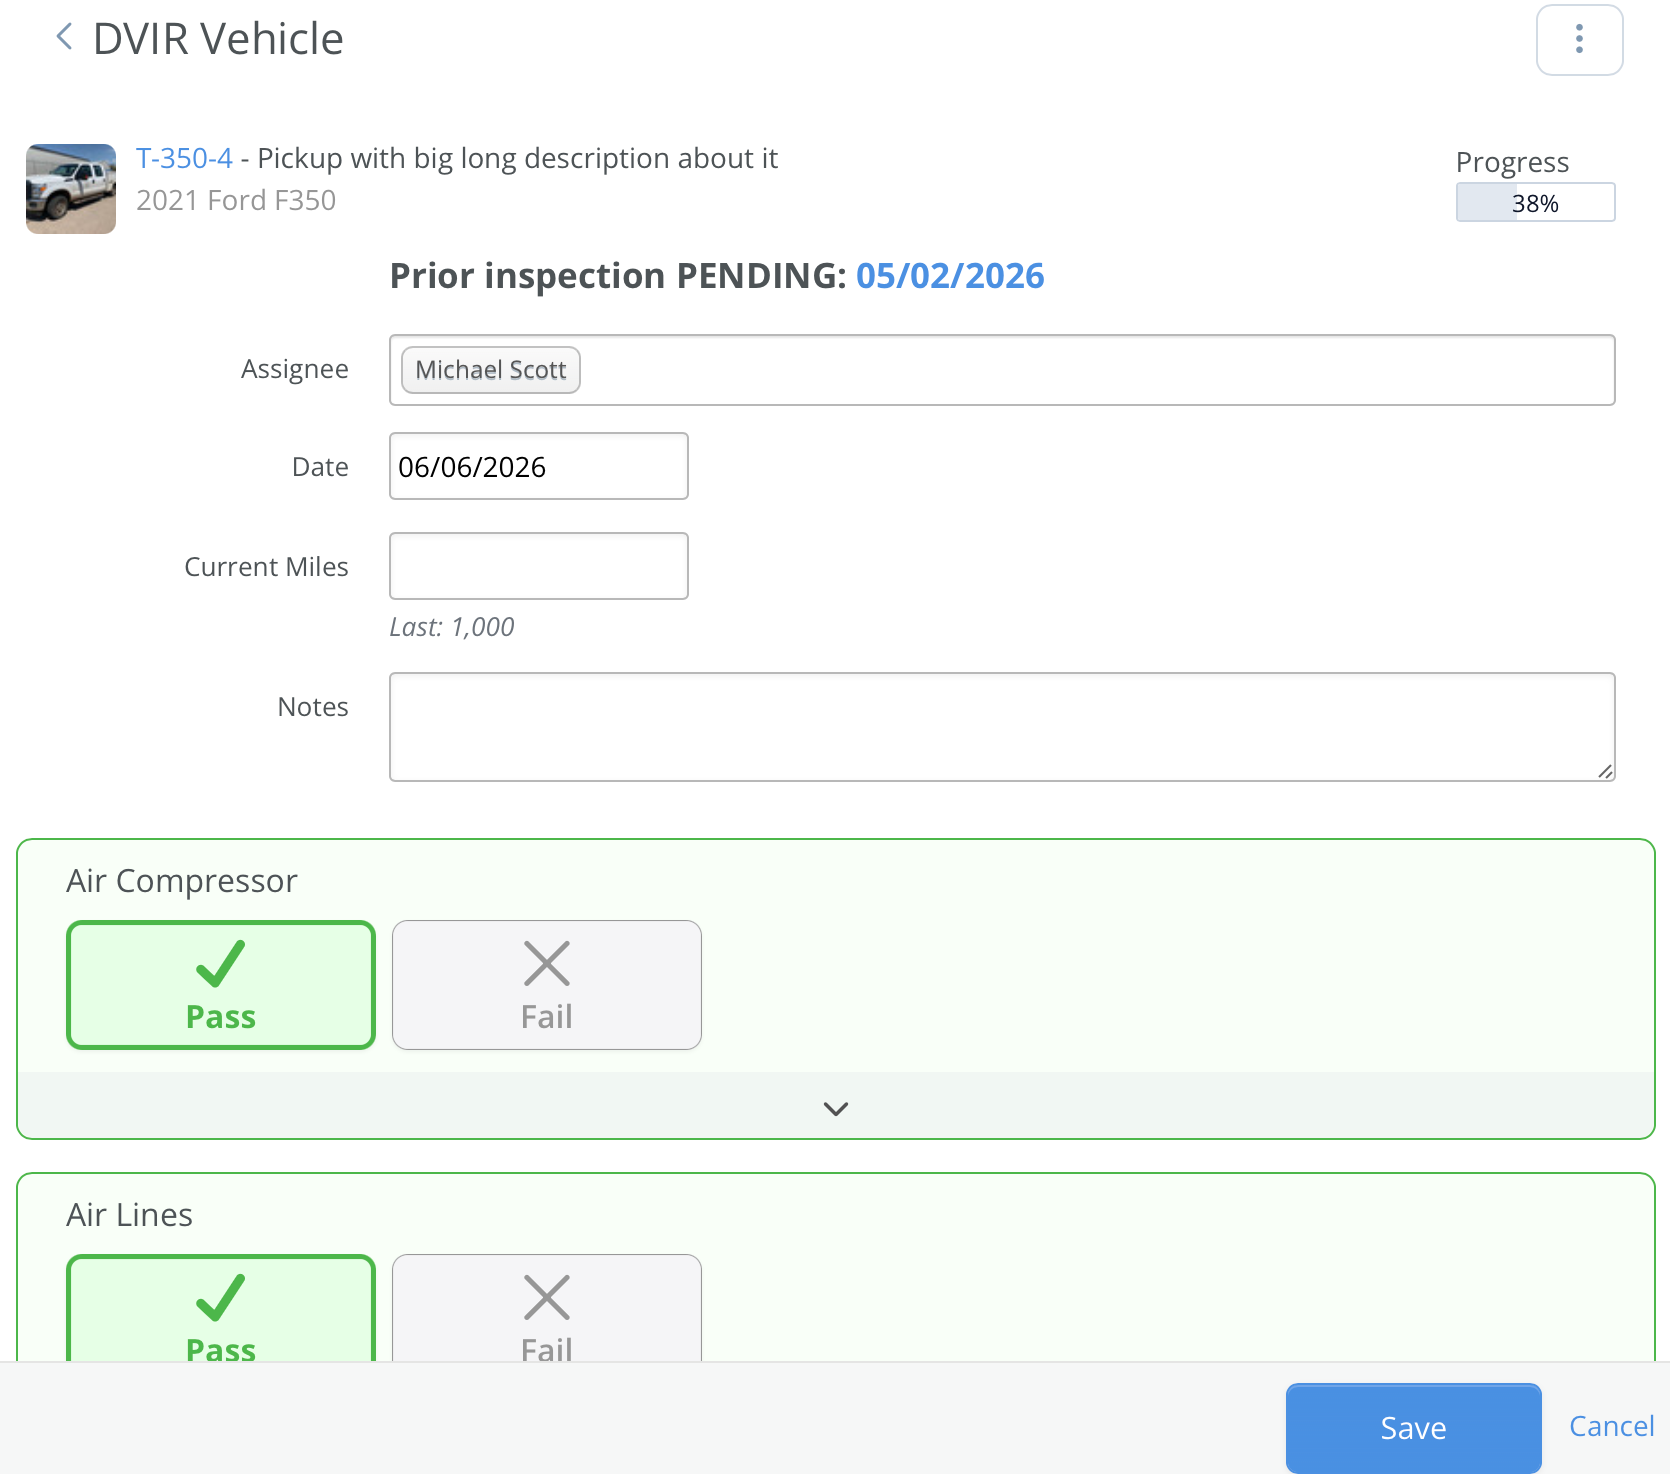
Selecting Inspection: DVIR Vehicle or Inspection: DVIR Trailer opens the inspection record screen, where each checklist item is displayed with Pass and Fail options.
- Assignee – Identifies the individual responsible for completing the inspection.
- Date – Defaults to the current date but can be adjusted when recording a past inspection.
- Current Miles / Hours / Kilometers – Records the equipment’s meter reading at the time the inspection is performed.
- Notes – Allows entry of additional comments for reference or documentation purposes.

- Select Pass or Failed for each checklist item to move to the next item.
- Pass – Indicates the checklist item has no issues.
- Failed – Indicates an issue was identified with the checklist item.
- When an item is marked as Failed, additional options become available.
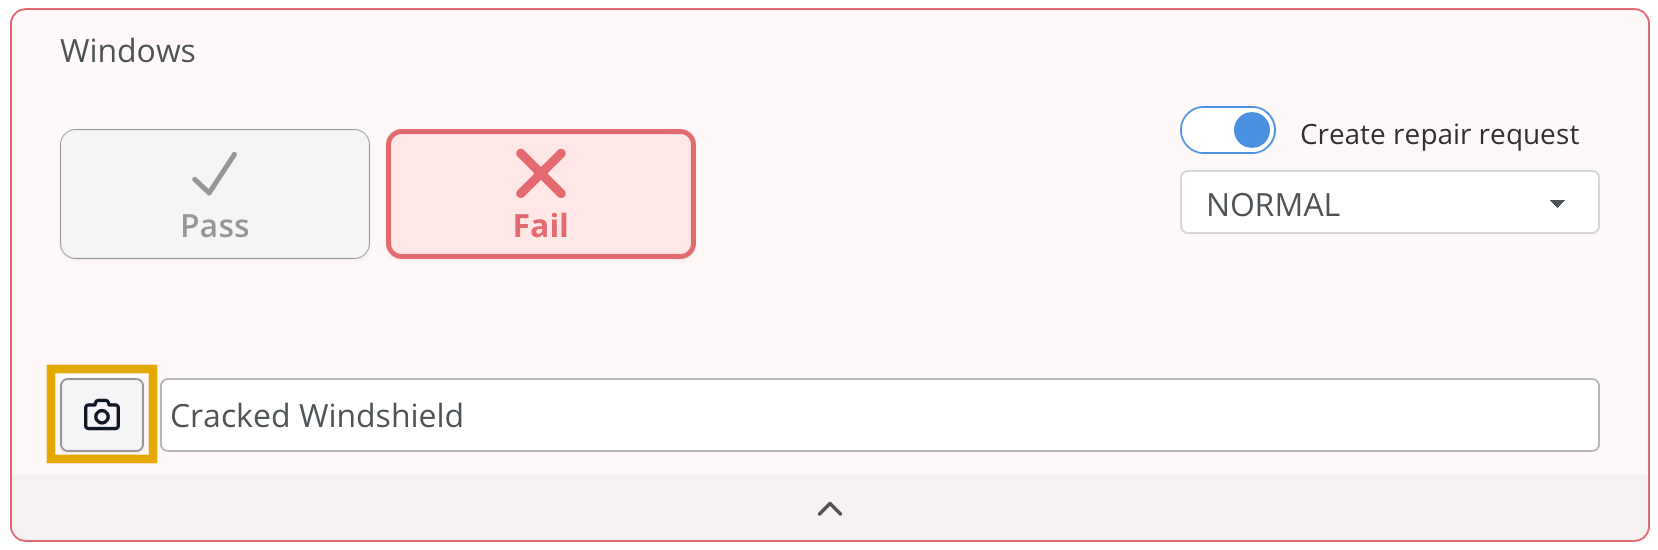
- Selecting Create Repair Request generates a new repair request using the checklist item name and adds it to the equipment task list.
- Any information entered in the text field below will appear in the repair request notes.
- If a repair request already exists for the same checklist item and is still pending, a notification will appear to prevent creating a duplicate request.
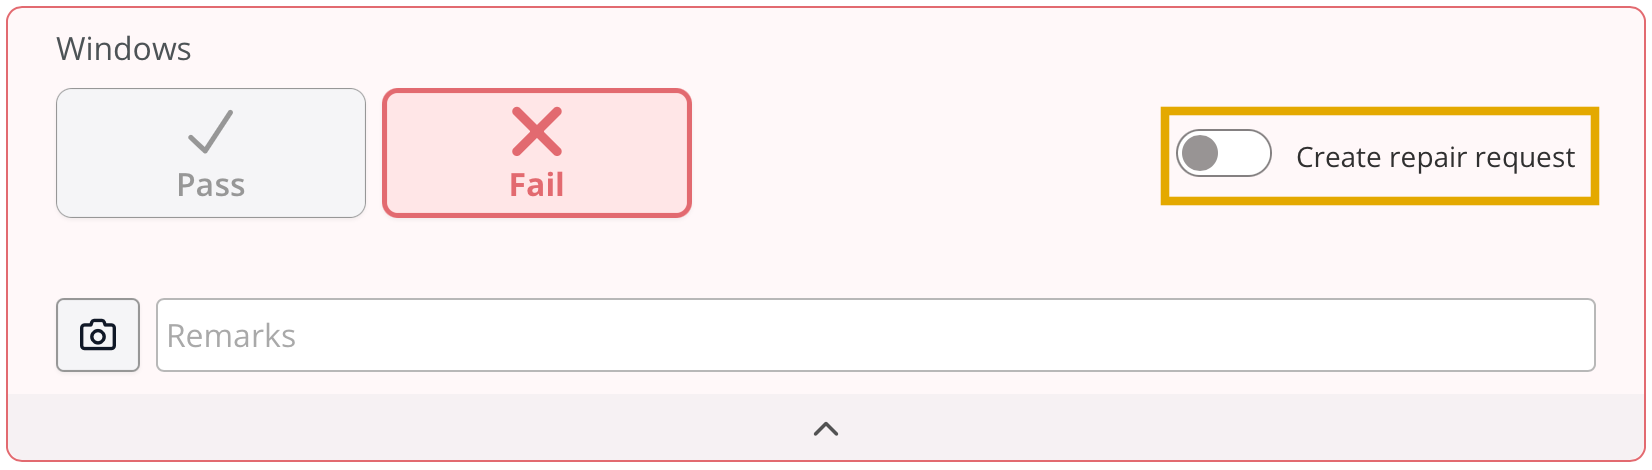
The Picture button on the right side allows a photo of the failed item to be uploaded for reference.
Signing Off On DVIR
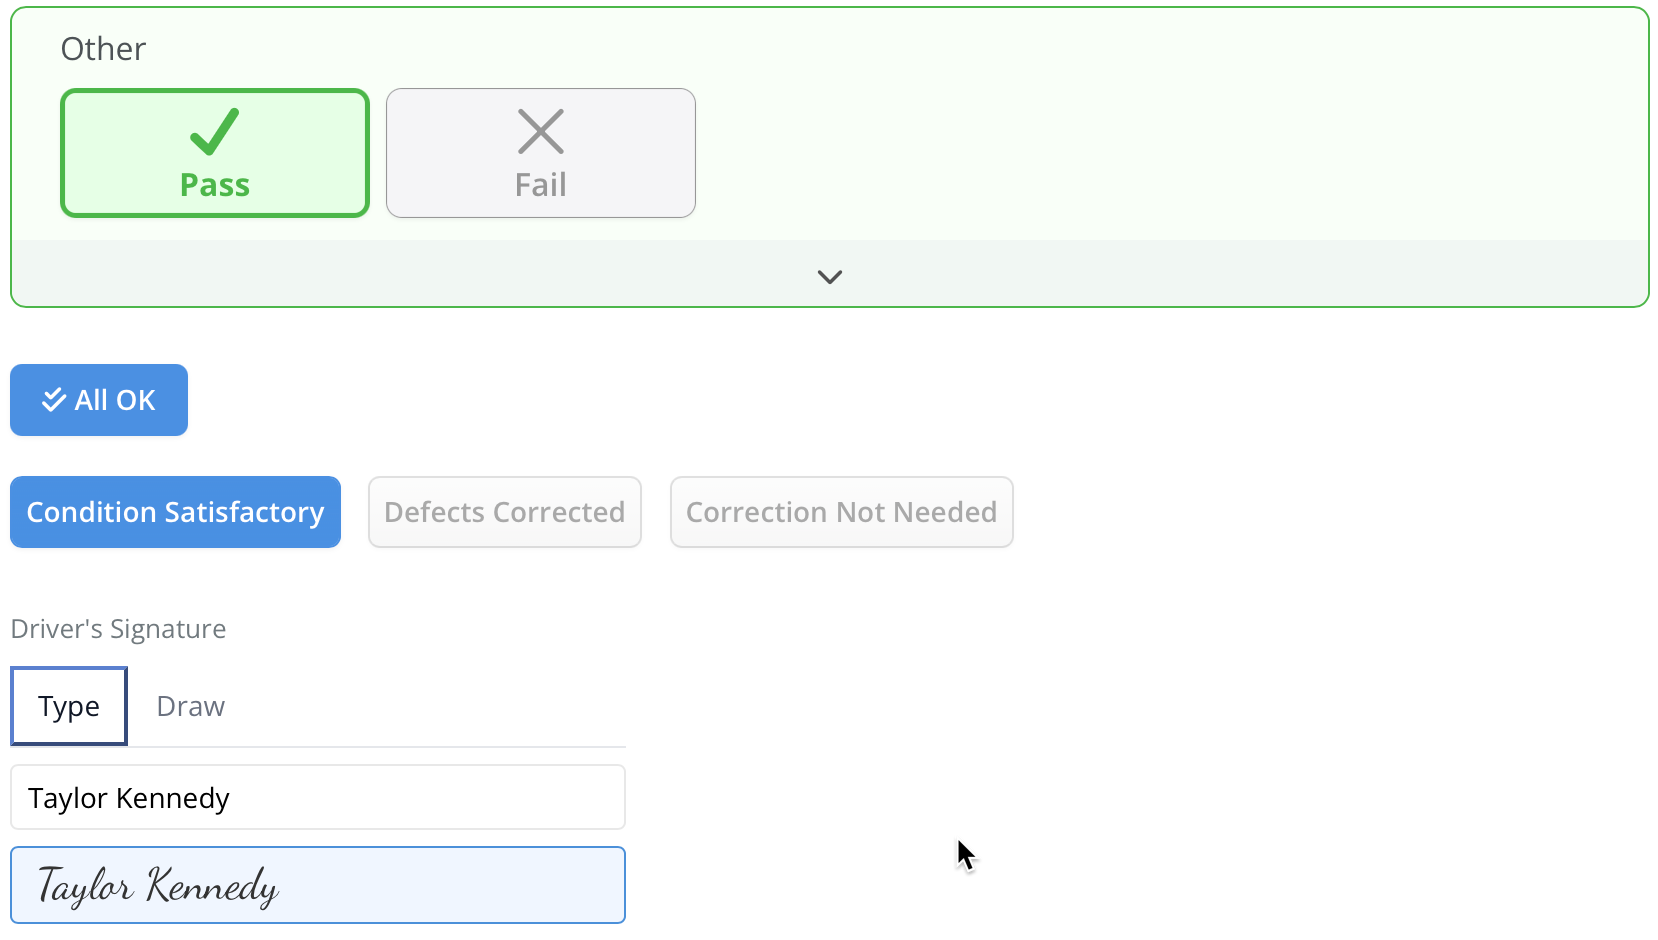
After all checklist items have been reviewed and marked as pass or fail, the condition selection and signature fields will be displayed.
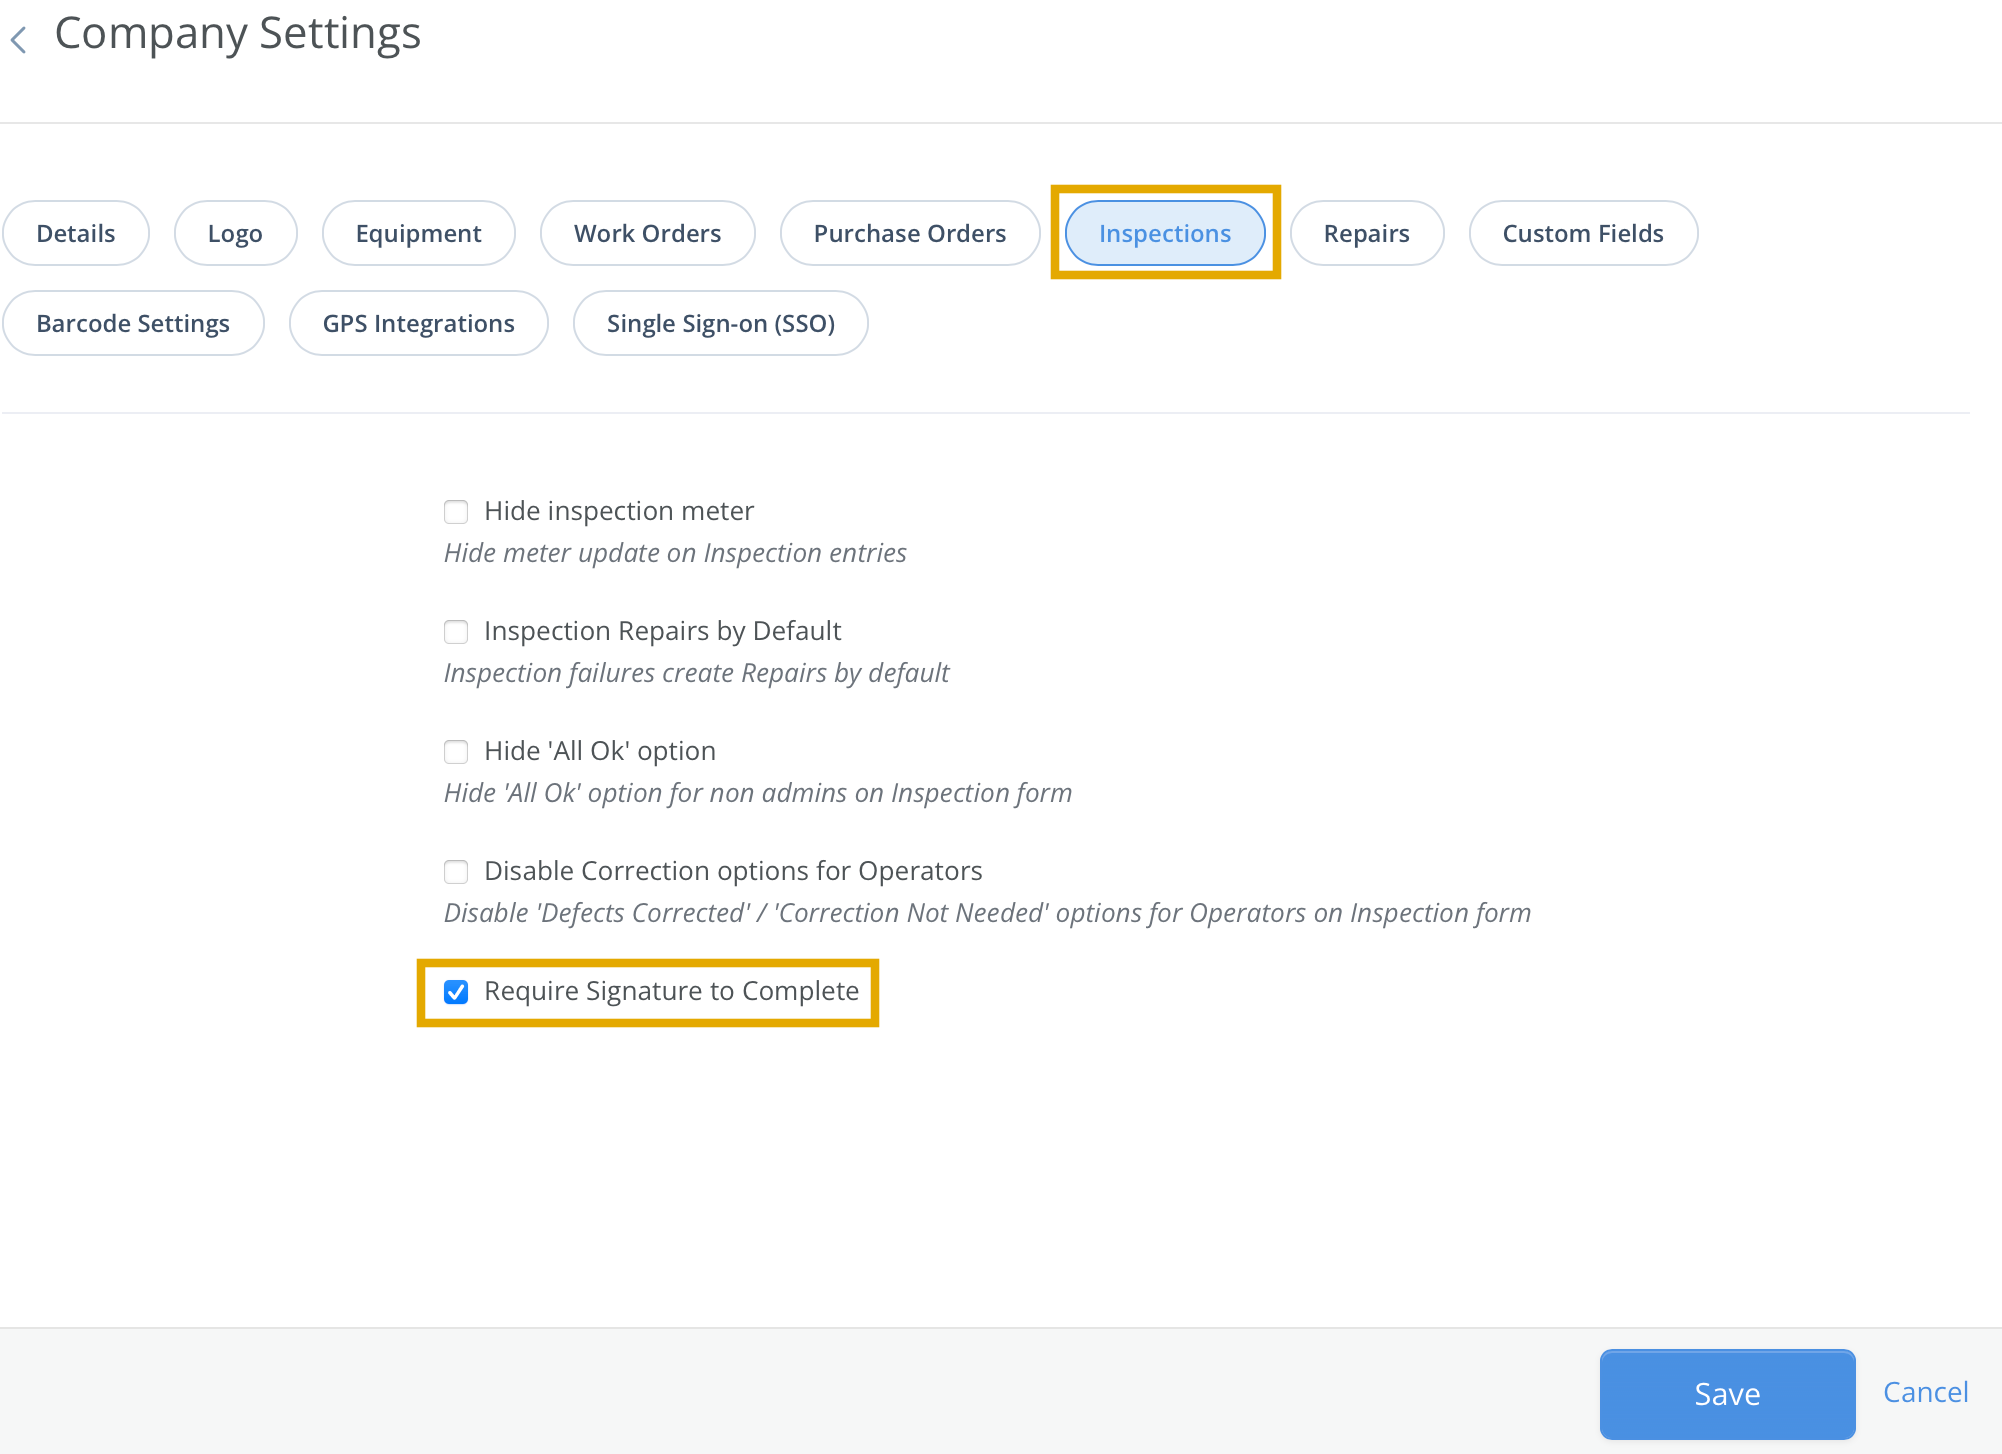
- Note:
- If the signature box does not appear, signatures may need to be enabled for the organization. Click the user profile in the top-right corner of the page and select Company Settings. Navigate to the Signatures tab, check Require Signature to Complete, and then save the changes.

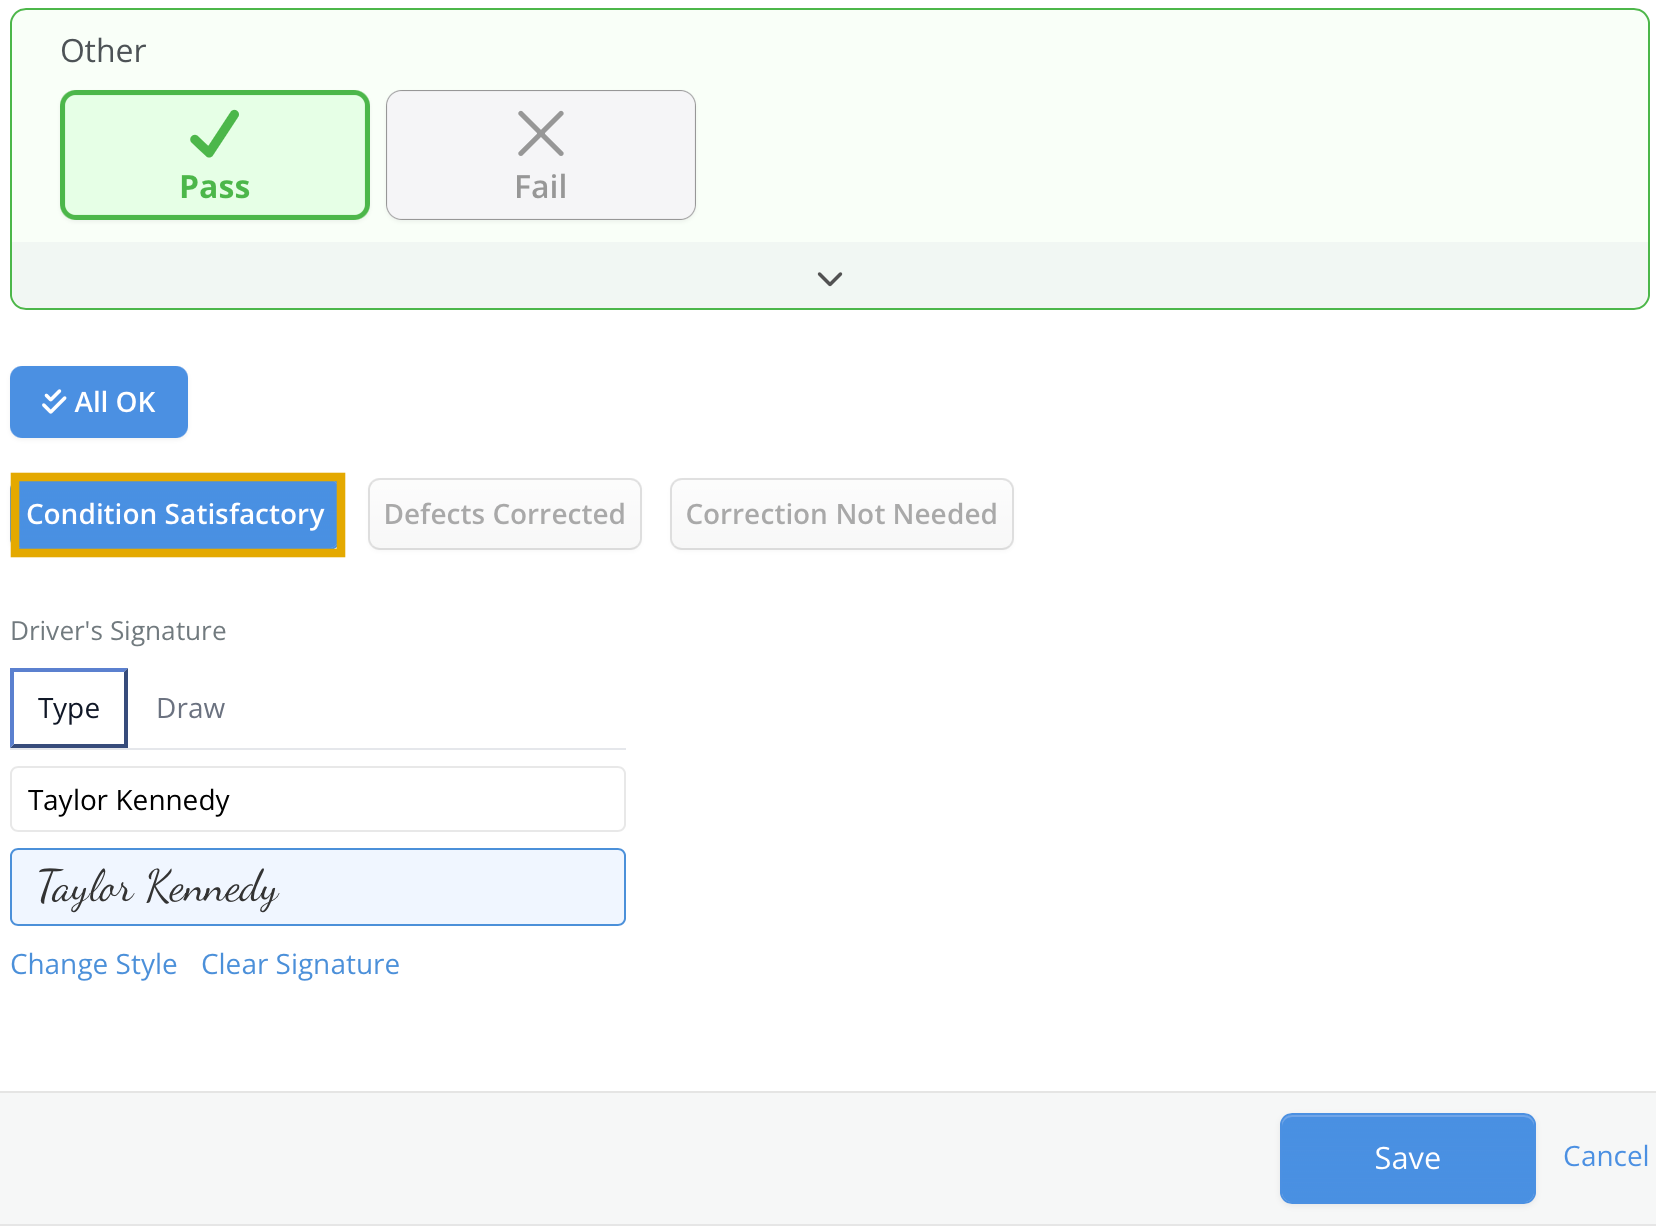
The condition shown will vary based on the inspection results. If all items pass, Condition Satisfactory is automatically selected, allowing the inspection to be signed and saved.
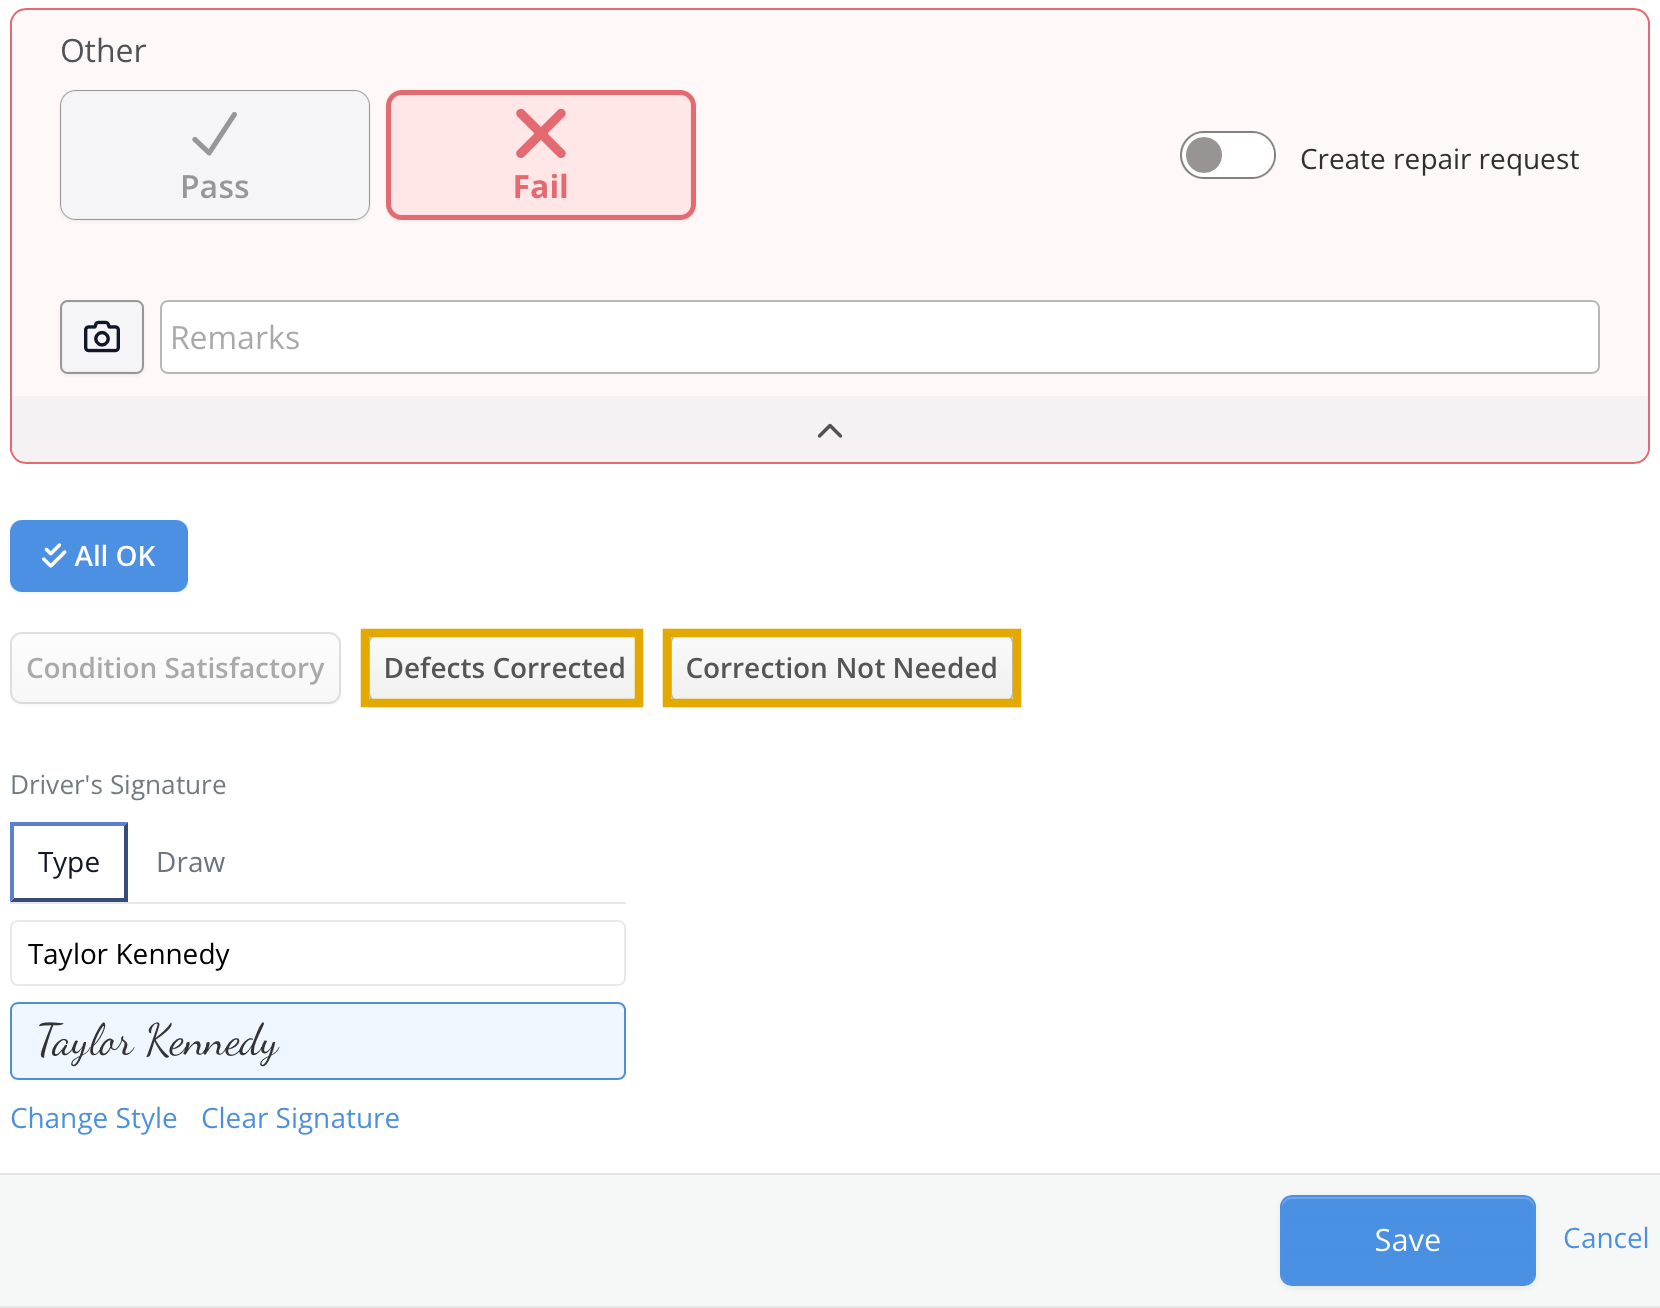
If any items fail the inspection, two condition options will be available: Defects Corrected or Correction Not Needed.
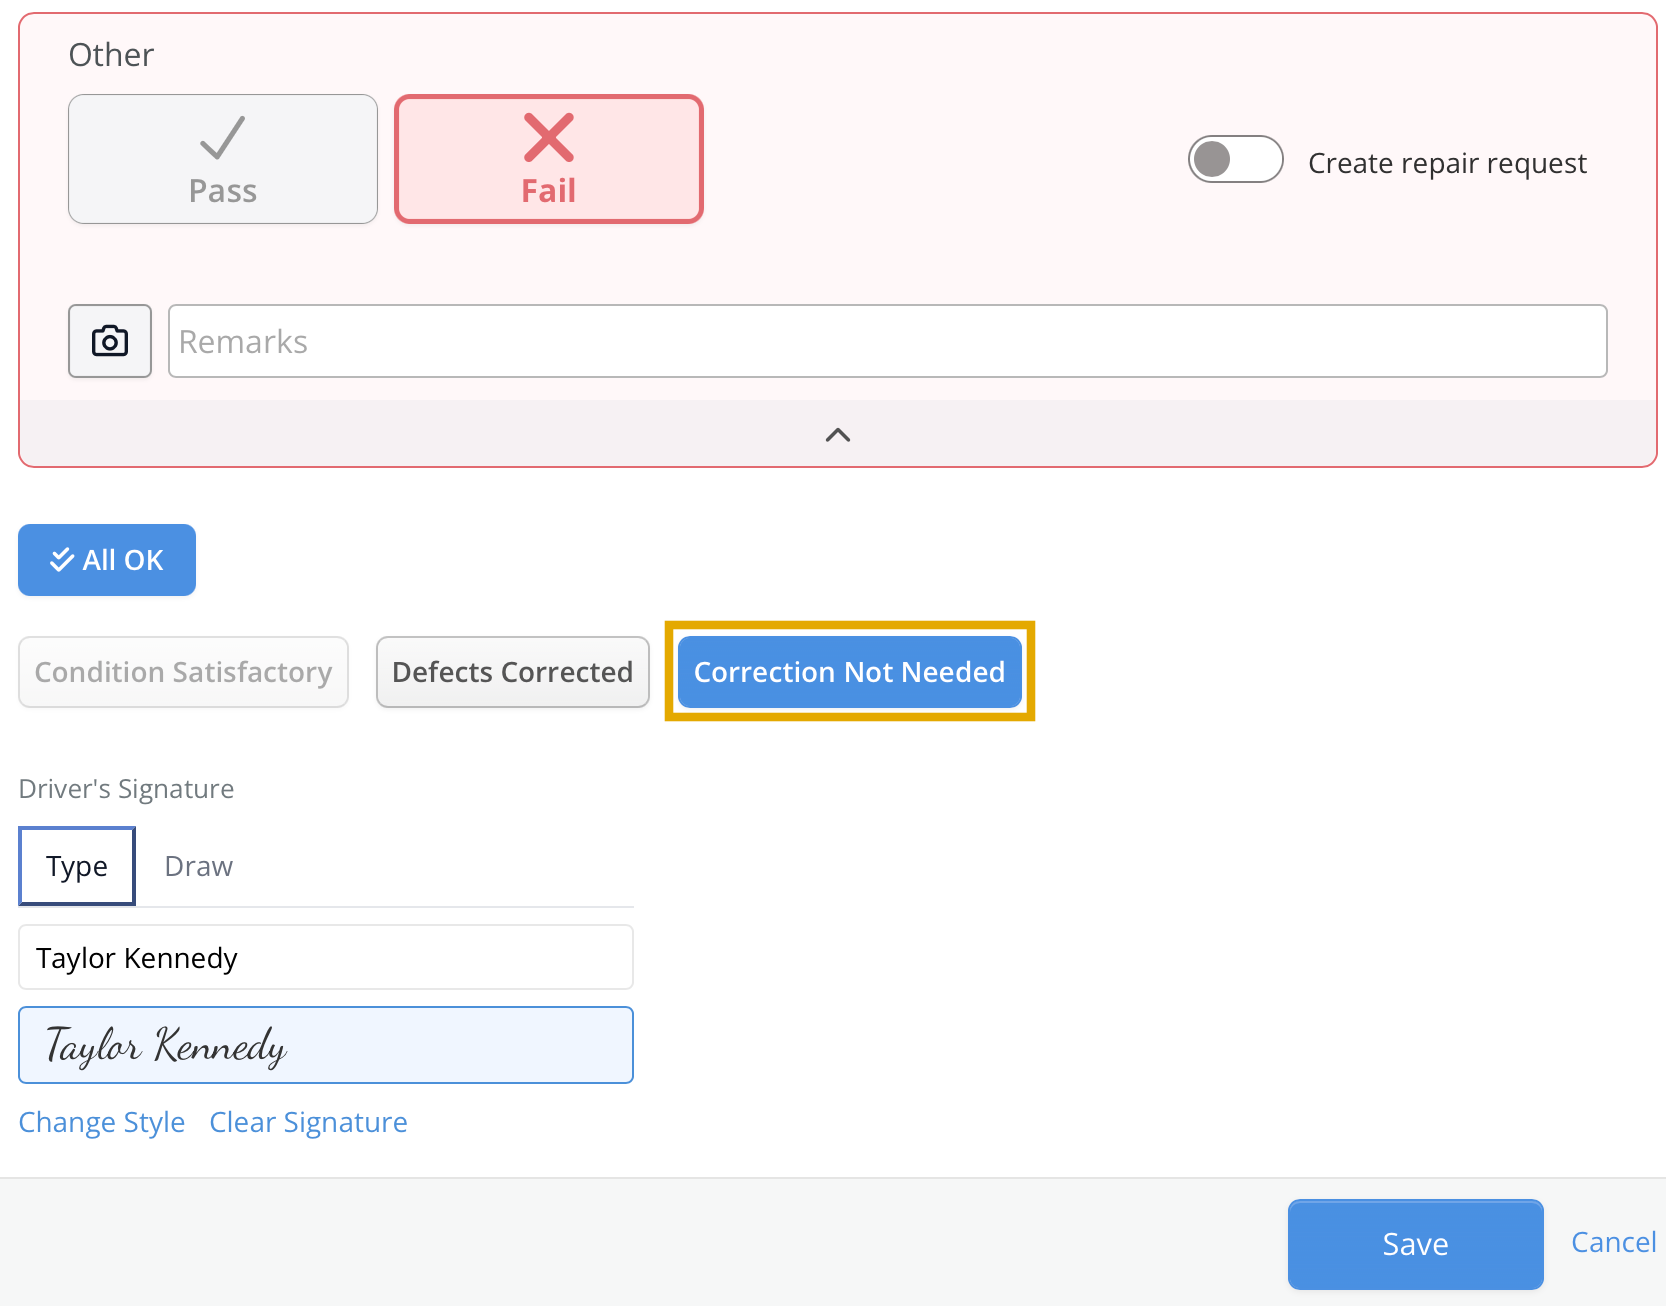
When failed items do not require immediate repair, Correction Not Needed may be selected.
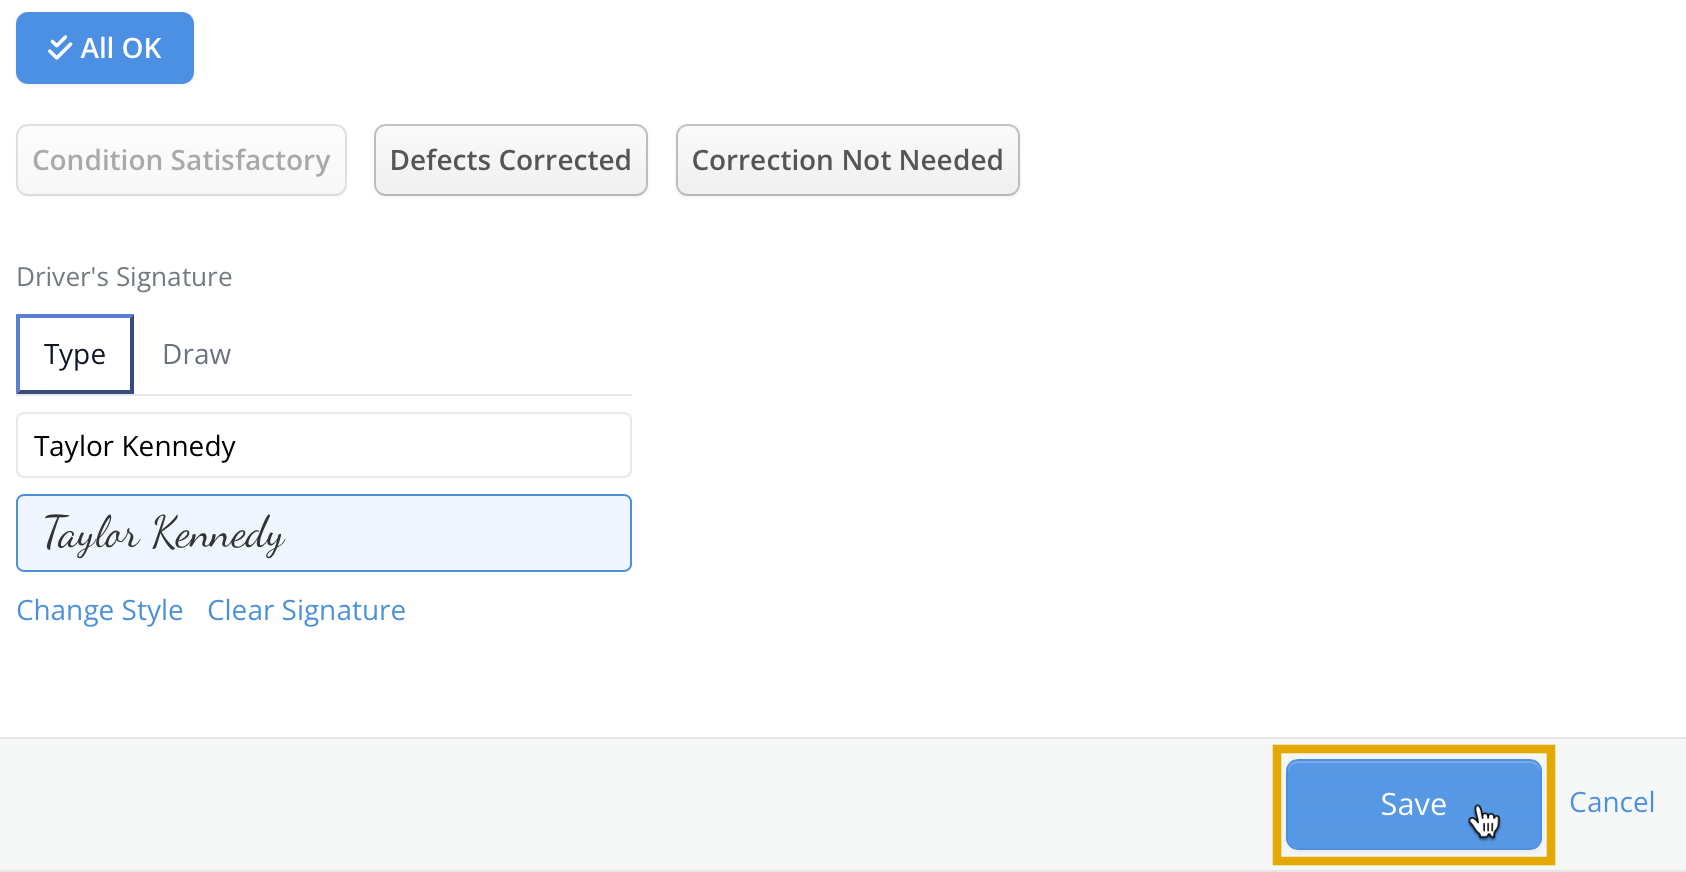
When failed items require correction, neither condition should be selected. Sign and save the inspection to record the failed DVIR in the equipment history, allowing it to be completed at a later time.
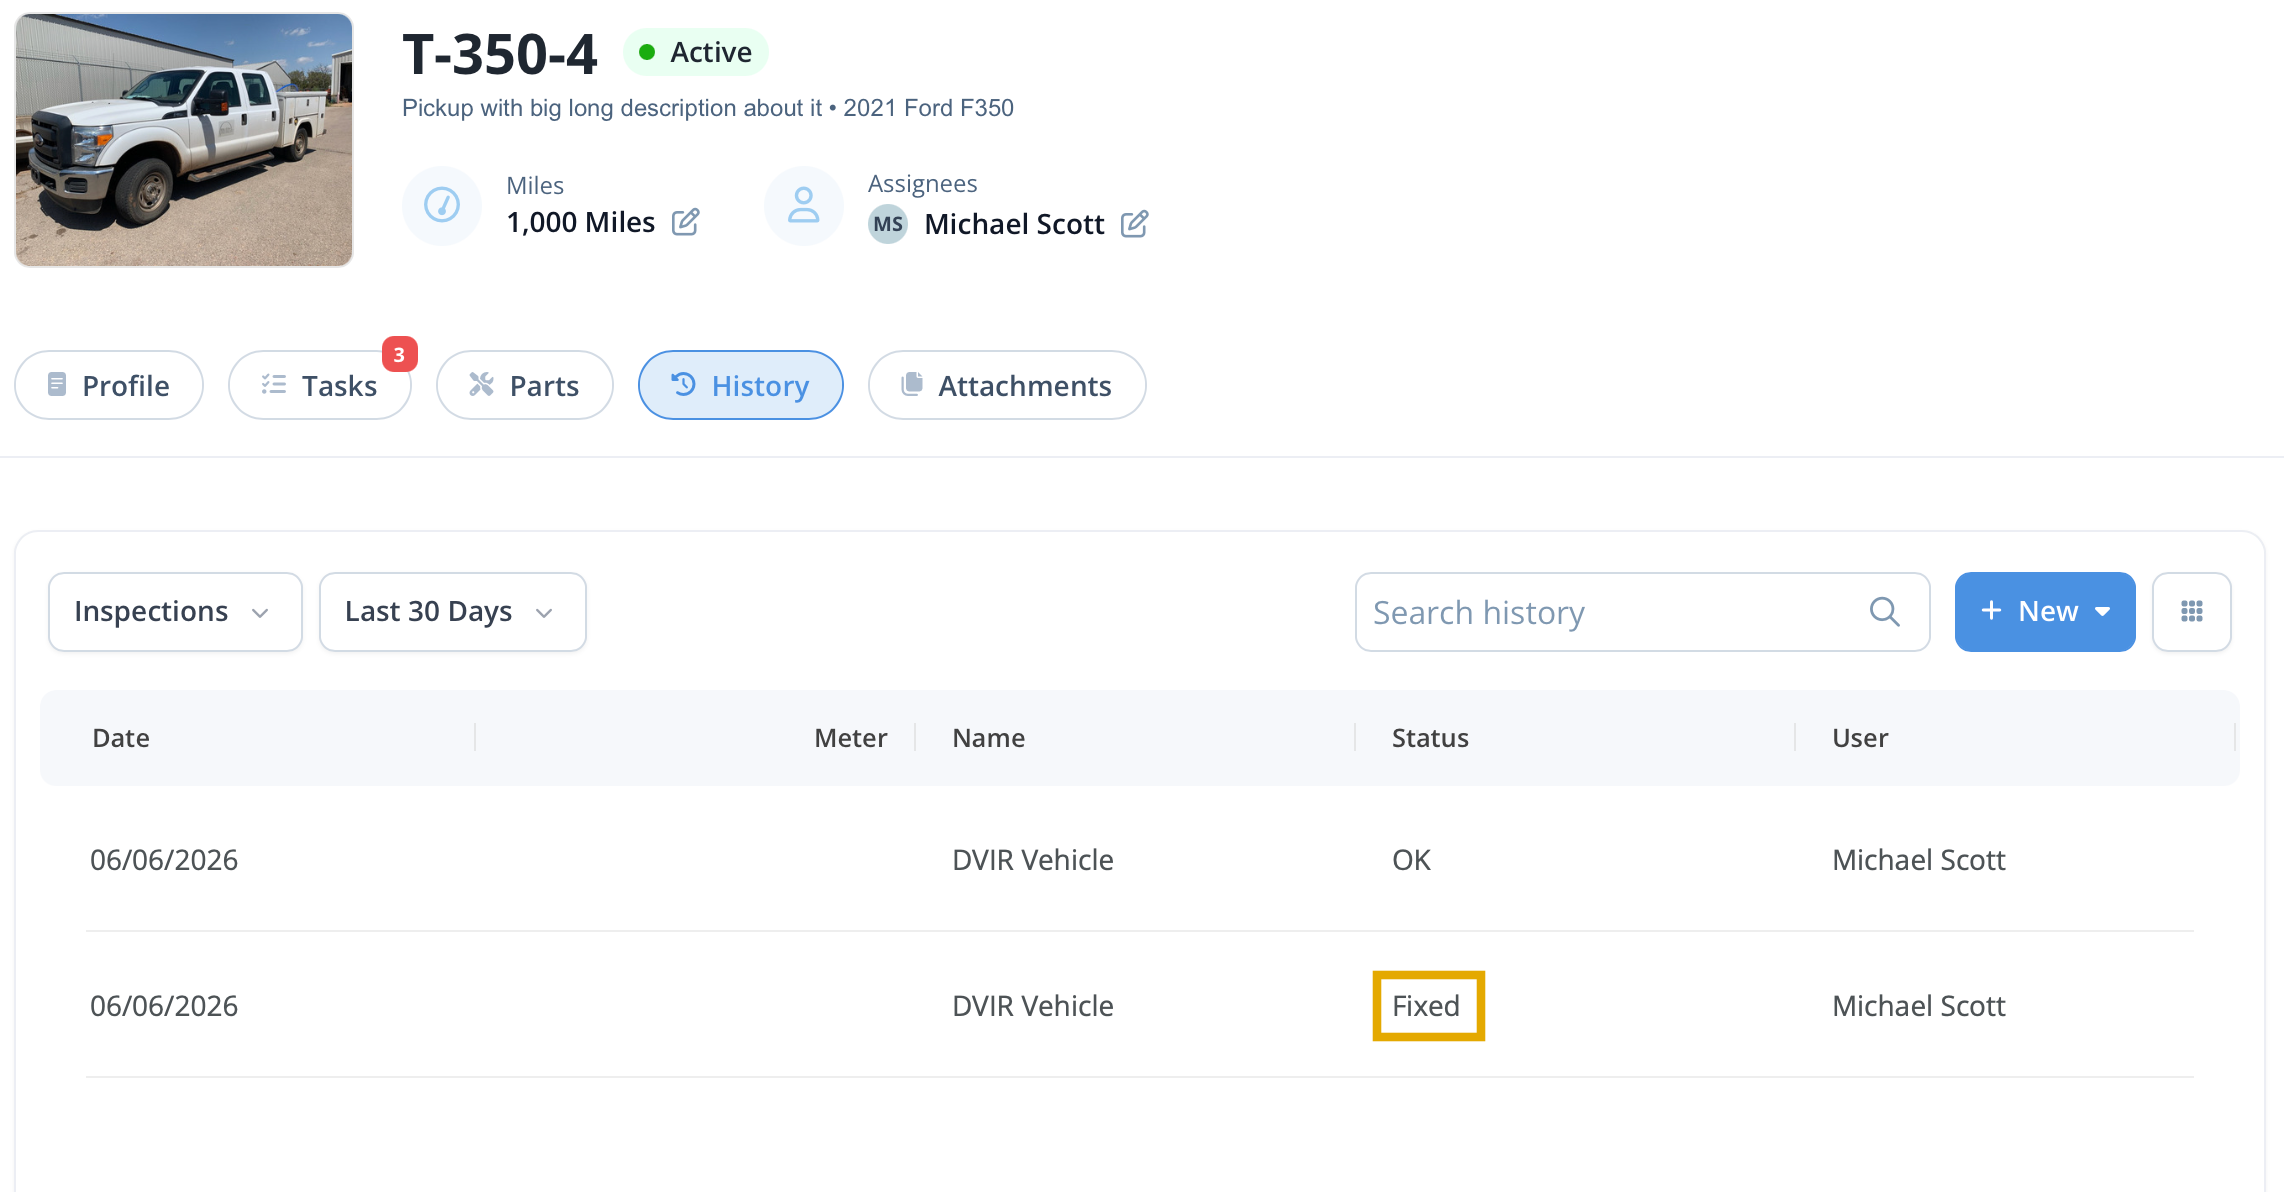
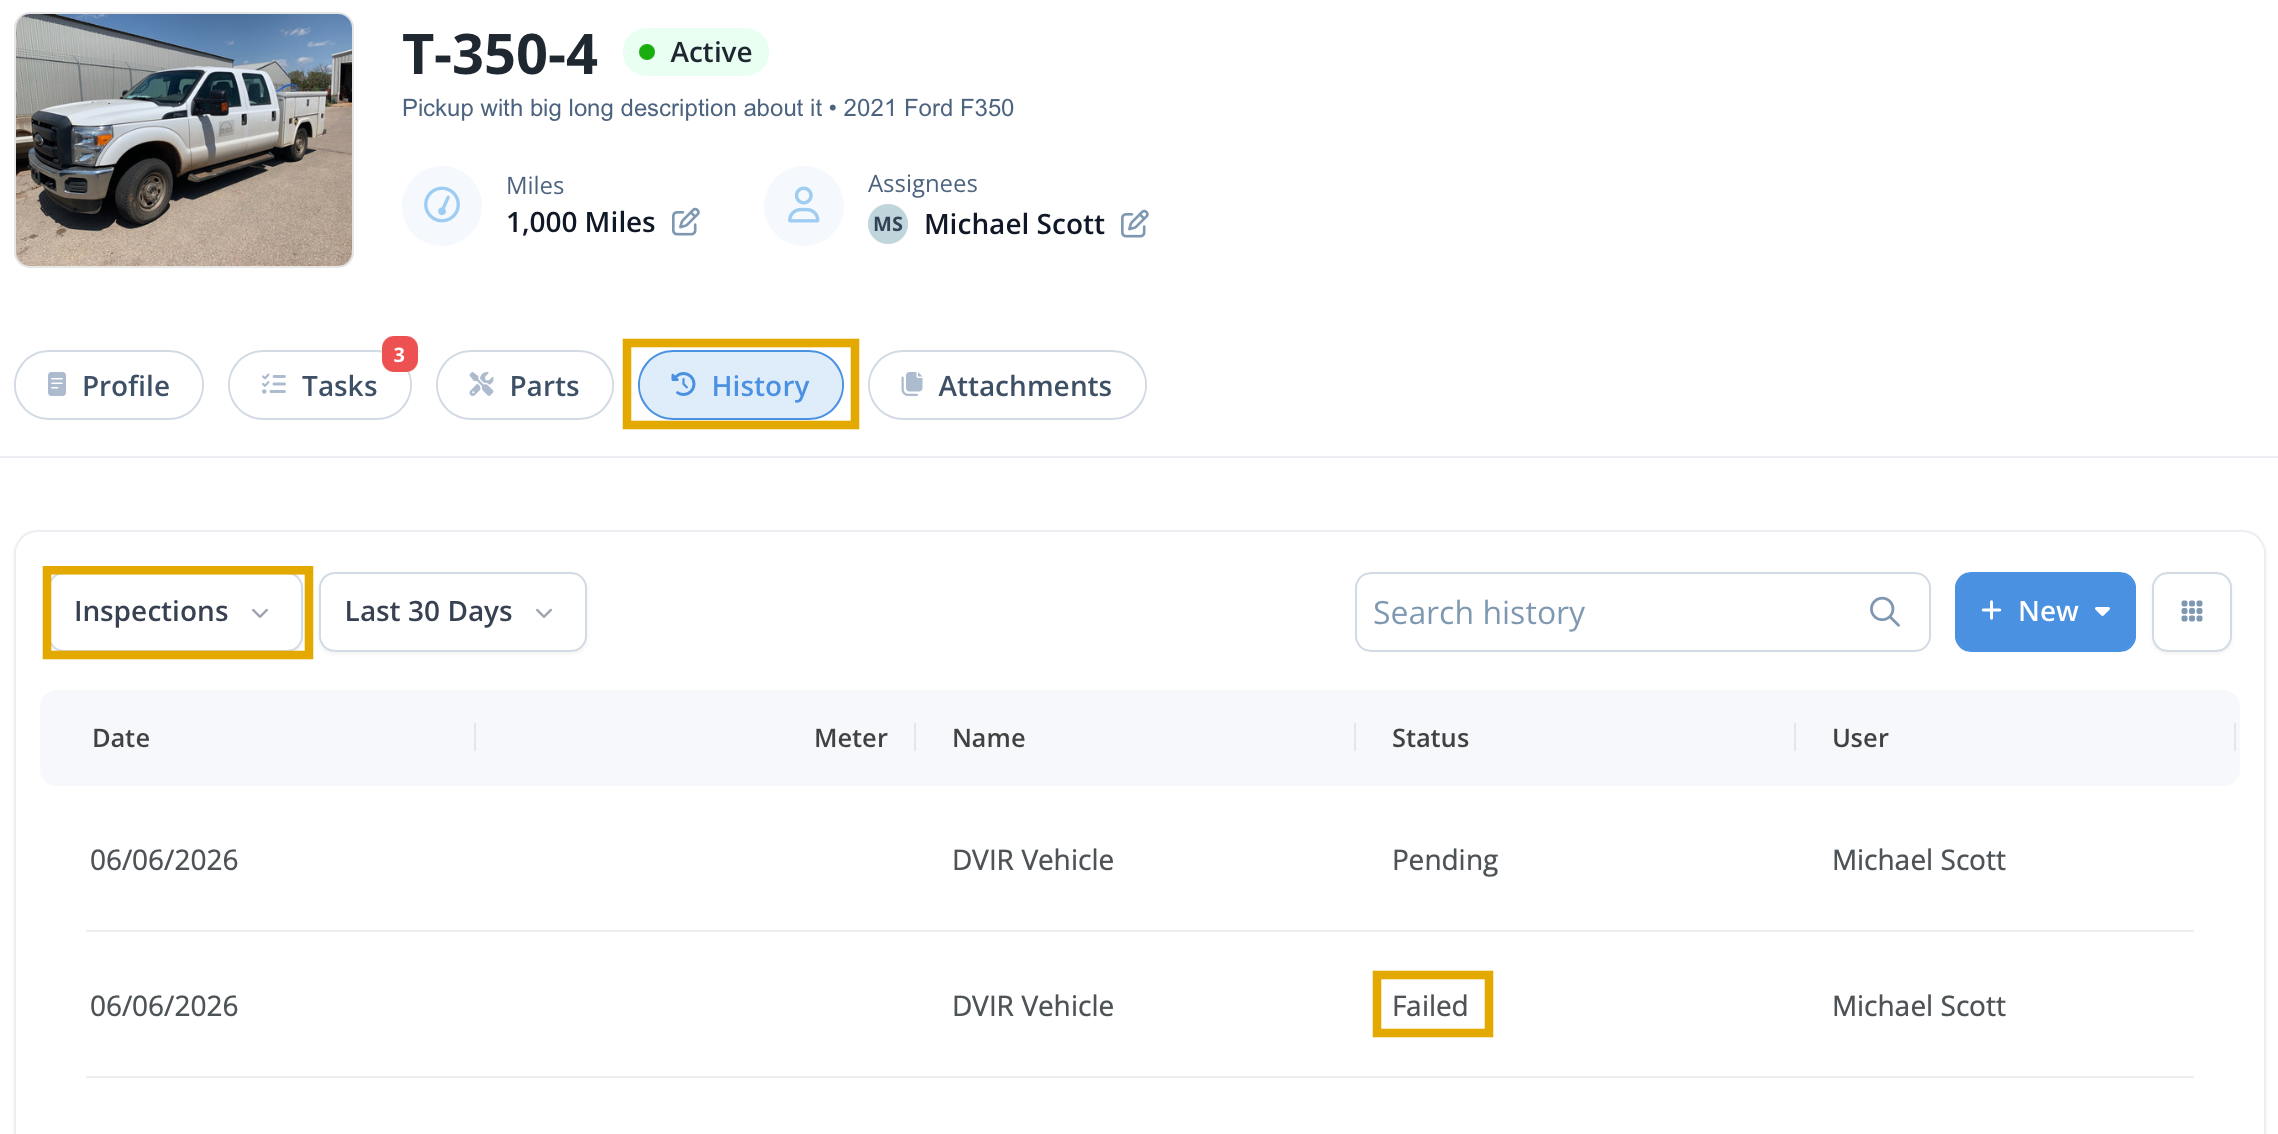
To review previous inspections from the Equipment profile, select History and then choose Inspections. This will display all inspection records associated with the vehicle.
After the inspection issue has been resolved, navigate to the equipment history and open the failed inspection record. From there, select Defects Corrected. Signatures from both the mechanic who completed the repair and the driver are required. If both parties are not available at the same time, the mechanic may sign first, and the driver can return later to complete their signature.
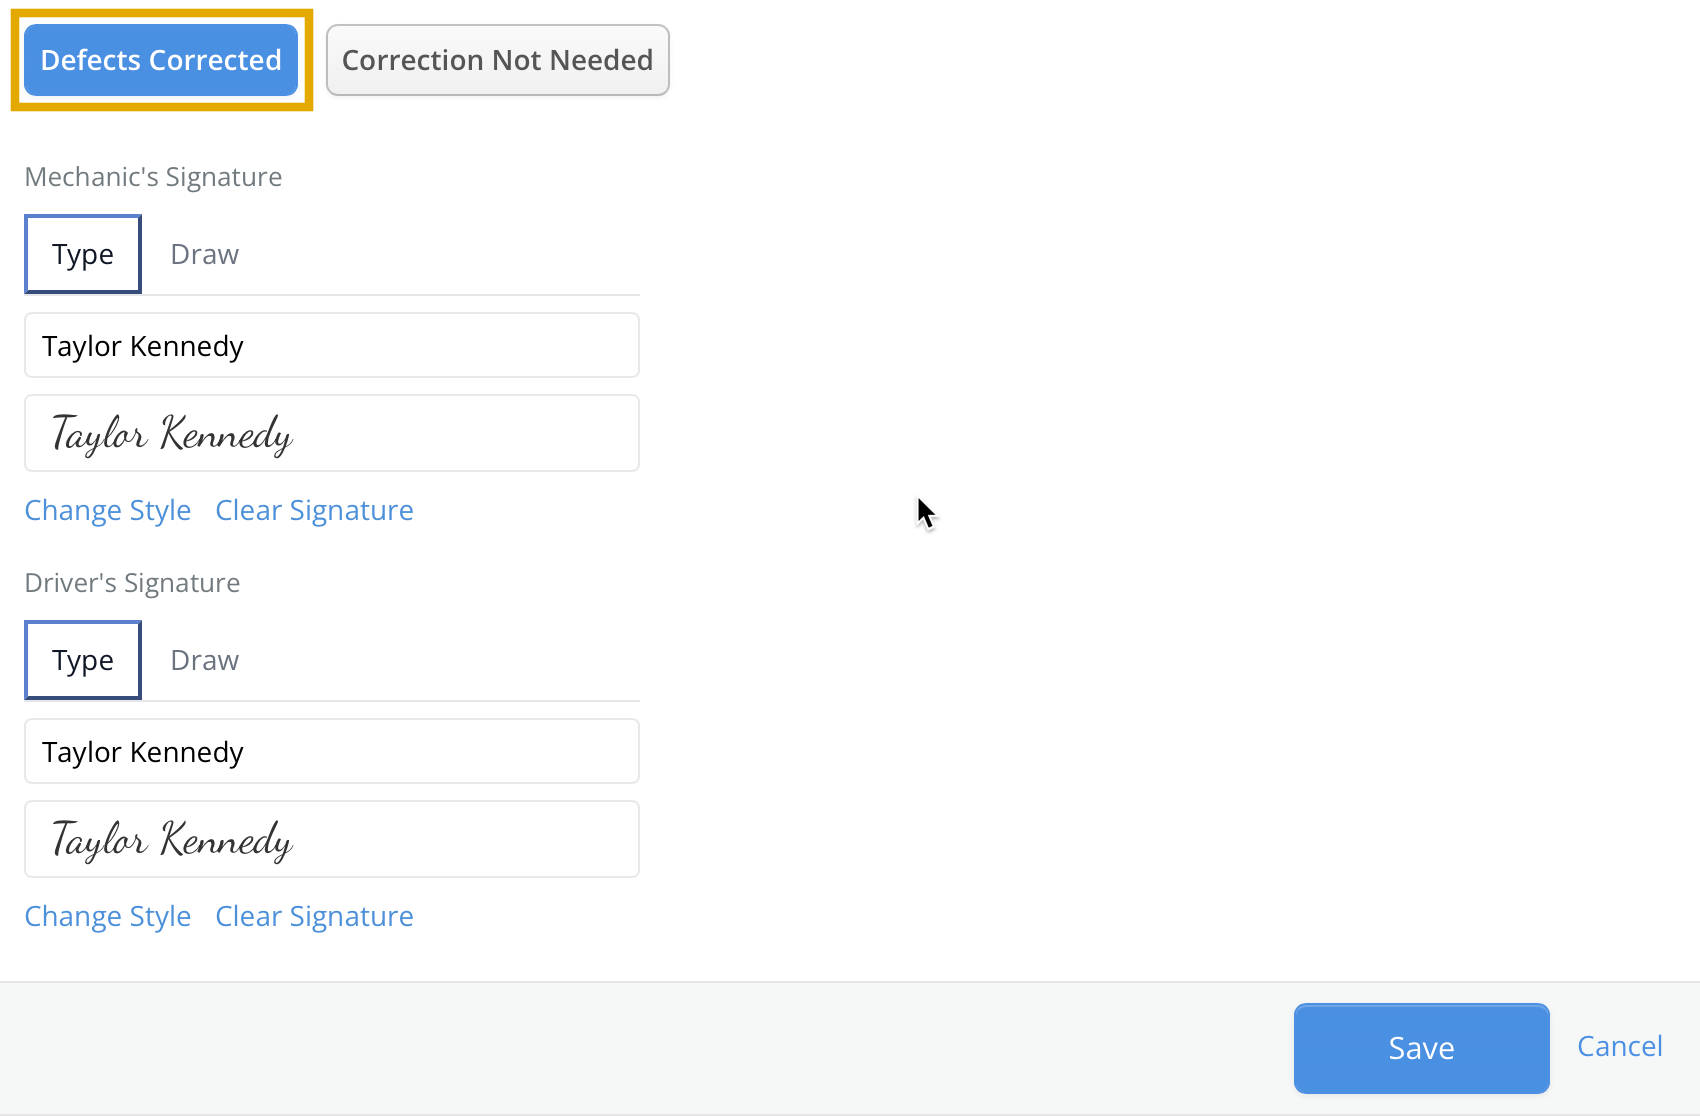
After all required signatures have been collected, the inspection is considered complete. Select Save to record the updates, which will change the inspection status from Failed to Fixed.