Inspections
Overview
In order to asses equipment on a periodic basis, Maintenance Pro enables users to formulate inspection checklists.

Each checklist item can be marked as OK or Failed. In case of a failure, there is an option to initiate a repair request for the item, which can then be addressed at a later time through a Work Order.
Inspection Template Setup
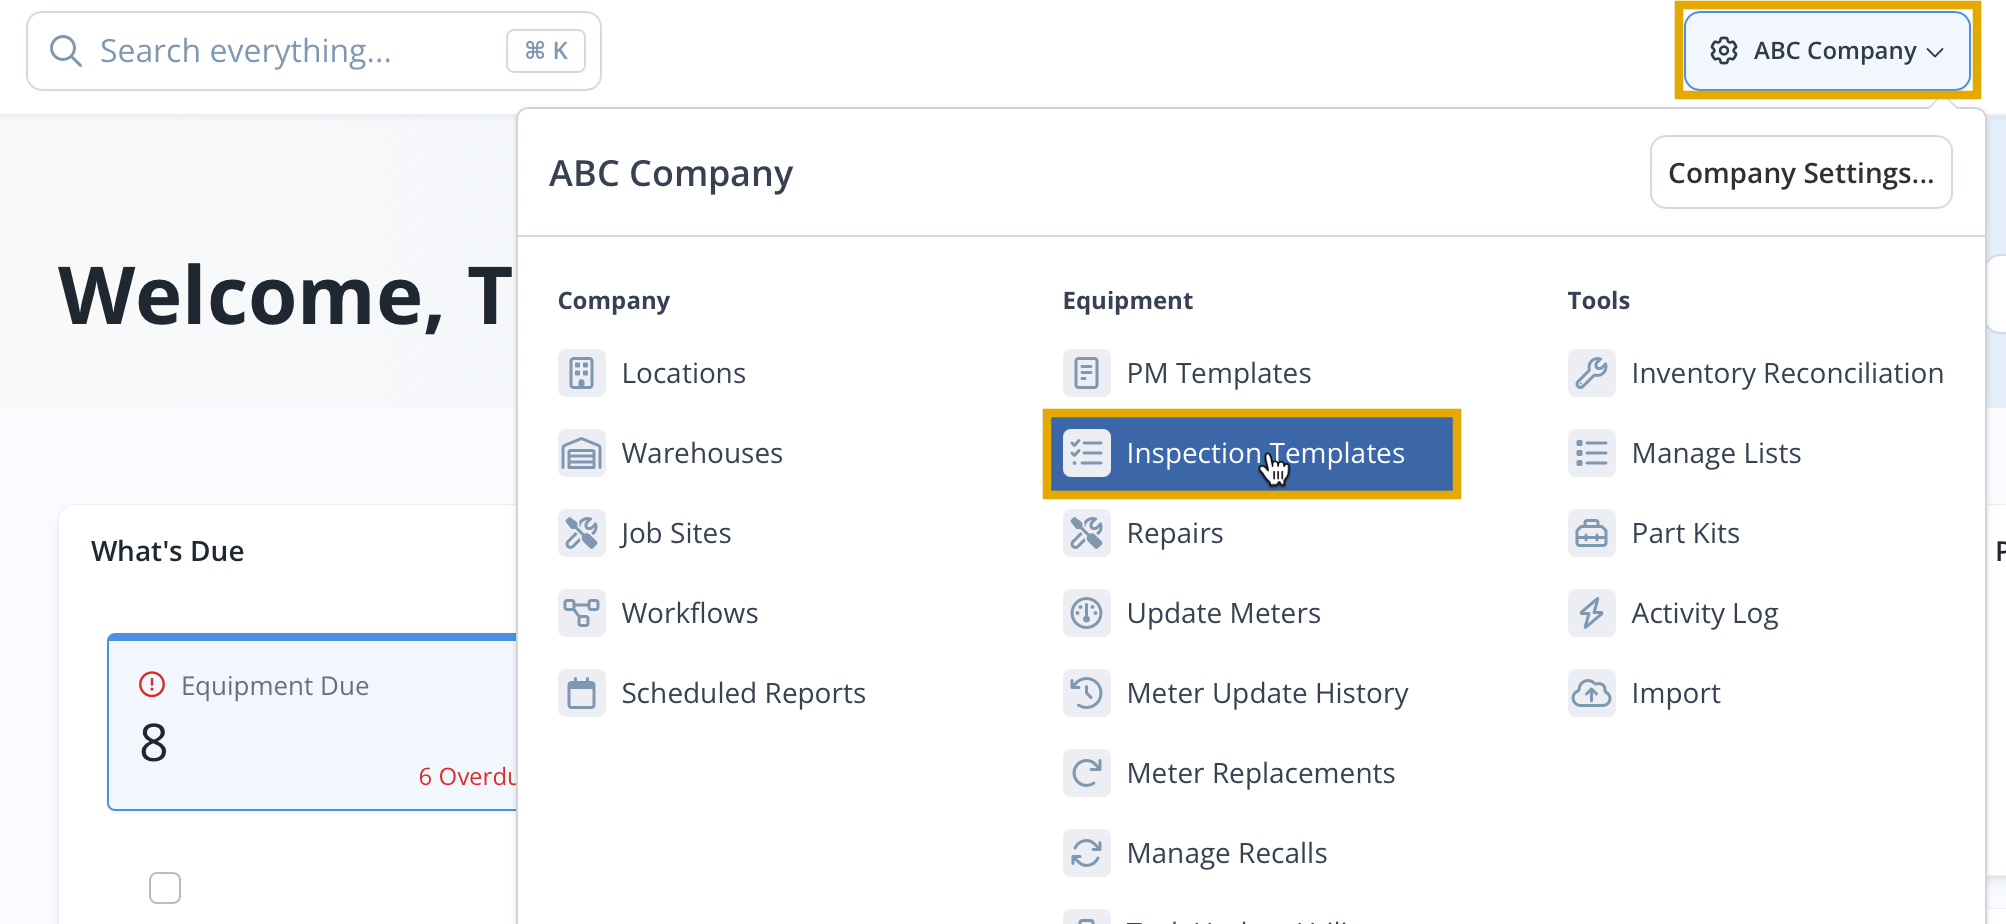
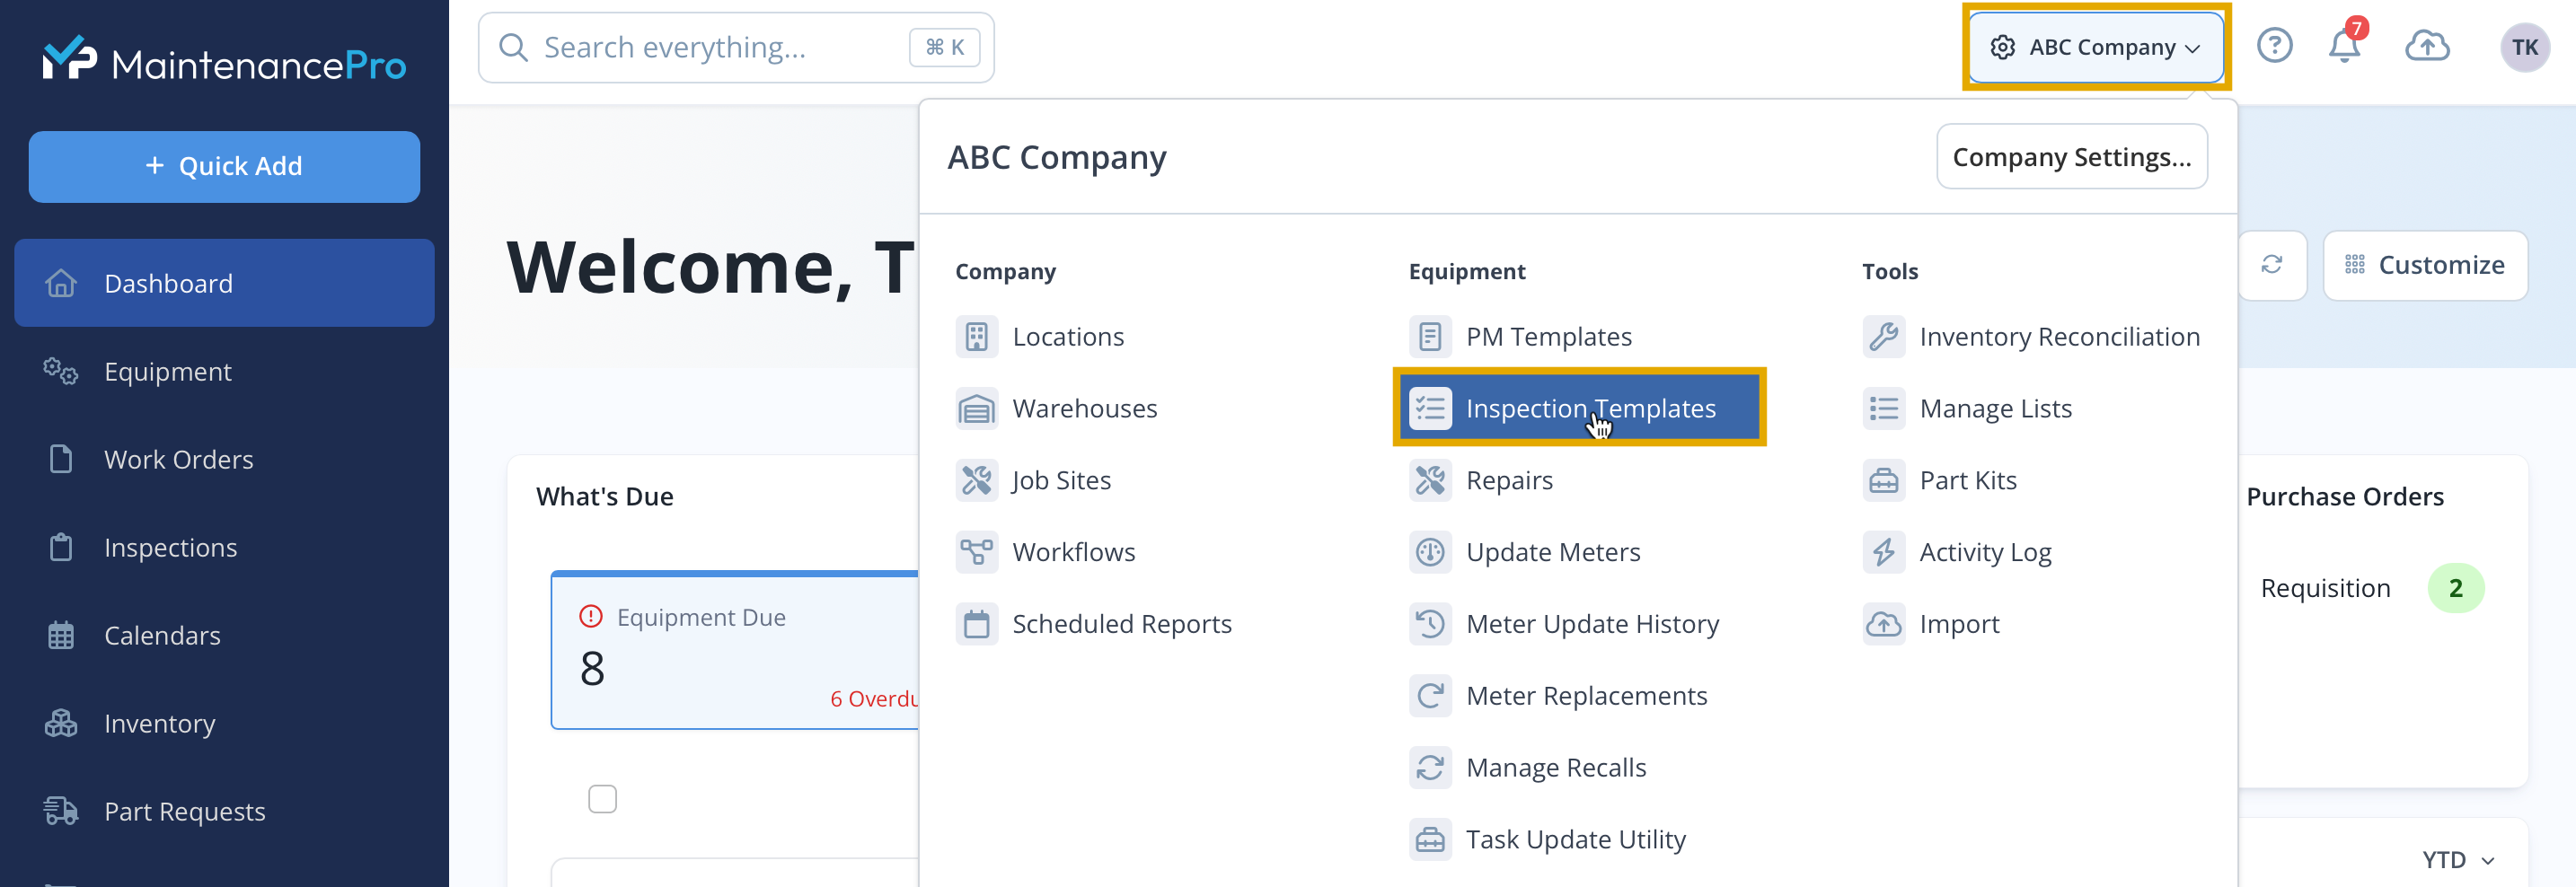
To create a new Inspection Template, click on Company Settings button located at the top right and select Inspection Templates.
An Inspection Template can be generated by clicking the New Inspection Template button.

The checklist can be named and also customized by linking preferred Inspection Tasks to the template.


Assigning Inspection Templates To Equipment
There are two methods to assign equipment to an inspection template. The first involves navigating to the Inspection Templates management screen through the company name.
Clicking the action button on the right will display the Add Equipment option.

A list will appear, allowing any desired equipment to be selected by checking the corresponding boxes.

Inspection Templates can also be attached directly from the assignments section on the Edit Equipment Screen.

Creating and Recording Inspections
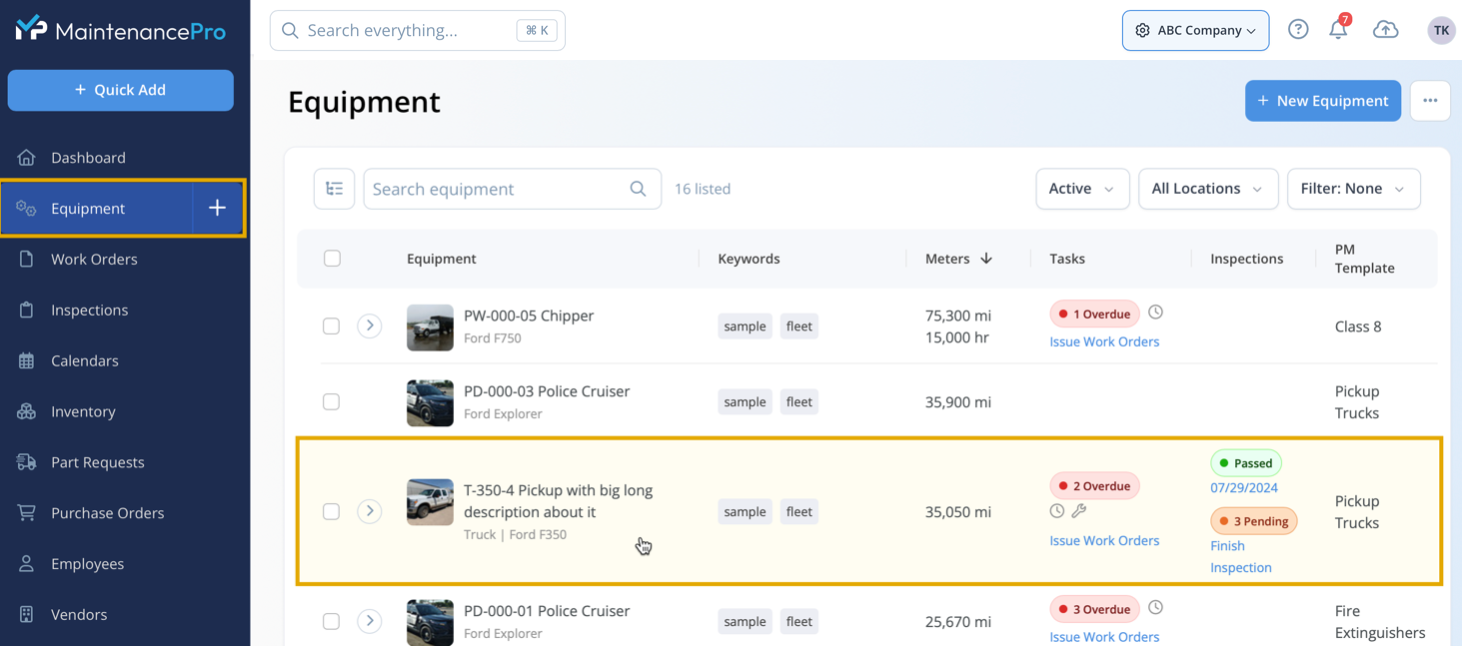
Inspections can be created by clicking the action button on the equipment screen. The inspection option will display with the inspection template name.

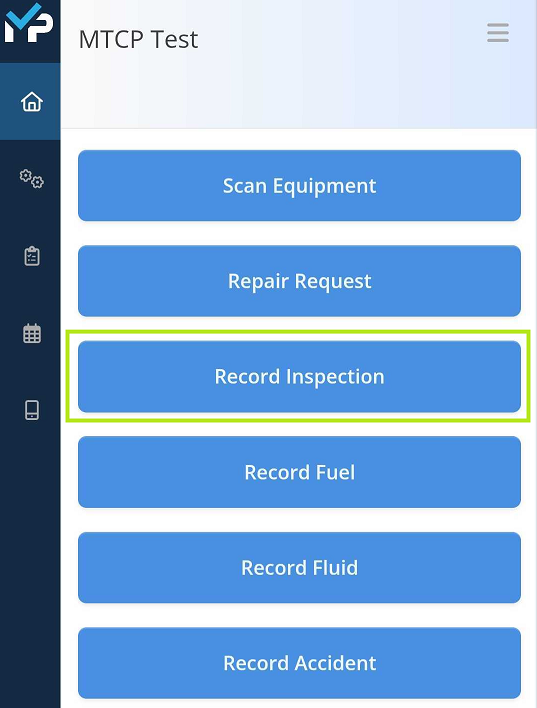
Operator users can simply click record inspection from their home screen, then specify the equipment in the next screen

- Assignee – The individual conducting the inspection.
- Date – When the inspection took place.
- Meter Reading – Current odometer reading.
- Pass – Selected if everything is in satisfactory condition.
- Failed – Selected if issues need to be addressed.
- Remarks – Additional details can be provided if any failures are noted.
- Create Repair Request – Requests can be submitted for sections that have failed. Any information added in the remarks area will appear on the repair request. The priority of the repair can also be specified.

The All OK button can be marked at the bottom if all sections pass.

Finishing Pending Inspections
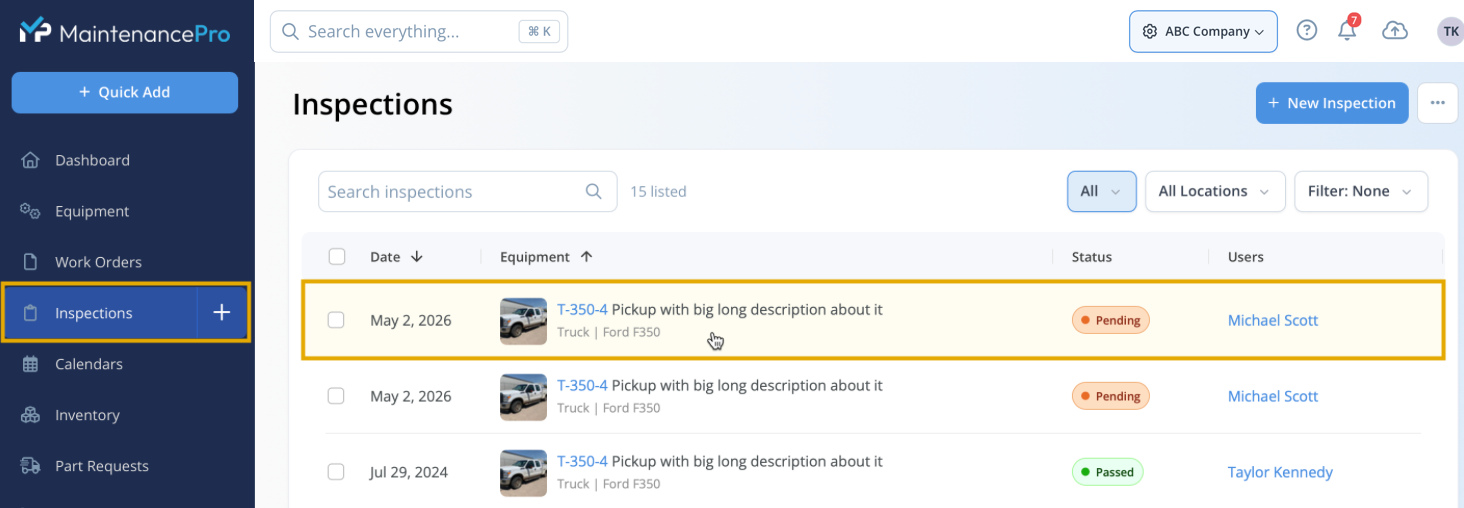
A pending inspection can be completed by selecting the Inspections tab, filtering by Pending, and then choosing the appropriate equipment.
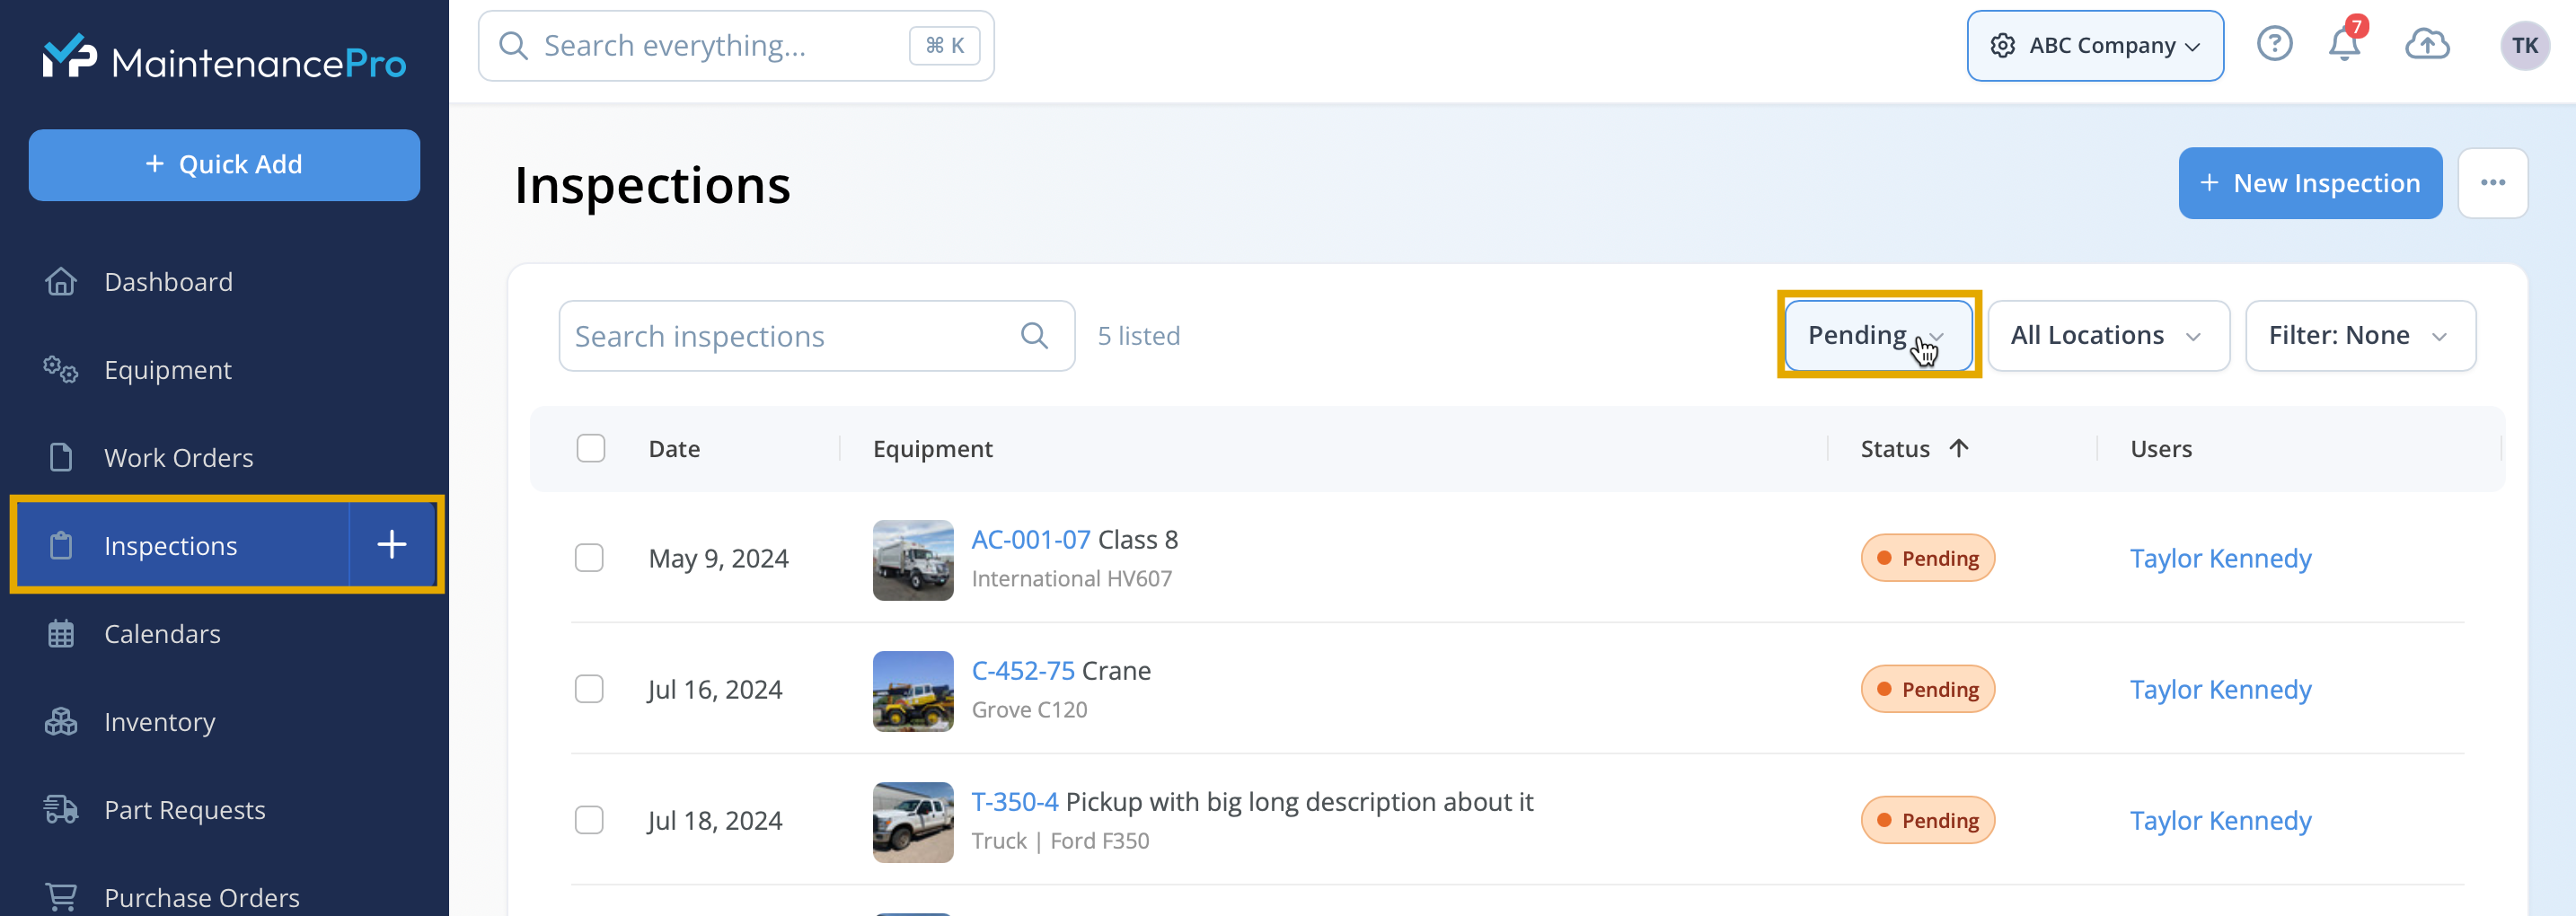

The remaining items can be filled out and saved to complete the record.
DVIR Features For Fleets
The DVIR functions are an extension of the daily inspections feature to informed DOT standards for cars and trailers. It's features can be accessed by clicking the Company Settings button and selecting inspection templates.
DVIR inspection templates are automatically generated based on the daily inspection list.


For more information on the DVIR process and the features it includes, please refer to the link provided.
Reviewing Inspections
An Inspection can be reviewed by clicking on the inspection tab and selecting the desired inspection.
Selecting a row will open the inspection record, where inspections can be finalized, reopened, edited, or reviewed.

An alternative way to review an inspection is via the "Equipment Index" screen.
Once on the Equipment Profile Screen
Instructions:
- Click the History tab.
- Click the Inspections category.
- Choose the Date Range in the dropdown box.

Any inspection record can be viewed by clicking on the date associated with it.
Advanced Settings

Inspection Options:
- DVIR: Enables the required status options and signature fields for the US FMCSA Driver-Vehicle Inspection Report (pre-trip and post-trip inspections).
- Require User To Record Meter Reading: Forces the user to enter an odometer reading when saving the inspection.
- Scroll To The Next Step After Passing: Automatically advances to the next inspection step once the current step is passed.
- Allow Steps To Be Marked N/A: Permits marking inspection steps as Not Applicable.
Recurring Inspections (Enterprise Only)
Recurring Inspections automatically generate pending inspection records for equipment at set intervals. These records appear highlighted in orange on the Home screen and Equipment List, signaling that an inspection checklist requires completion.

Due Every specifies how often inspection records are generated, configurable by days, months, or years.
Begins On is optional; setting a date applies the same pending inspection interval to all units assigned to this template, serving as the start date for generating pending records.