Custom Fields
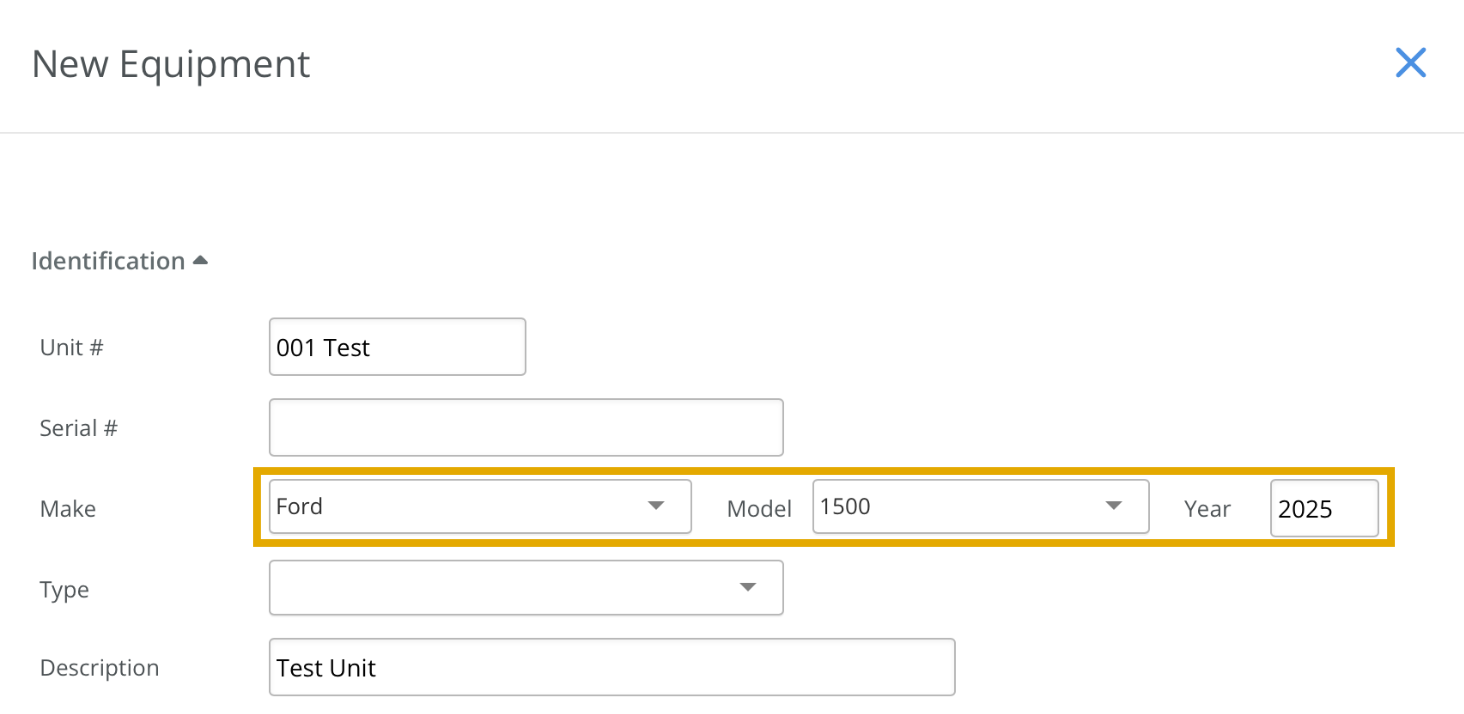
Custom Fields in Maintenance Pro allow for flexible data entry tailored to specific tracking needs. In addition to built-in fields like Make, Model, and Year, Custom Fields enable further customization to better support unique requirements.
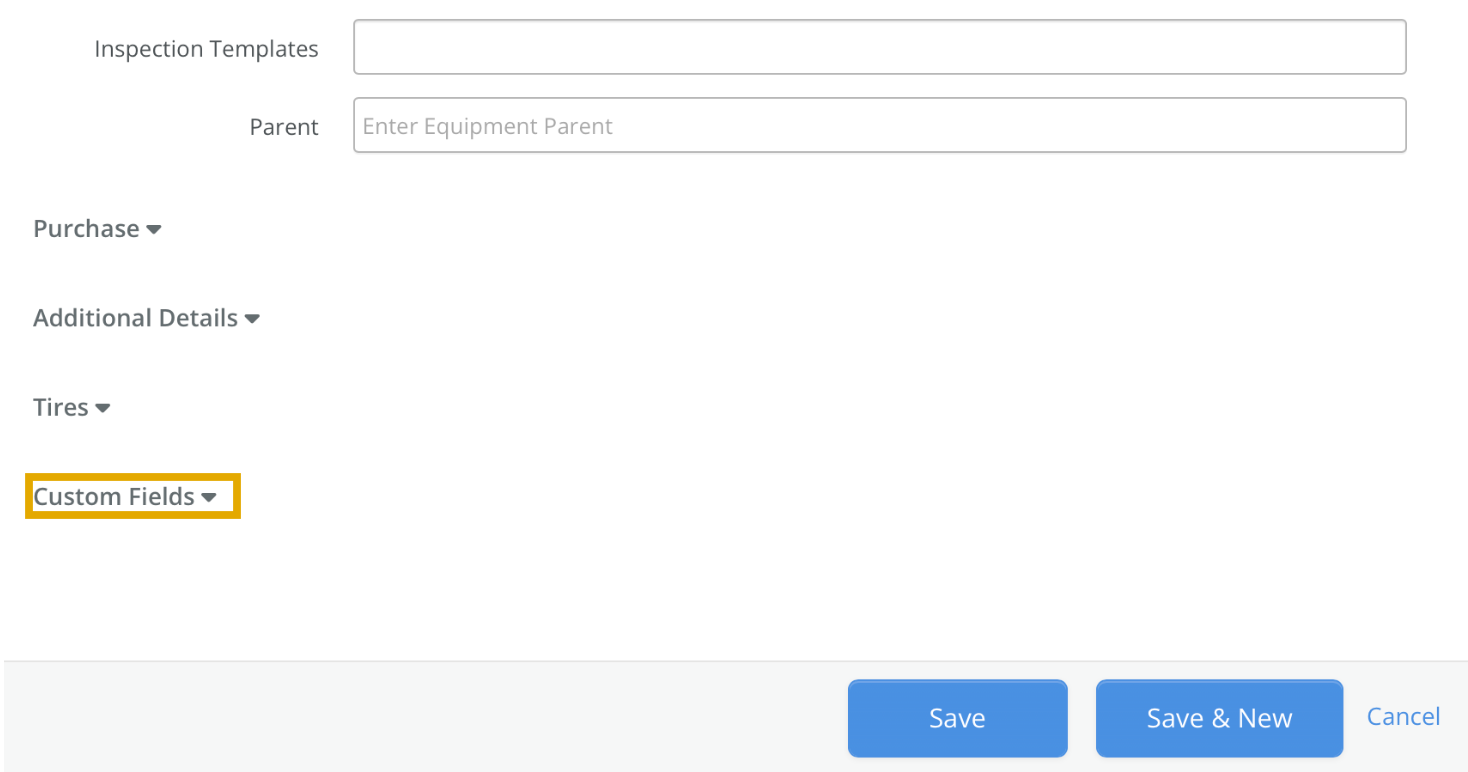
To track data beyond the default fields without using free-form notes, Custom Fields provide an ideal solution. To add one, scroll to the bottom of the New Equipment screen to create and define a new Custom Field.
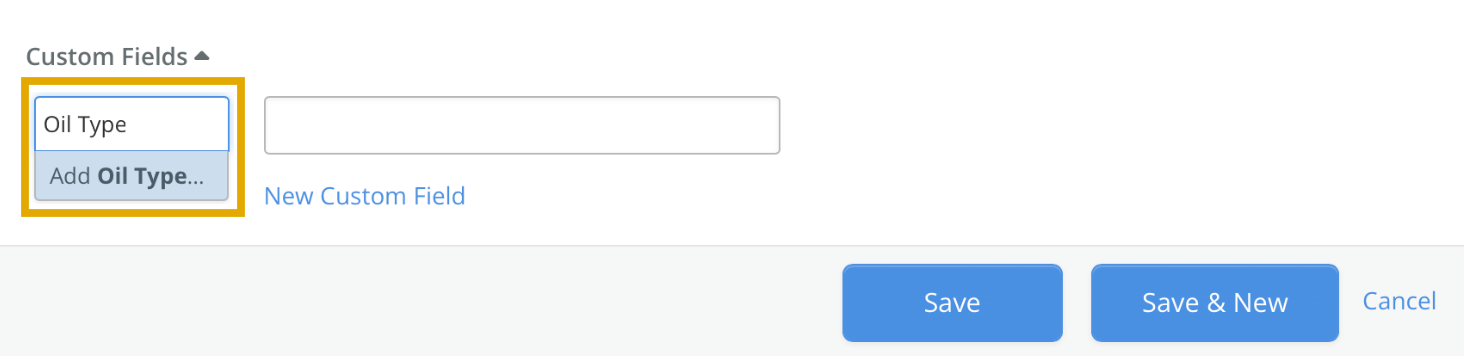
Clicking the New Custom Field button prompts entry of a field name.
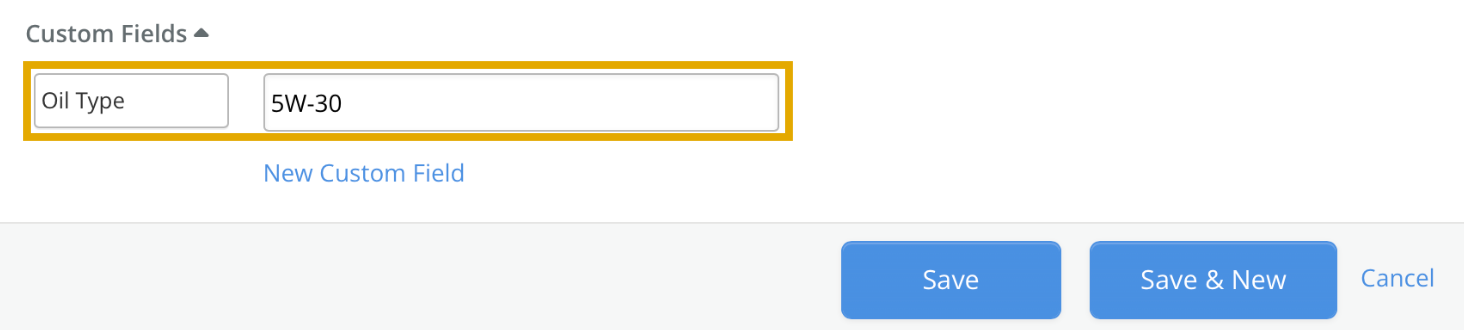
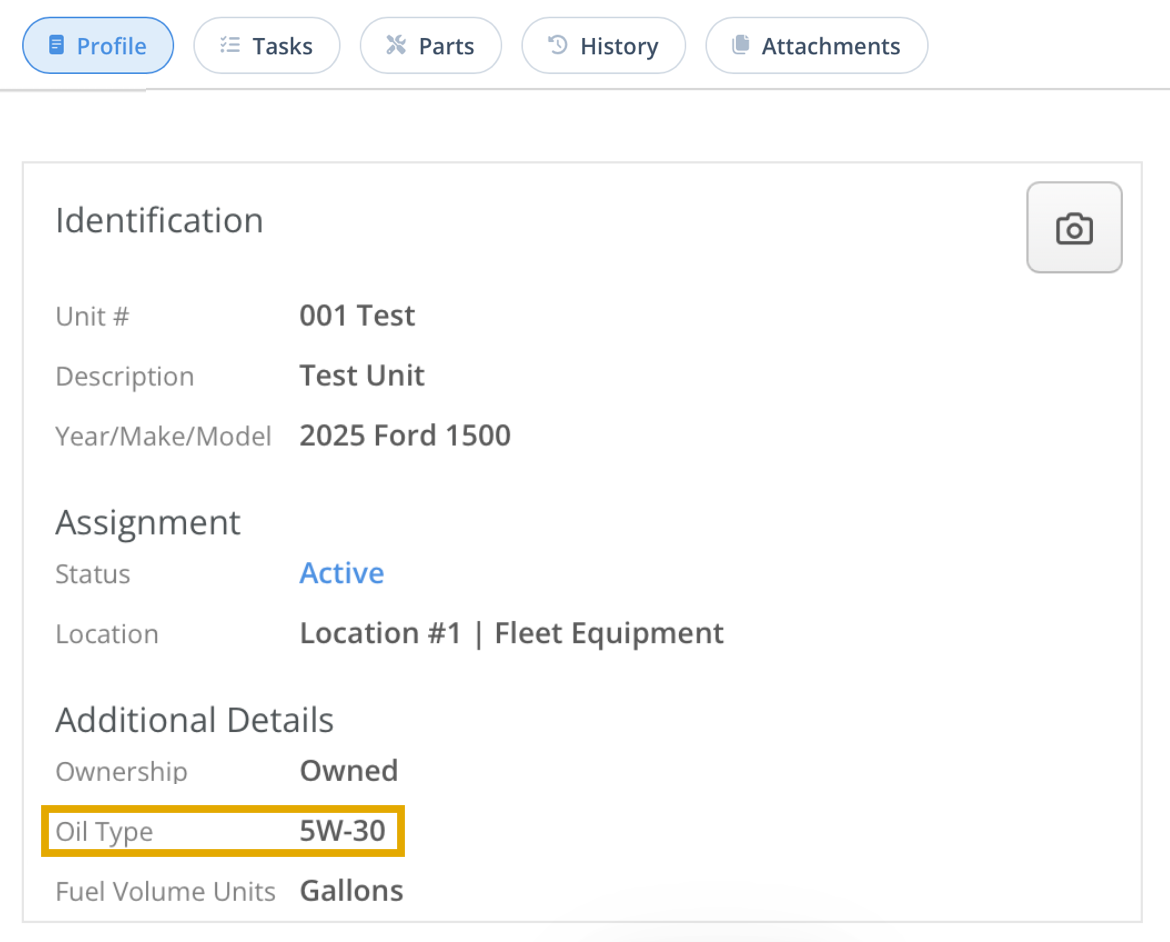
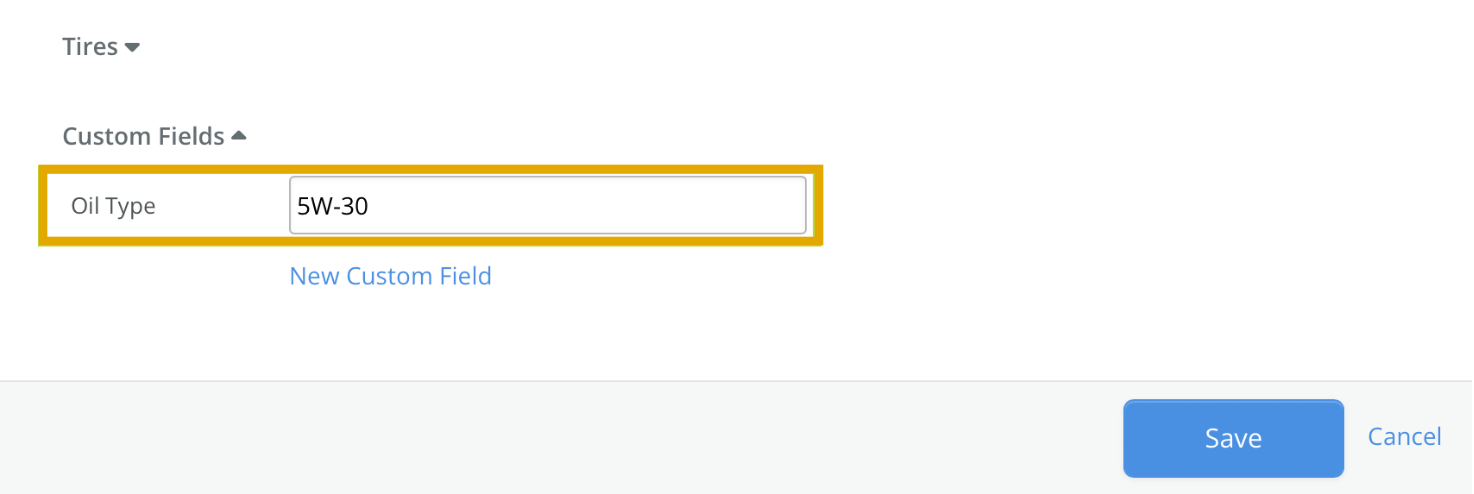
Enter the desired value in the right field. Once saved, the field and value will display on the Equipment Detail screen.
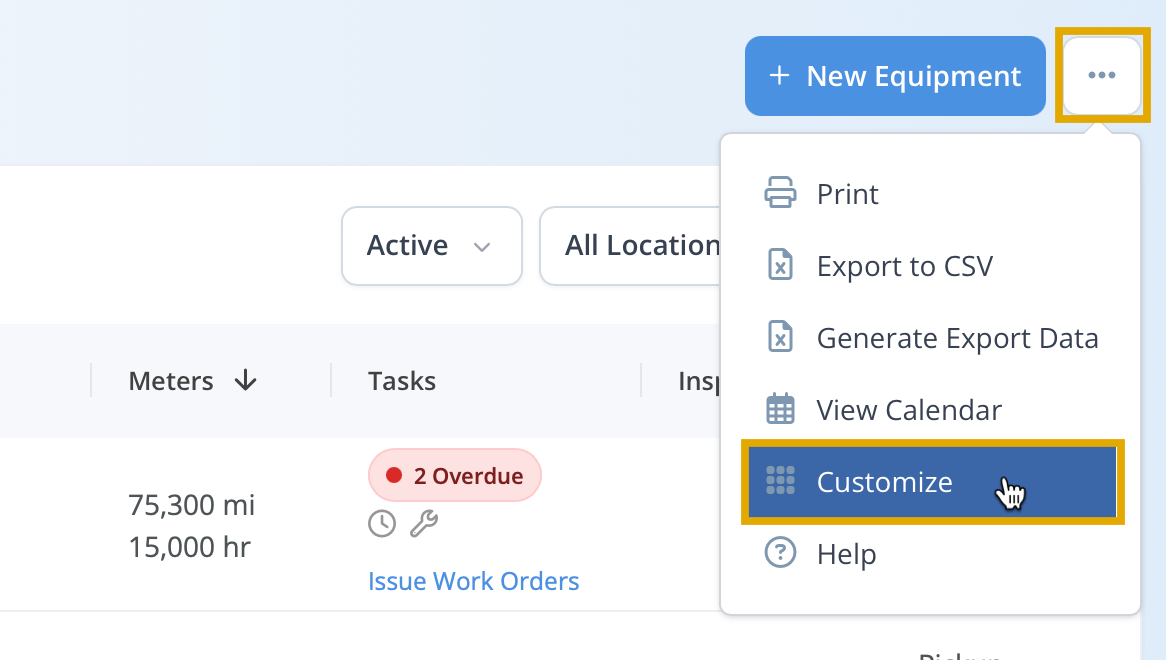
The Custom Field can be displayed as a separate column in the Equipment Index. To add, click the button right of New and select Customize.
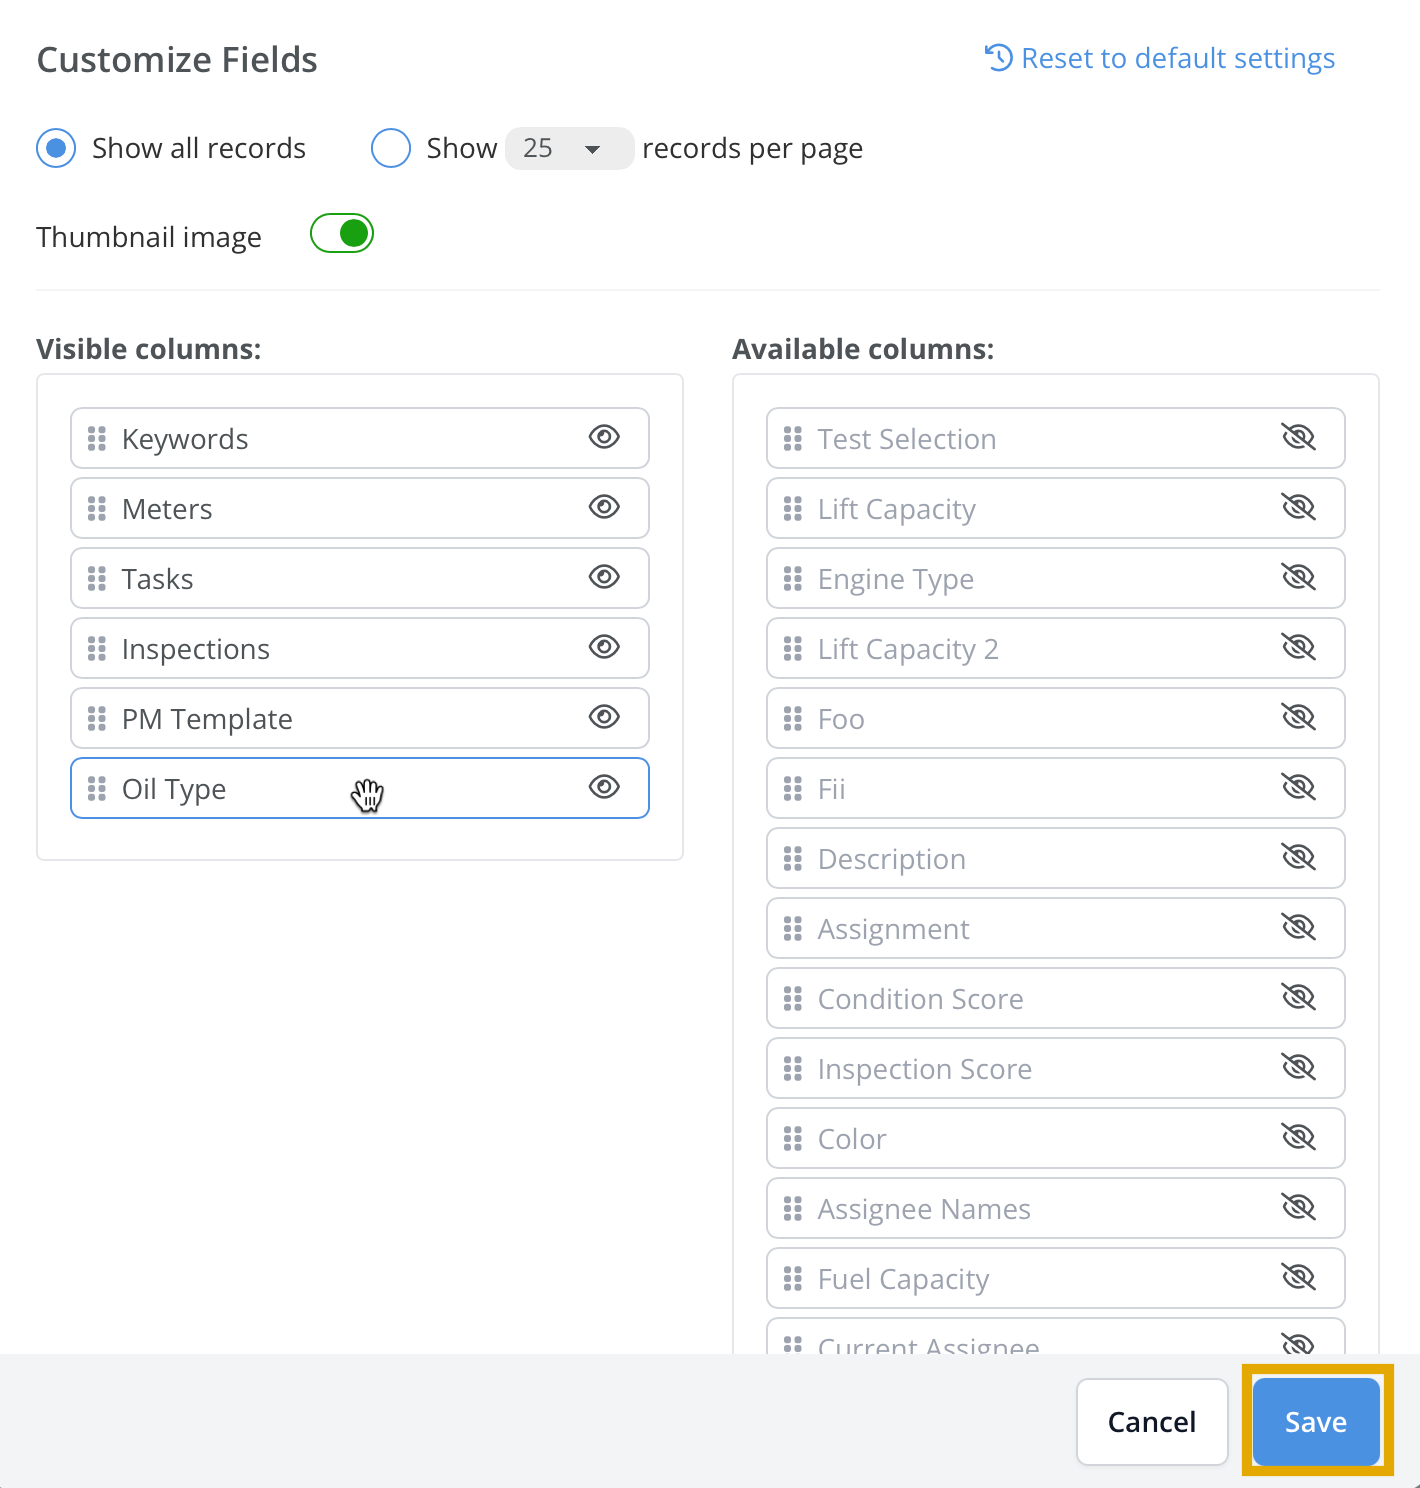
Select desired visible fields by dragging or clicking the eye icon, then click Save.
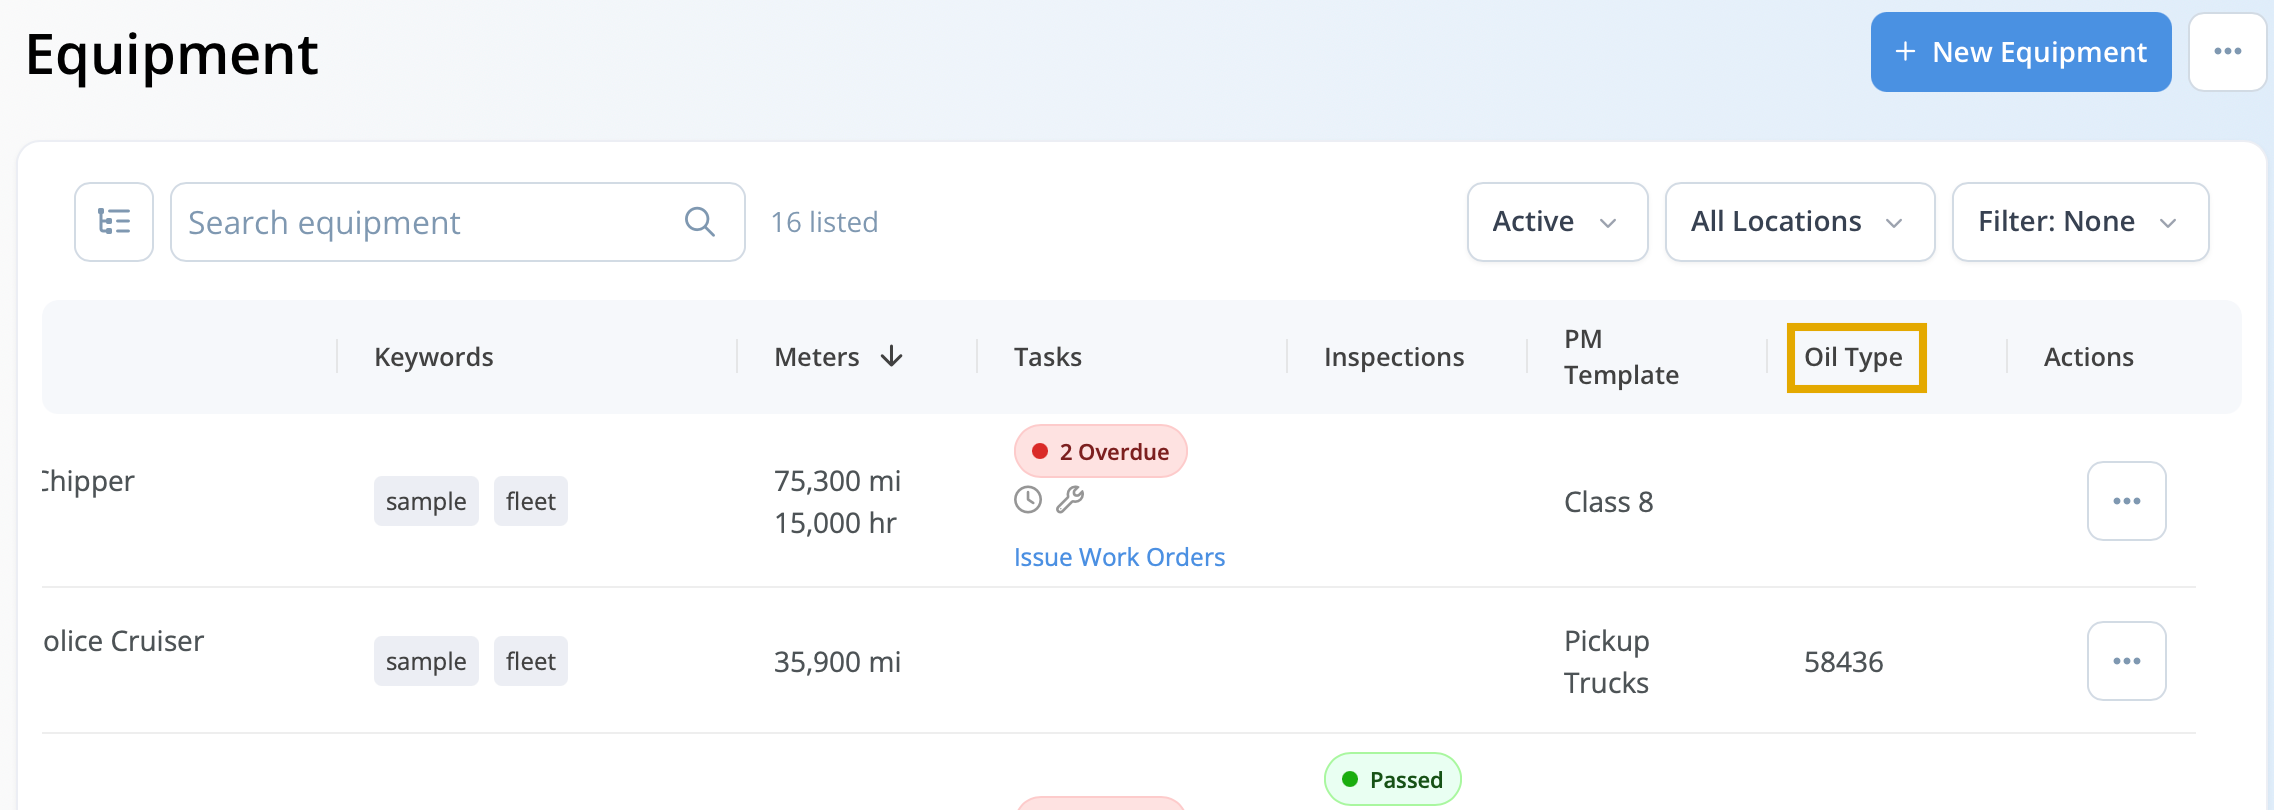
The Custom Field will appear as a separate column with data in the Equipment Index. This feature also applies to other index screens utilizing Custom Fields, such as Work Orders.
To manage all Custom Fields, click the profile icon in the top-right corner and select Company Settings.

Click the Custom Fields tab to view a list of all Custom Fields configured in the system.
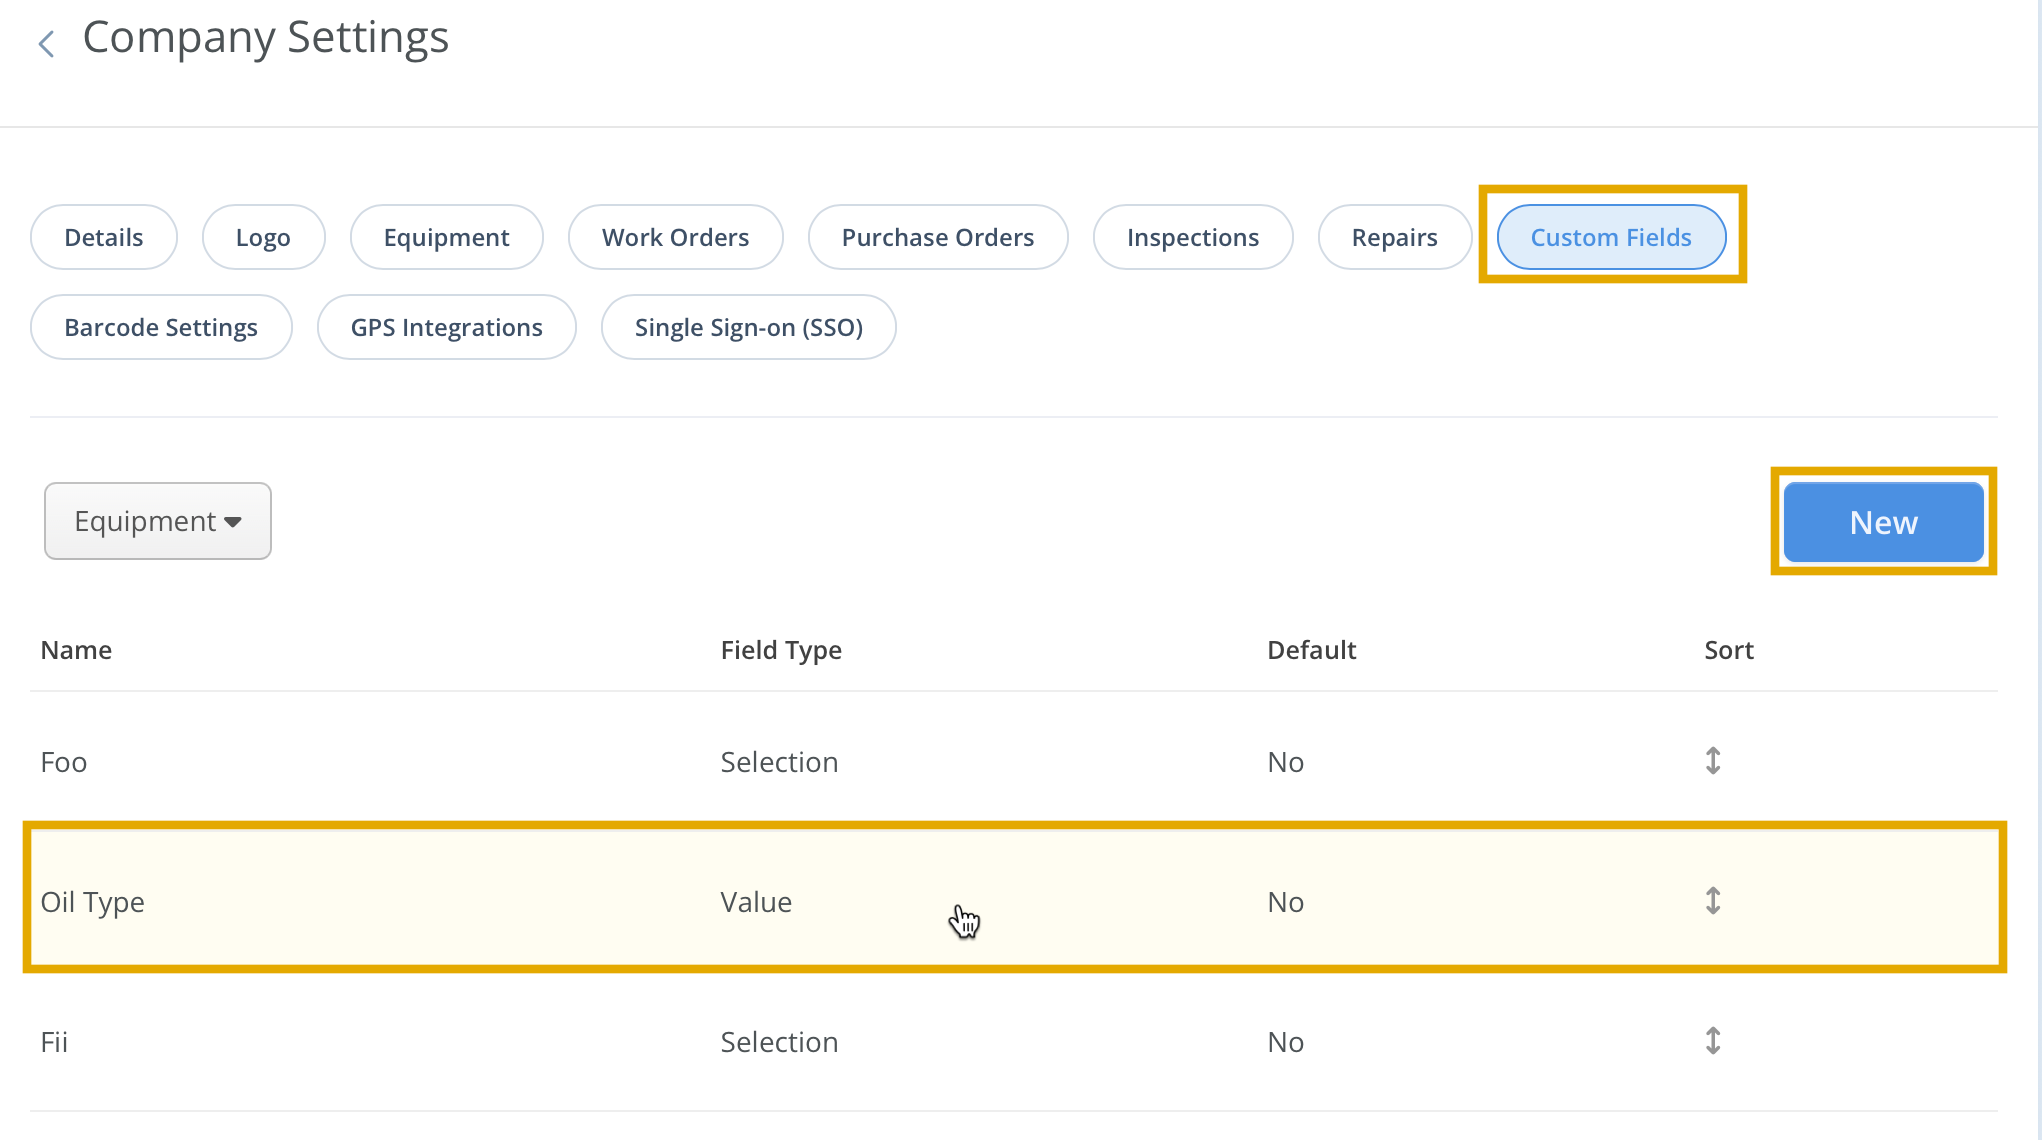
Clicking a Custom Field’s name will open the Edit Custom Field screen.

Editing the Name field updates the custom label system-wide. For example, changing Oil Type to Engine Type updates all instances accordingly.
The Default checkbox controls field visibility on the edit screen; when checked, the field appears by default during editing. An example of the edit screen with the Default option enabled is shown below.
If Default is unchecked, the custom field will not appear automatically on the edit screen. Instead, a New Custom Field button allows manual addition when needed.
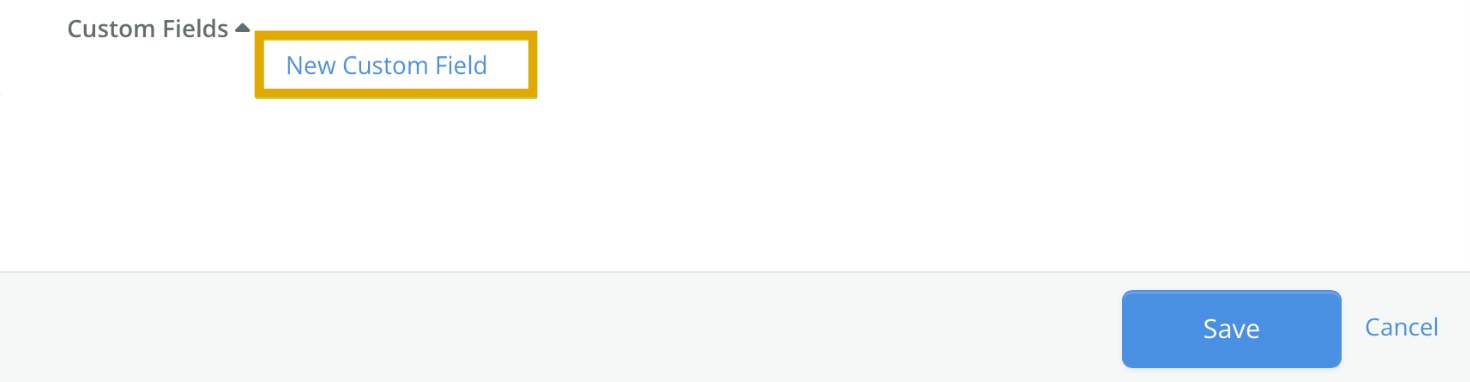
Clicking the New Custom Field button allows selection of the field to add.

To ensure a Custom Field is always available on the edit screen, check the Default box. If unsure, it is recommended to check Default for automatic access. Leave unchecked if the field is not used regularly.
Deleting a Custom Field
From the Organization Profile > Custom Fields screen, select a Custom Field to delete. Deleting a field removes it from all records and erases associated data.
Please Note: This action is permanent. A warning will appear before deletion
